


Opening a new store? Launching a product? Running season-end sales?
No matter the occasion, flyers—whether printed or shared online—are a quick, cost-efficient way to promote your business. A well-executed flyer campaign can deliver a 4.4% average conversion rate, with customer acquisition costs 51.8% lower than digital ads. ROI can range from 3x to 29x, and direct mail marketing averages a 29% ROI compared to just 16% for digital ads.
The question is, how do you create a flyer that stands out? Surprisingly, one of the most effective tools is Microsoft Word—it’s simple, versatile, and available on most devices.
Besides showing you how to make a flyer on word, I’ll also show you an easy online alternative using a Flyer Maker and free flyer templates.
Click to jump ahead:
- Get started with Microsoft Word
- Choose your starting point
- Design your flyer
- Organize your layout
- Finalize the flyer
- How to make flyers with online tools
- Conclusion
Here is a step-by-step guide on how to create a flyer in Microsoft Word.
1. Get started with Microsoft Word
First, open the Microsoft Word application. If you prefer, you can also use the online version of Word available on Microsoft 365 like I did to create a flyer.
2. Choose your starting point
There are two main ways to create a flyer in Word, manually or by using templates.
Designing manually means starting from scratch, giving you complete creative freedom and the ability to fully personalize your flyer.
The faster option is to use flyer templates—pre-designed layouts you can easily edit and customize. In fact, 79% of U.S. small and medium-sized businesses use flyers and brochures as part of their marketing efforts. While templates may limit complete creative control, they greatly reduce the time and effort needed to produce a polished, professional design.
A. Using a flyer template
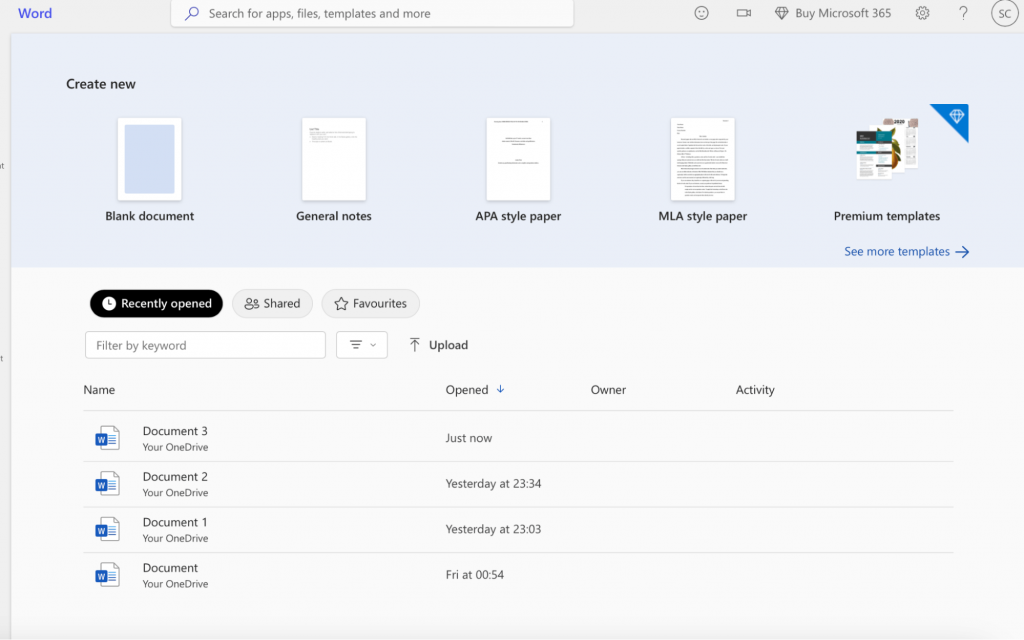
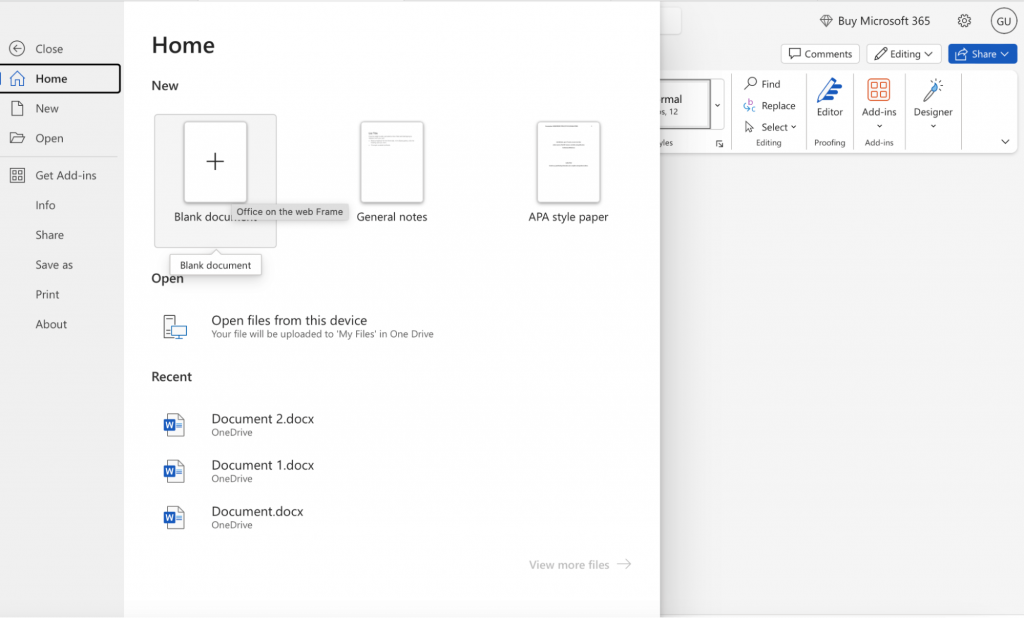
Open Microsoft Word and click on the New tab on the left of the welcome screen (if you already have a blank document open, then click on File and select New).
In the search bar, type Flyers and press Enter to see the list of flyer templates available on Word.
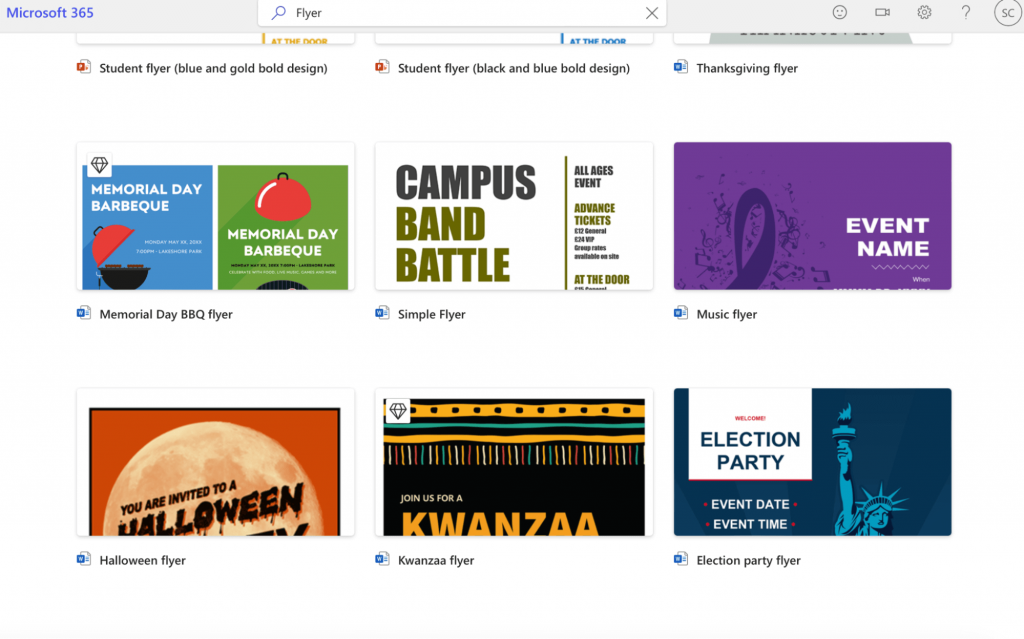
Scroll down and browse through the templates. Look for templates that match your requirements.
A few examples of types of flyers you can create in Word include event flyers, hiring flyers, business flyers, or simple flyers. In fact, 49% of businesses use flyers to promote special offers and discounts.
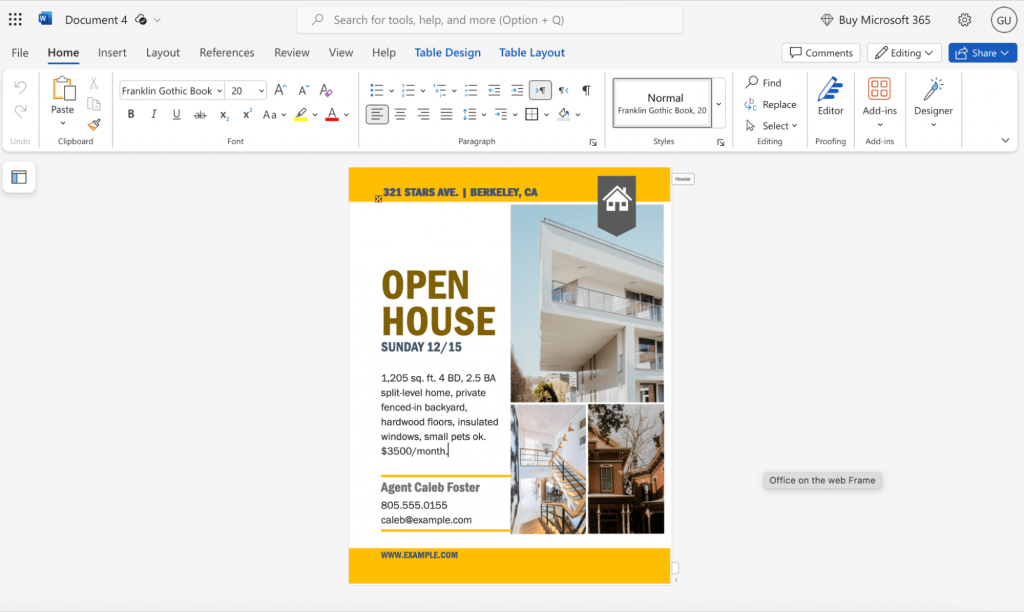
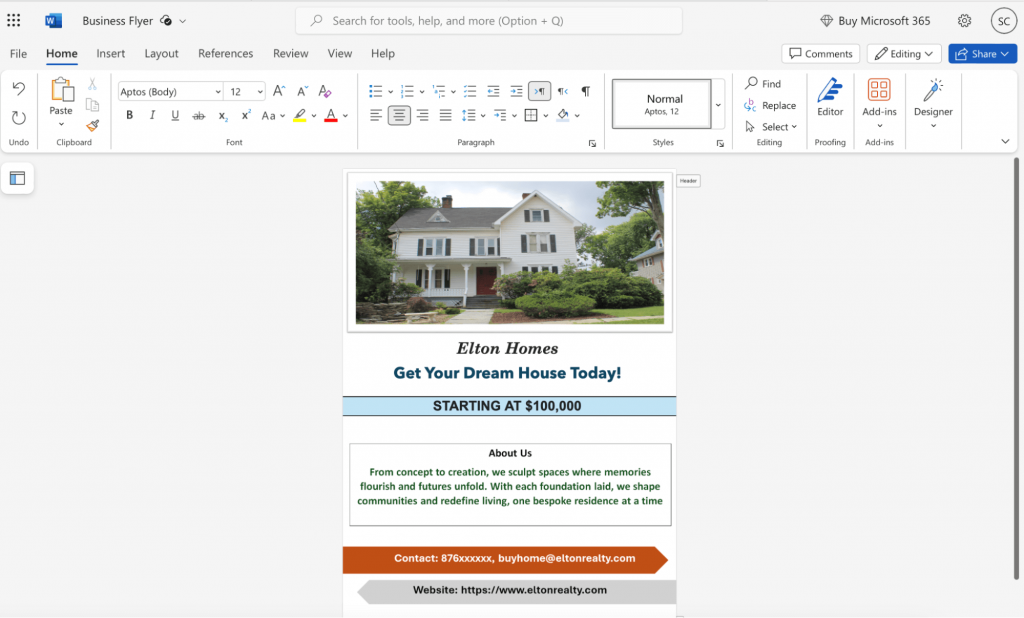
Click on the template to open it. Here is the template that I picked up for a fictional open house event.
B. Creating a flyer from scratch
To create a fresh flyer without any template, click on Blank Document on Word’s welcome screen (or click File, New and Blank Document).
Before you start designing, it’s important to set the page up according to your needs.
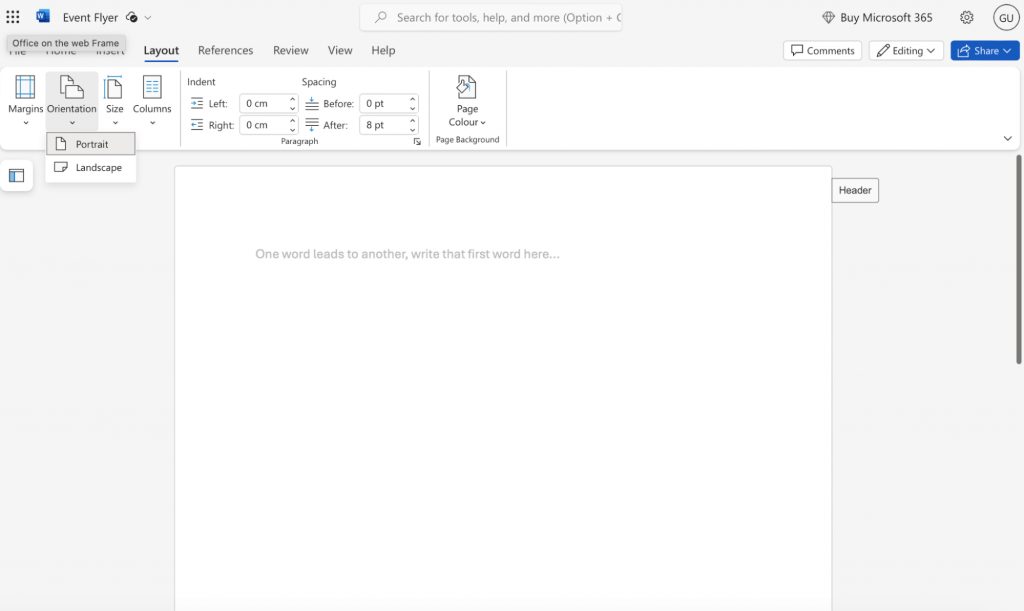
Go to Page Layout and choose between the landscape or portrait setting. If you’re unsure which option to go with, here are some tips on how to choose.
- Landscape: Best setting for flyers with large images and more text. Ideal for promoting events, travel and tourism, or restaurant menus.
- Portrait: More appropriate for posters with a clear top-down hierarchy and a clean look.
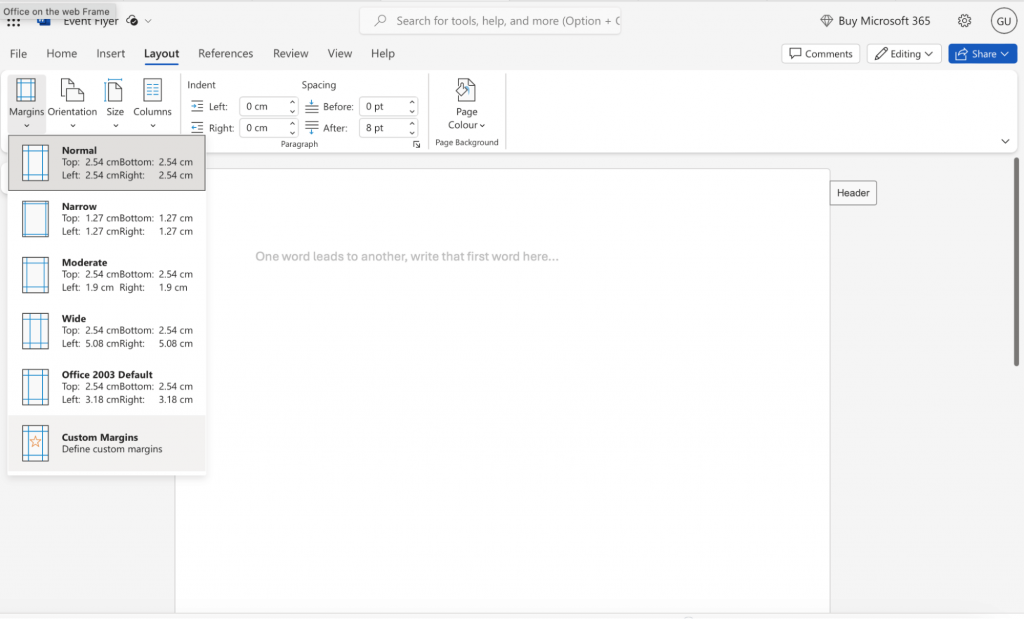
Next, you’ll want to adjust the page margins so there’s space on the sides of the flyer. Generally, a normal or moderate margin setting is appropriate for flyers in Word.
3. Design your flyer
With the initial formatting complete, let’s get into the meat of the matter or designing the flyer in Word.
Note: Read our post on flyer design ideas for inspiration.
A. Images & visuals
Remember the saying, “An image speaks a thousand words”? That’s worth keeping in mind when designing a flyer. High-quality images grab attention and convey your message instantly. Articles with images receive 94% more views than those without, and 71% of people who receive a flyer take action based on its content.
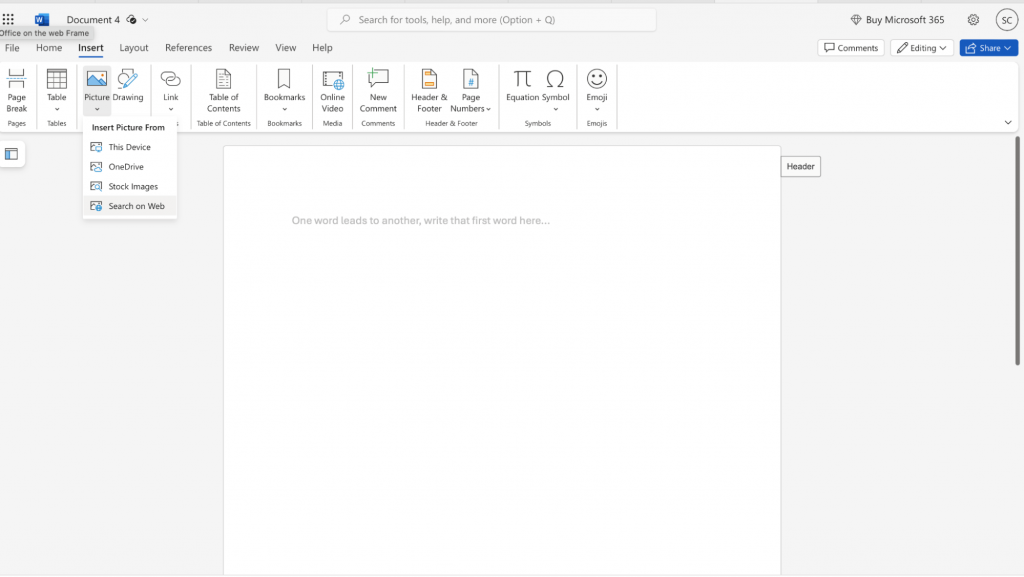
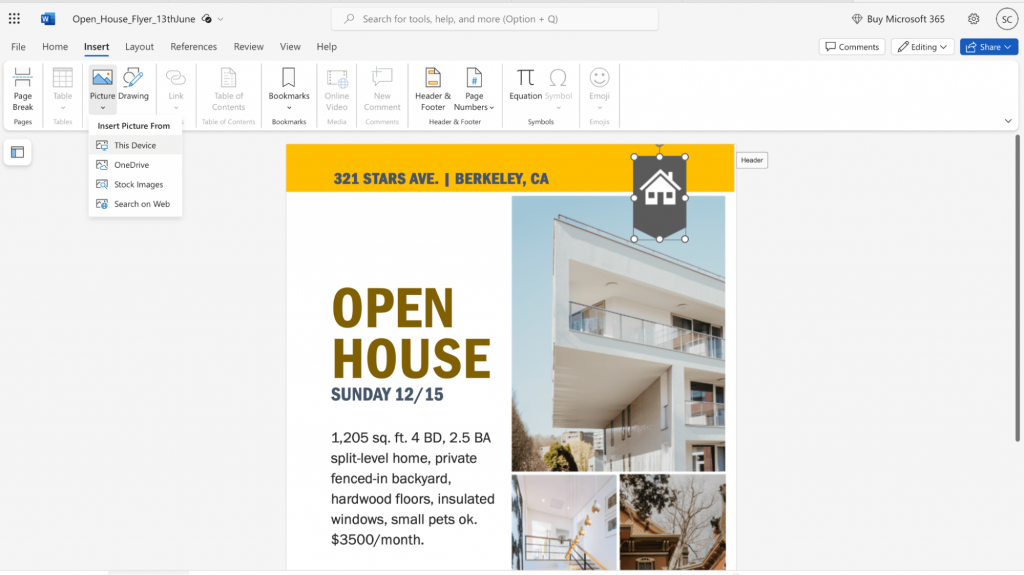
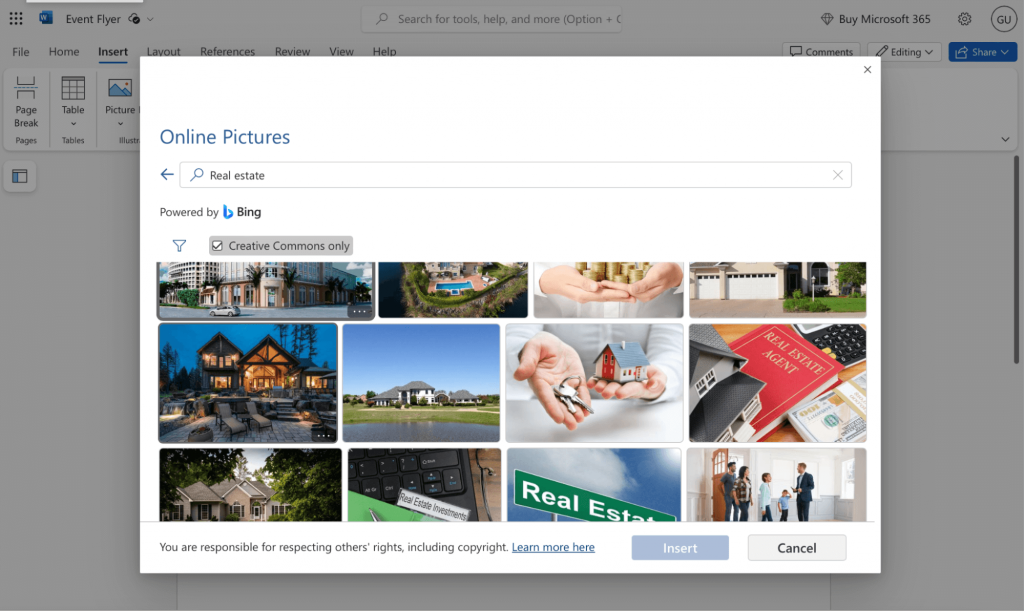
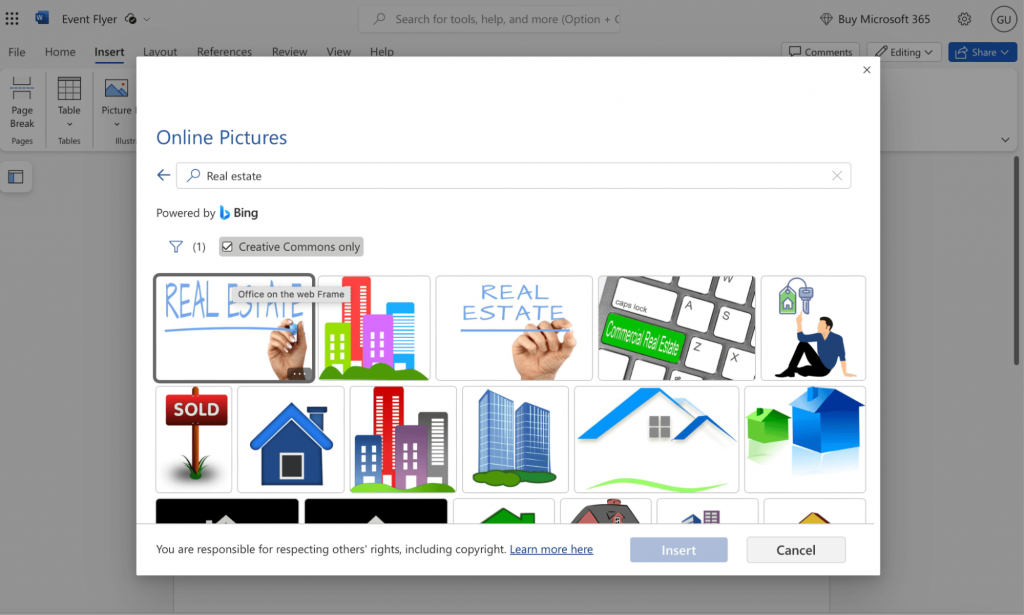
Too add images in Word, click on Insert, Picture, and select the Search on Web option (you can also upload an image from your computer if you wish or search stock images).
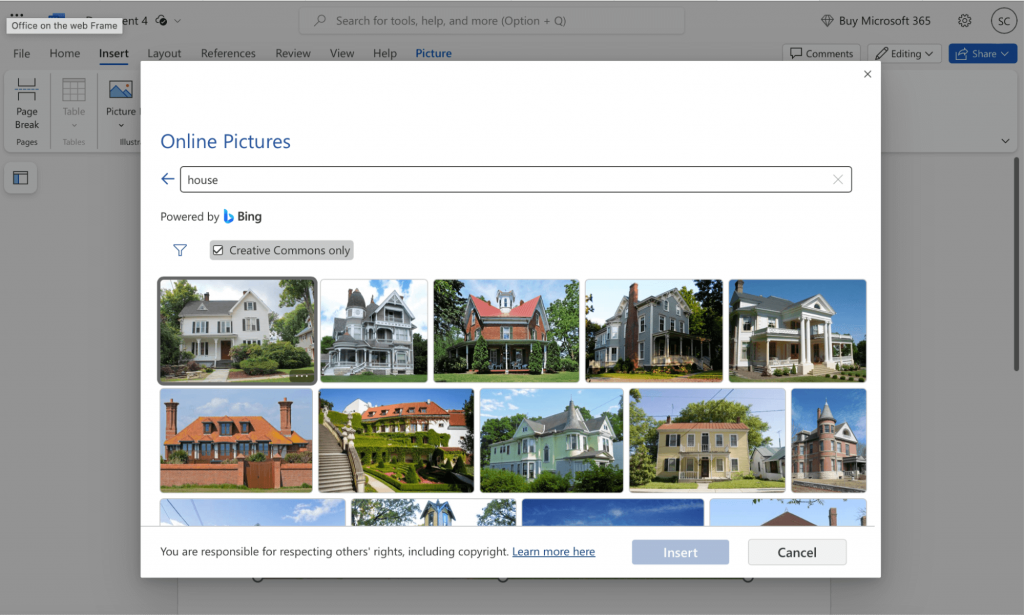
Type a keyword related to the theme of your flyer to filter for relevant images. Also, don’t forget to select the Creative Commons Only option.
For example, I typed house because I’m creating a flyer related to real estate.
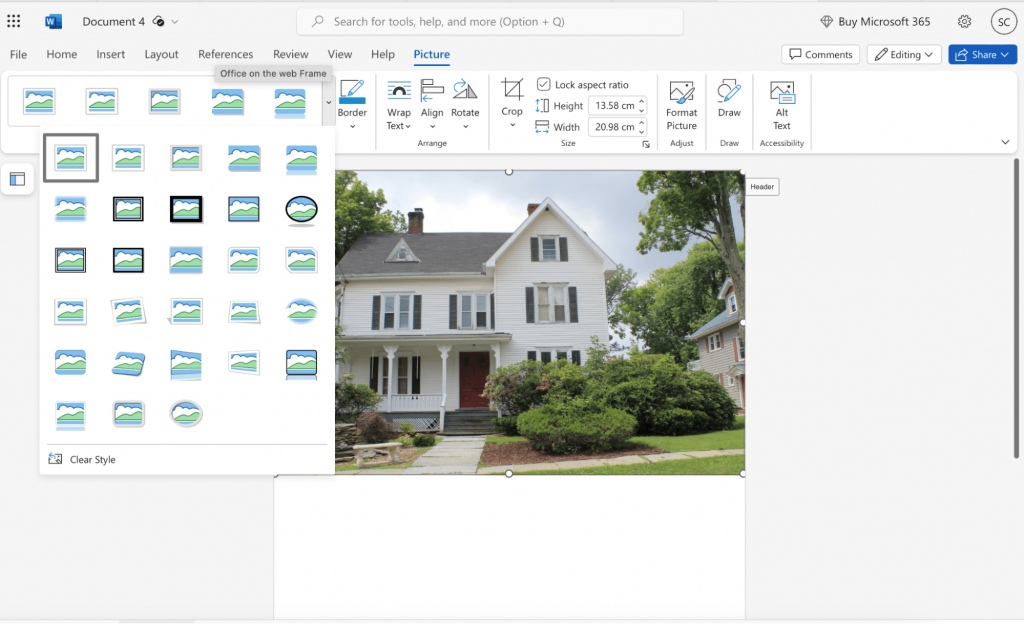
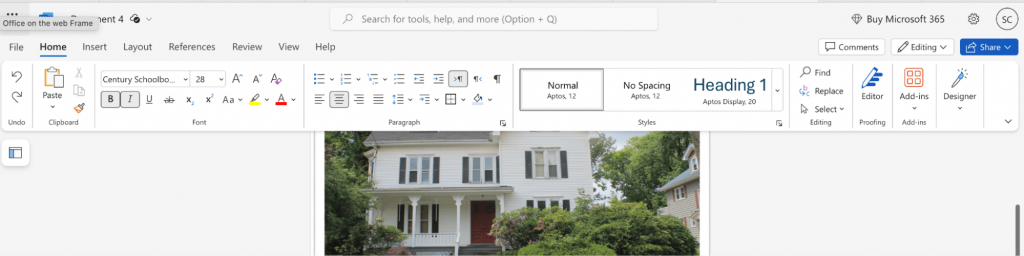
After adding an image, you can format it by adding borders, changing its shape and modifying its height and width.
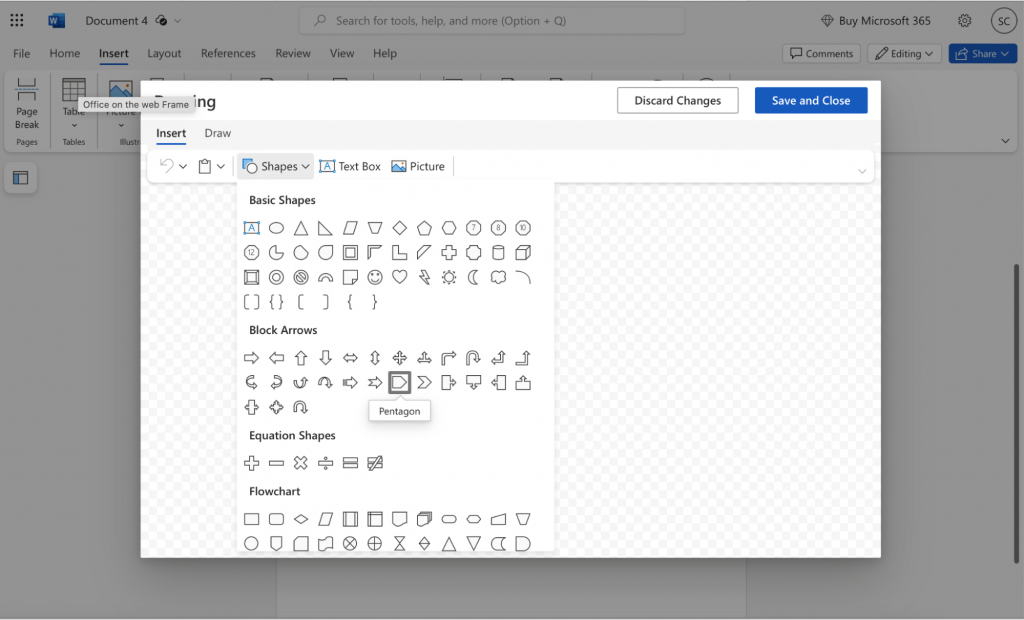
You can also add icons or shapes to your flyer if you wish. Click on Insert and select Shapes and drag the cursor to create a shape.

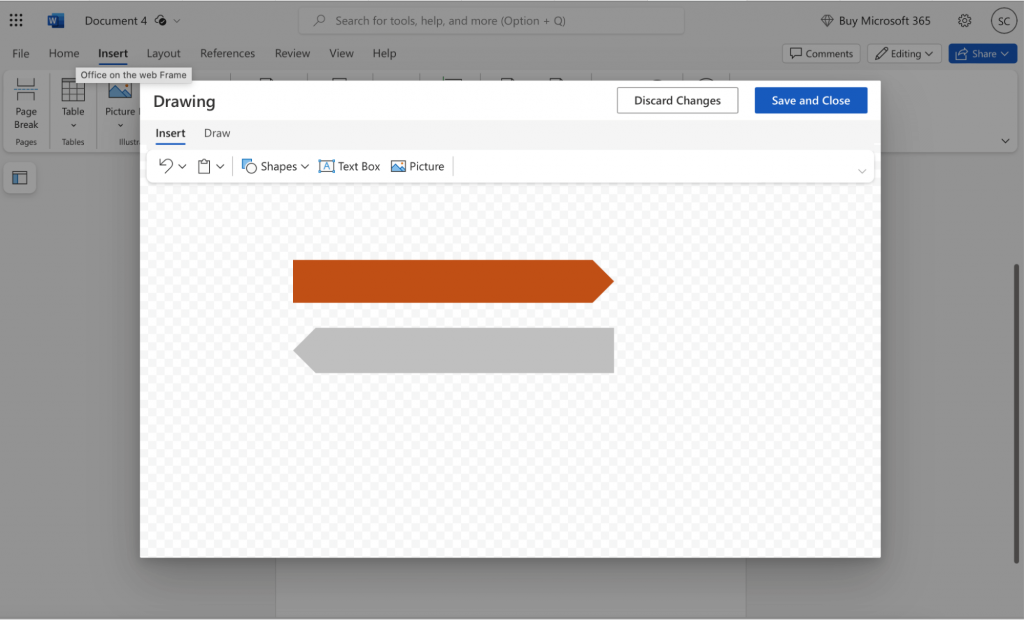
To make shapes more vibrant, I suggest adding shape outlines and a fill color like I did.
You can also add a logo (or replace if you’re editing a template) with your own by adding an image from your computer.
B. Headers & titles
After you’ve got the visuals down, it’s time to add copy to the flyer.
To add text, you have two options — either double click anywhere on your flyer and start typing or go to Insert and select Text Box and enter text with pre-formatted styles.
After adding your text, you’ll find the font style, size, and text color options at the top menu.
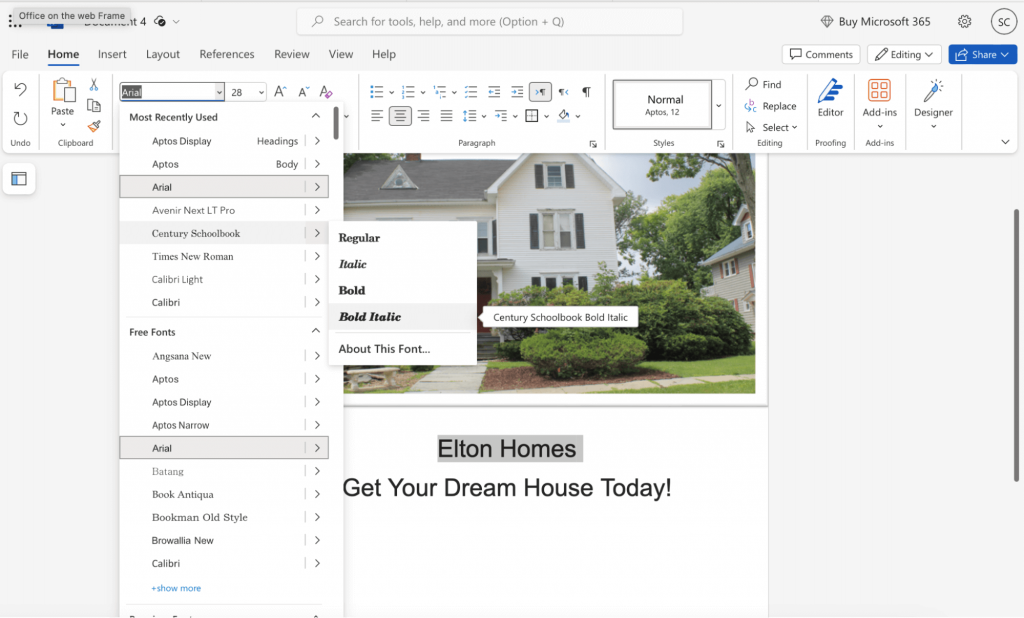
For example, to change the font style, click the font option under Layout.
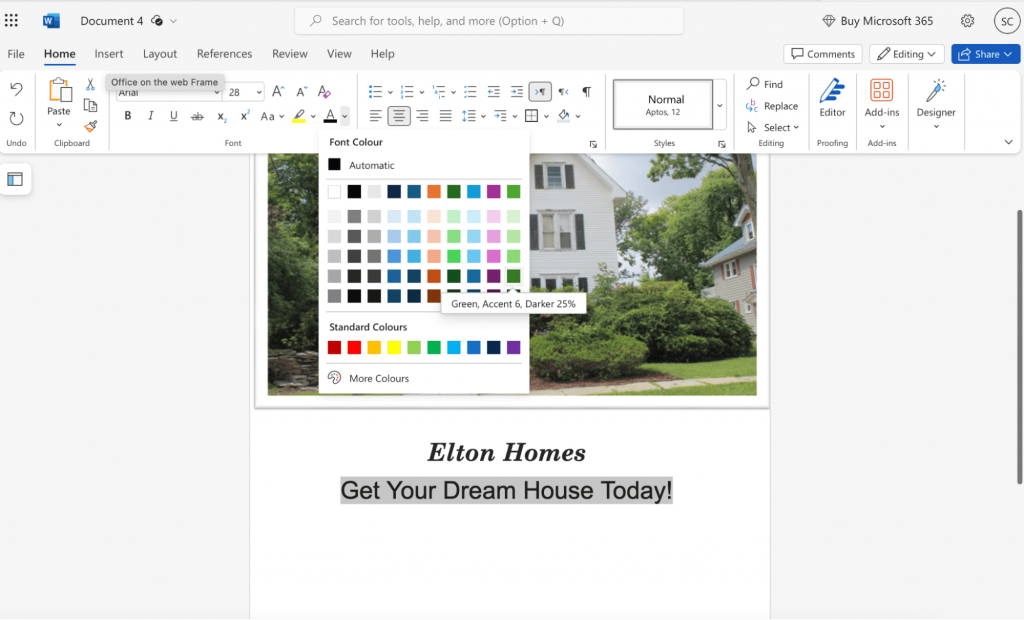
To change the color of your font, select the Font Color option in the Font panel under the Home tab.
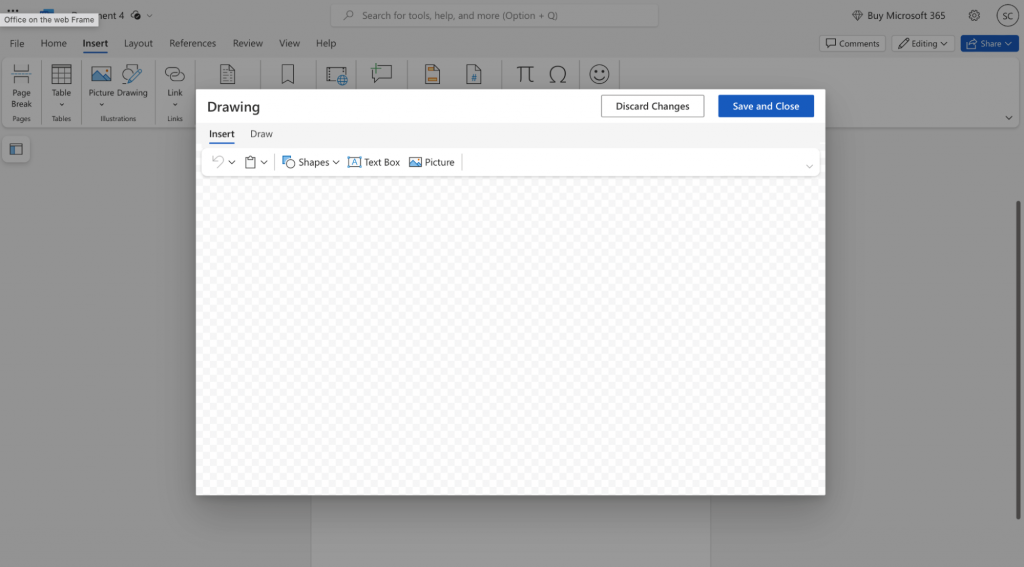
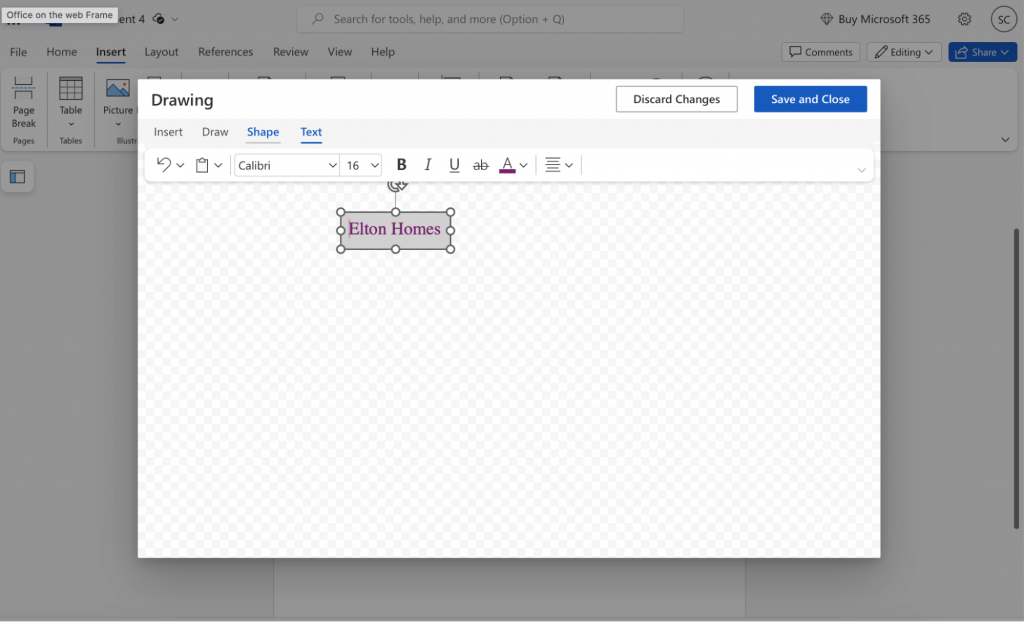
If you want to add text with pre-formatted styles, you’ll need to insert a Text Box by going to Insert and selecting the Text Box option.
On the online version of Word, go to Drawing and click Text Box.
Click on shape and text to add outline, fill color and select font size and text color.
You can also add the title using WordArt. Click on Insert and select WordArt on the right.
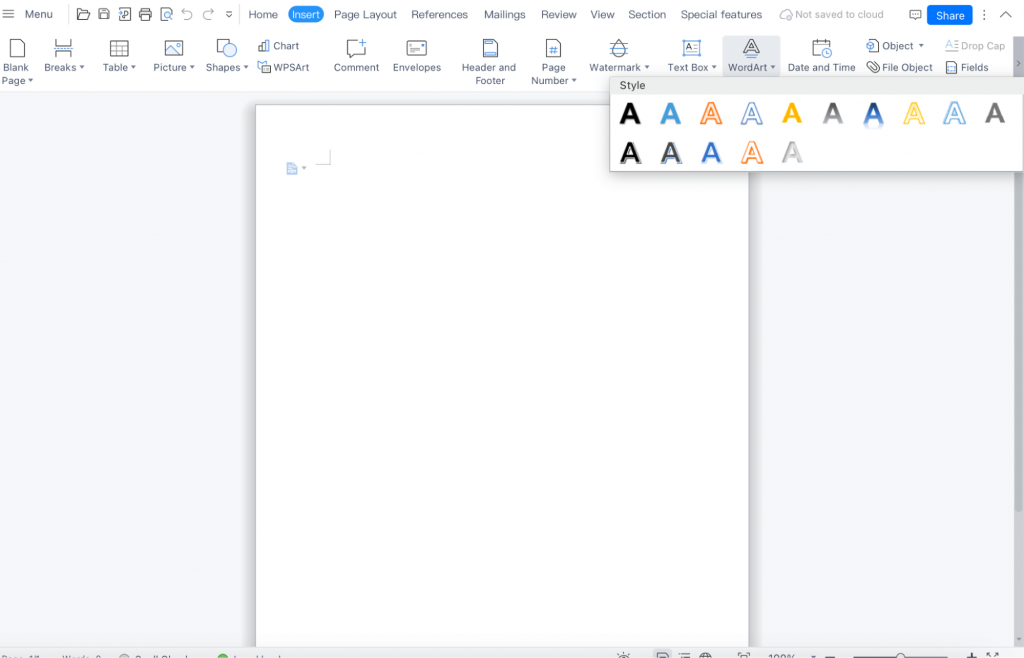
Note: WordArt is available only on the offline version of Word.
C. Content & body text
After adding a header, you’ll want to add text to highlight key details about your event, promotion, or messages (USP) to gain a competitive edge.
For example, I added a short ‘about us’ section in my flyer.
Pro tip: Avoid adding too much text as it can overwhelm people. Stick to bullet points or short paragraphs only.
Also, make sure your text is well-aligned and follows a clear hierarchy. Highlight the most important details in bold and use larger font sizes to make them stand out. As American journalist Jon Franklin once said, “Simplicity, carried to an extreme, becomes elegance.”
D. Color scheme
Apart from text and images, focus on the colors in your flyer.
Choose a color palette that compliments your message and brand. For example, if you’re creating a flyer to announce a cafe opening, use vibrant colors such as yellow or orange. However, if you’re a tech service provider, professional colors such as gray, black and navy blue are more suitable.
Color does not add a pleasant quality to design – it reinforces it.
Pierre Bonnard, French Painter
Related: Read about color theory.
If you don’t trust your ability to pick a good color scheme, head over to the Design tab and click on Colors to see suggested palettes by Word.
4. Organize your layout
With your images and information ready, the next step is bringing all the elements together to create a cohesive, impactful flyer. As American systems scientist Peter Senge explains, “The design process should follow four stages: Discovery, Interpretation, Ideation, and Implementation.”
A. Use ClipArt (online pictures)
If you want to create cute or quirky flyers, you can also add images from ClipArt on Word.
Note: If you’re using a newer version of Word, ClipArt has been replaced by web image search as described previously.

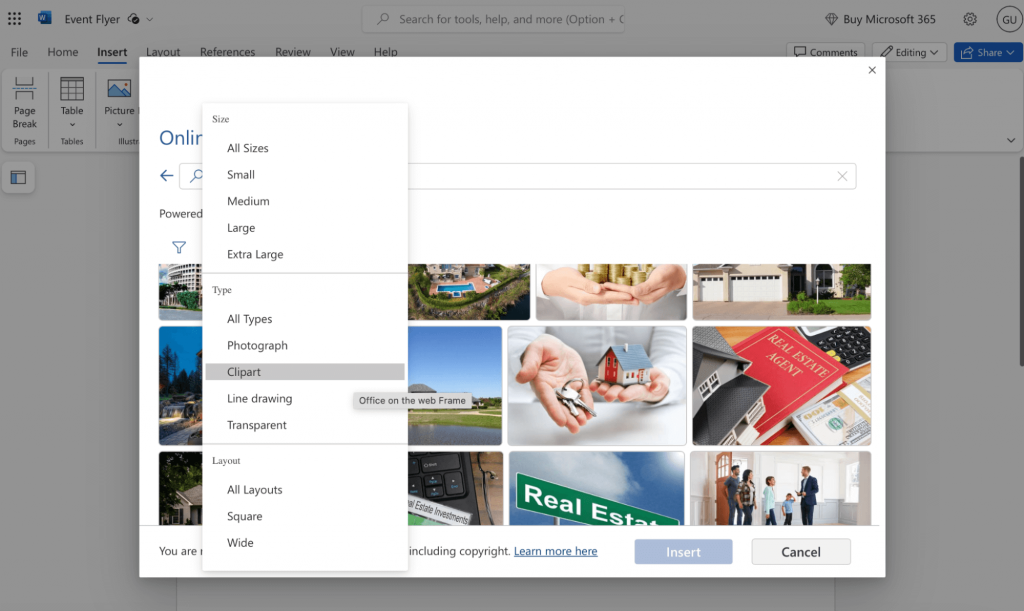
Type your keyword select the Creative Commons Only option.
Filter the search results by selecting the ClipArt option.
B. Arrange and align elements
Once you’ve added all elements of your flyer, it’s time to arrange and align to give your final product a clean and appealing look.
Move elements left, right, or center to ensure you follow good design principles.
C. Use gridlines
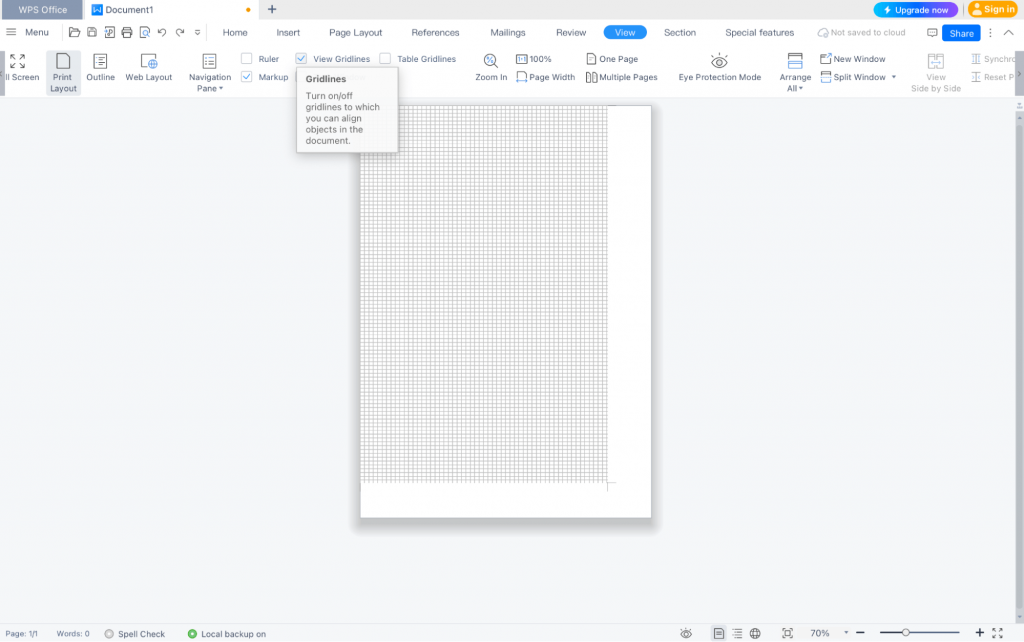
A simple way to align elements in the flyer is to use grids option in Word. This divides documents into horizontal and vertical lines so you can align elements perfectly.
To add gridlines, click on View and select the Gridlines button.
5. Finalize the flyer
Before saving and printing your flyer, let’s apply some finishing touches.
A. Add contact information
Often, flyers can double as business cards if you add your contact information and make it easy for people to reach out to you about your product or service.
Make sure to add information like business email, business phone number and website address clearly.
B. Include a call-to-action
Always include a CTA in the flyer! You see the “Get Your Dream House Today!” statement in the flyer I created? That’s a CTA to prompt potential customers to take action and buy the house.
CTAs give a specific and clear instruction on what your target audience should do.
Some of the most simple and effective CTAs are:
- “Register Now!”
- “Visit Our Store”
- “Get products at 50%!”
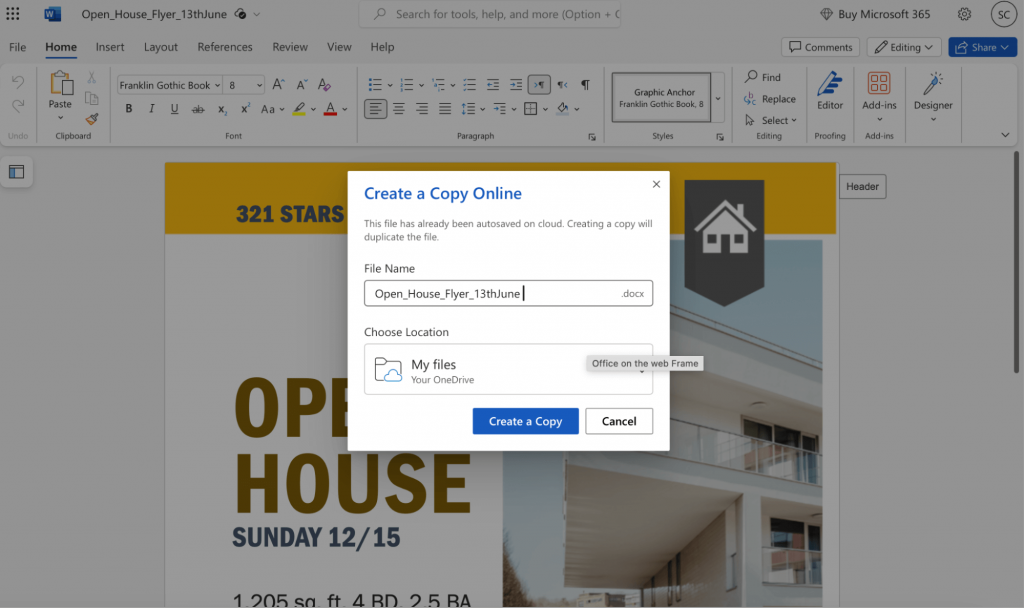
C. Saving your flyer
Once you’ve finalized your flyer, it’s time save by clicking on File and Save As. Make sure to give your flyer a clear name so that you can find it again easily,
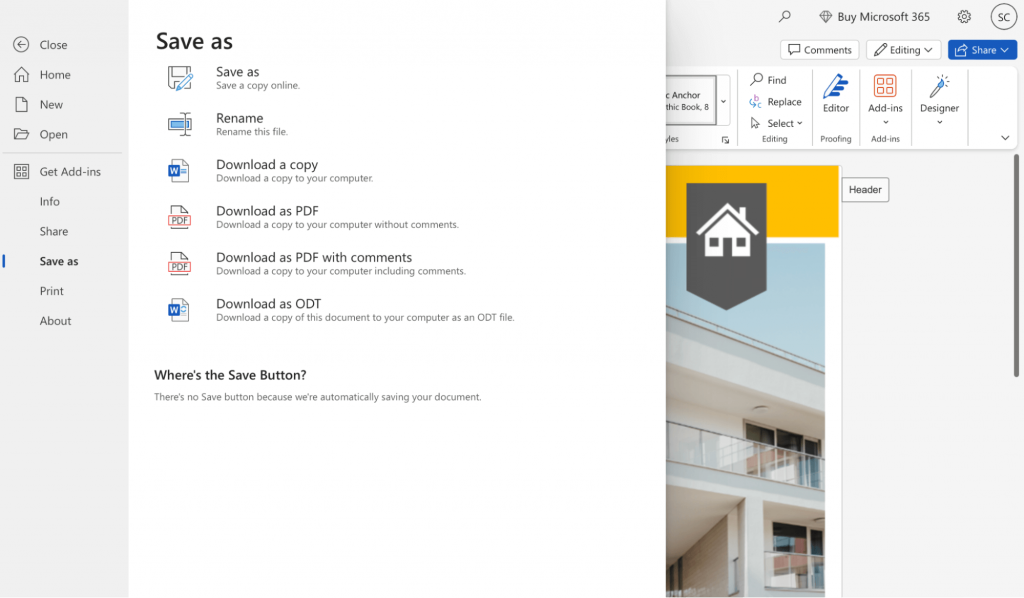
For example, I titled my flyer ‘open house flyer’ along with the date so that my team and I can easily refer to it later.
If you want to save your flyer in a different format (PDF for example), follow the same process except change the file format in the Save menu.
D. Printing your flyer
The last step is to print and distribute your flyer. Here are a few things to remember while printing.
- Paper size and quality: The standard flyer size is usually 8.5” x 11” Besides size, also take into consideration whether you want a glossy finish or a matte finish.
- Color settings: Make sure you set the proper color settings and check contrast and brightness. Also extend bleed to 0.125” so that the complete flyer design is printed.
- Print settings: Adjust the print settings to high resolution and decide whether you want single-sided or double-sided printed flyers.
Related: How to Create a Flyer on Google Docs
How to make flyers with online tools?
Creating a flyer on Microsoft Word definitely has its perks (a familiar interface is always welcome!).
However, if you’ve used Word for graphic design before, you’ll know that, at best, it allows you to create basic designs and the flyer templates available are also limited.
A much better option is to use an online tool like Venngage — a simple and powerful design solution for visual communication.
Here’s how to easy it is to create a professional flyer in Venngage.
Step 1: Sign up for a FREE Venngage account
Sign up for a free Venngage account using your email, Gmail, or Facebook account.

Step 2: Visit our flyer templates page
Go to our templates page where you’ll see all available templates. To filter for flyer templates, look for the flyer option on the left side of the screen.
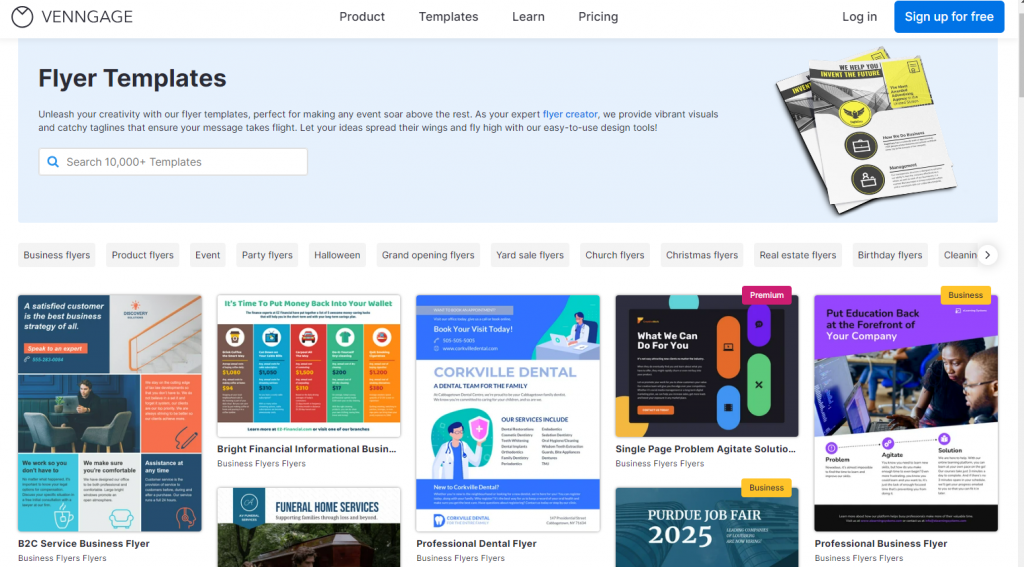
You’ll find hundreds of professional flyer templates organized by objective, theme, or purpose.
Step 3: Customize our flyer template
Once you select a flyer template, click on Create to customize it in our drag-and-drop editor. You don’t need to design skills (promise!).

Here are some cool things you can do in our editor:
- Change the text, icons, layout, or graphics within the template.
- Add your brand colors to any design with a single click using My Brand Kit (available only for Business users).
Once you’ve finalized your design, you can download your flyer in formats like PNG, PDF, or PowerPoint (Business users only) or share a link to it for free.
Here are a few examples of flyer templates you’ll find on Venngage.
Compare this real estate template and the one that I used from Word. The design, color theme, fonts and text make this template more appealing and professional. It portrays luxury!

This flyer template uses a minimalist design and color theme to give a professional look but still covers all important details for potential clients. Pick this template if you also believe in “less is more.”

Conclusion: Create interactive flyers and boost your success rates today
Flyers are powerful tools for reaching a specific audience—but for them to be effective, every element matters: images, text, fonts, colors and layout all need to work together.
As Simon Cooper of Small Business UK notes, “89% of people remember a flyer which has been dropped through their door.”
Instead of sweating each of these details, why not edit one of our flyer templates and achieve your objective without headaches?


