

Trying to design a flyer in Google Docs but couldn’t find a relevant template? You are not alone. Google Docs does not have a dedicated flyer template in its gallery but you can still make one for free.
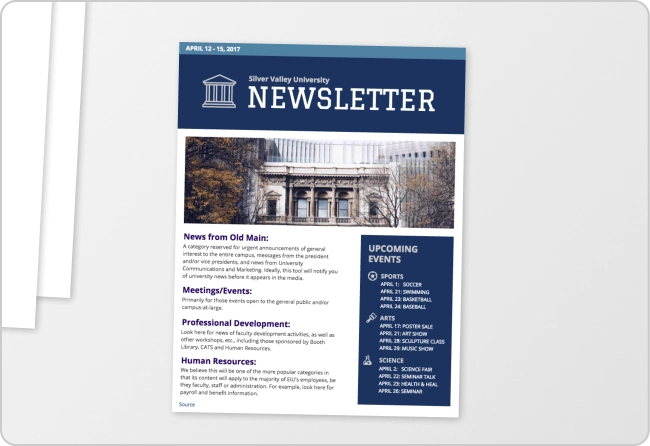
You can adapt a brochure or newsletter layout, use a template from Google’s template gallery or build one from a blank document.
In this guide, I’ll walk you through each method step by step and show how to add images, create a half-page flyer and export it as a PDF ready for printing. I’ll also suggest a simpler way to design a flyer using an AI Flyer Generator or flyer templates.
Does Google Docs have a flyer template?
No. Google Docs does not have a dedicated flyer template in its template gallery. w
What you can do instead is adapt an existing layout. Brochure and newsletter templates in the Google Docs gallery have a similar structure to a flyer and are easy to customize
How to make a flyer on google docs using a template
Here’s a brief overview of how to create a flyer on Google Docs (I’ll go through each step in detail below).
- Step 1: Open Google Docs
- Step 2: Choose a flyer template
- Step 3: Edit the flyer
- Step 4: Create (and edit) a flyer from scratch
- Step 5: Save and download
Step 1: Open Google Docs
Open Google Docs in a new tab in your browser.

Step 2: Open the template gallery and choose a template
On Google Docs’ welcome screen, browse for a flyer template that suits your needs.
For it to be effective, it’s important to choose a template that aligns with your audience. For example, if you’re promoting a sale, pick a flyer with space for a large image and a bold headline.
You have two options for finding a template. The first method is to click Template Gallery at the top right of the welcome screen and then select the General tab.

The second method to insert a flyer template is to click on File, New, and then From Template Gallery (only works if you already have a blank Google Docs open).

I chose this flyer template to promote my fictional service using a catchy title and image.

Step 3: Replace the text
You can edit placeholder text and titles, font style and size, background color, and more in Google Docs.
You can also insert (and replace) images and change the image layout, size and position.
Step 4: Change flyer color
To change the background color of a flyer template, click on the Page Setup.

Then, click on Page Color option.

Make sure to pick a color based on your branding.

For example, I selected orange and my flyer template already looks unique.

Besides changing the background color, you can also change the flyer orientations in the Page Setup.
For example, I used the standard letter format in Google Docs because it’s the most common flyer size.
However, you can select a size and orientation based on the text and images you want to add. You can also customize page borders and margins.
Changing font style
Once you’ve finalized the page setup and color, go to the menu bar, where you can select the font style and size that best suits your needs.

Step 5: Add or replace images
You can also replace images in flyer templates or insert drawings.
To add images, go to Insert, click on Image and select either the upload from the computer or search the web option.

Here’s how my flyer template looks after replacing the image and adding a new font style.

If you want to add shapes to your flyer, you can also do that in Google Docs by going to Insert, Drawing, and then New.

Here is what my flyer looks like after applying the edits from above.

Step 6: Save and download your flyer
Google Docs automatically saves your work while you’re working, so you won’t have to worry about losing your flyer.
Make sure to give your flyer a descriptive name so you can easily access it again from Drive, download it as a PDF, share it online, or print it.

How to make a flyer in google docs from scratch
If you don’t want to use Google templates to create a flyer, you can make one manually using Google Drawings.
Step 1: Open a blank document
Go to docs.google.com and sign in to your Google account. Click the blank document option to open a new file. Rename it so it is easy to find later.
Step 2: Set up the page
Before you start designing, set up the page size and margins. Go to File and select Page setup.
For most flyers, use these settings:
- Size: Letter, 8.5 x 11 inches
- Orientation: Portrait for standard flyers, Landscape for wide layouts
- Margins: 0.25 to 0.5 inches to give yourself more design space
Click OK to apply.
Step 3: Add a headline
Your headline is the first thing people will read so it needs to be clear and large enough to stand out. Use a bold font at 36 points or larger.
Keep it short and specific. A few examples:
- “Summer Bake Sale”
- “Open House This Saturday”
- “Missing Dog”
- “Grand Opening Sale”
Avoid vague headlines like “Come Join Us” that don’t tell the reader what the flyer is about.
Step 4: Add body details
Once you have the headline, add the supporting details. Cover the five Ws:
- Who: Who is organizing or hosting
- What: What the event or offer is
- When: Date and time
- Where: Location or address
- Why: Why the reader should care or show up
End with a clear call to action. Tell the reader exactly what to do next: call now, RSVP, register today, scan the QR code or visit the website.
Step 5: Insert images, shapes or text boxes
To add images, go to Insert and click Image. You can upload from your computer, add from Google Drive or Google Photos, paste a URL or search the web directly from Google Docs.
For shapes, borders, buttons or custom text blocks, go to Insert, select Drawing and click New. The Drawing tool lets you add basic design elements without leaving Google Docs.

If your layout is getting hard to control, insert a table to help structure the content. Tables let you place text and images side by side without them shifting around.
Step 6: Review and export
Before you download or print, go through this checklist:
- Proofread all dates, phone numbers, URLs and addresses
- Check that the headline is readable at a glance
- Make sure the call to action is clear and visible
- Confirm nothing important is too close to the page edges
When you are ready, go to File, select Download and choose PDF Document. Use the PDF version for printing or sharing by email. Google Docs does not export directly as a PNG or JPEG so PDF is the best format for a print-ready flyer.
Here’s a sample flyer I created using the Google Drawing tool.


How to make a half-page flyer in Google Docs
A half-page flyer is useful when you want to print two copies on a single sheet and cut them apart. There are two ways to do this in Google Docs.
Method 1: Set a custom page size
The cleanest approach is to set the document size to half a letter page before you start designing.
Here’s how:
- Go to File and select Page setup
- Click the Paper size dropdown and select Custom
- Set the width to 5.5 inches and the height to 8.5 inches
- Click OK and design your flyer at that size
- When you are ready, go to File, select Download and choose PDF Document
When printing, check your printer settings to see if you can print two pages per sheet to save paper.
Method 2: Use a two-column table layout
If you want to keep the standard Letter page size and fit two flyers on one sheet, a table layout is the easier option.
Here’s how:
- Open a blank document and keep the page size as Letter
- Go to Insert and select Table
- Choose a 2×1 table (two columns, one row)
- Design your flyer content inside one column, then copy and paste it into the second column
- Before printing, right-click the table border, select Table properties and set the border color to white or 0pt to hide the lines
How to print multiple flyers on one page
If you want to fit four small flyers on one sheet, use a 2×2 table layout.
Go to Insert and select Table. Choose a 2×2 layout. Design or paste your flyer content into each of the four cells and resize the text and images to fit. Before printing, hide the table borders by setting them to white or 0pt in Table properties.
Alternatively, you can create your flyer on a single page, duplicate it across multiple pages in the document and then use your printer’s Pages per sheet setting and select 4 to print four copies on one sheet automatically.
Is Google Docs the best tool for making flyers?
Making flyers with Google Docs is easy, but there’s one big problem. Google Docs doesn’t have dedicated flyer templates and the Drawing tool is rigid. If you are looking for a simple professional flyer, you can consider creating it on Google Docs, but if you want something creative and appealing, you will have to explore Google Docs alternatives to create a flyer.
Google Docs works well for:
- Simple, text-based flyers
- School and community notices
- Fundraiser or event announcements
- Printable handouts
- Situations where you need something fast and free
Google Docs is not the best option for:
- Complex graphic layouts
- Flyers that need heavy image editing
- Social media-first designs
- Advanced typography
- Brand-heavy marketing materials where consistency matters
If Google Docs feels too limiting for what you need, here are a few alternatives worth considering:
- Google Slides: Better drag-and-drop layout control than Docs. You can move elements freely without them affecting surrounding text
- Canva: Beginner-friendly with a large library of flyer templates and more design flexibility
- Adobe Express: Good for polished, branded flyers for print and digital campaigns
- Microsoft Word: Useful if you are already working in the Microsoft ecosystem and need basic flyer templates
- Venngage: A better option if you need professionally designed flyer templates, brand consistency, icons and more layout control. Browse Venngage’s flyer templates or use the AI Flyer Generator to create a ready-to-edit design from a text prompt
One of the best alternatives to Google Docs for creating flyers is Venngage’s flyer maker, which offers a streamlined experience and a library of professionally designed flyer templates. Even if you have no design skills, you can edit a template and make it your own.
I’ll show you a few examples!
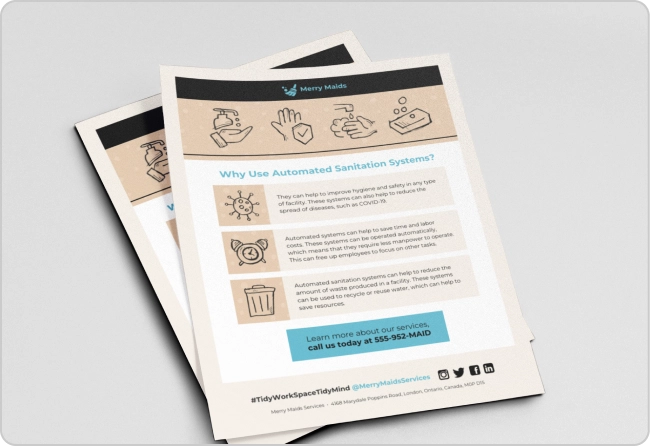
This flyer template features typography that balances modernity and accessibility and has a color scheme that is eye-catching yet professional. It’s a great option for any business looking to attract new clients.

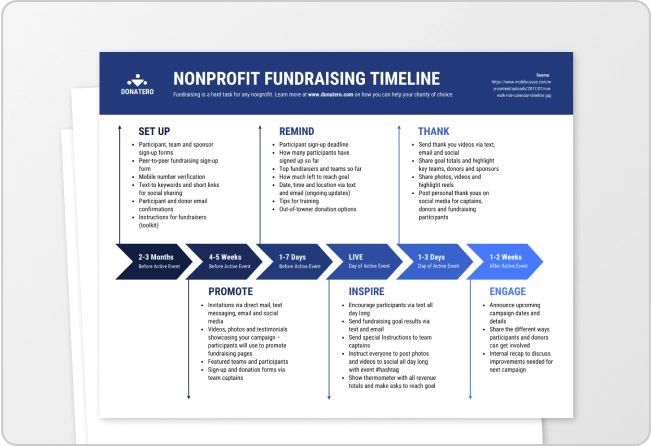
This construction flyer template has a clean and well-organized layout and effectively uses space to convey information about a company and its services.

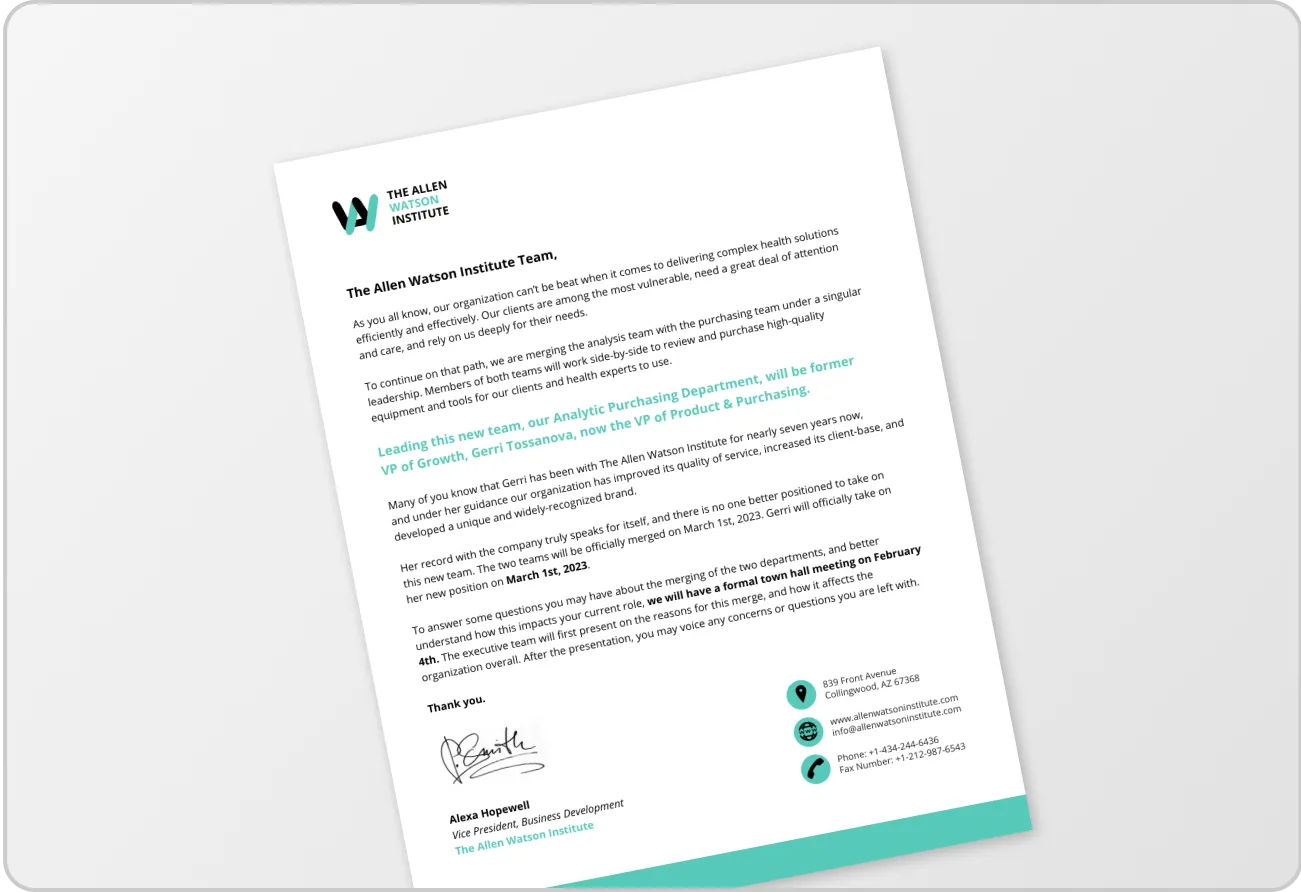
This hiring flyer effectively communicates its message with a clear hierarchy, professional design, and strategic use of color and imagery.

Additional tips on creating flyers in Google
Let’s review a few more design tips you should keep in mind while creating a flyer.
- Use whitespace: Whitespace ensures that your flyer doesn’t look cluttered.
- Arrange text logically: Your text should be in hierarchical order so that the flyer is easy to read. Start with your company name and tagline, and then explain the flyer’s purpose.
- Choose a focus element: Keep one element as the focal point and highlight it to convey a clear message. It can be an image or a call to action.
- Add high-quality images: This is a basic yet powerful design principle ― high-quality images grab attention.
- Align the color scheme with your brand: Pick colors that match your brand’s ethos.
FAQs about making flyers in Google Docs
Can I make a flyer in Google Docs on my phone?
Yes. Google Docs is available on iOS and Android. You can open a template, edit text and add images from your phone. The experience is more limited than on a desktop browser though. It’s difficult to adjust the layout, format tables, add shapes or images on a small screen.
How do I add a QR code to a Google Docs flyer?
Google Docs does not have a built-in QR code generator. You can create a QR code using a free tool like QR Code Generator, download it as an image and then insert it into your flyer by going to Insert, clicking Image and uploading from your computer.
Can I make a double-sided flyer in Google Docs?
Yes. Add a second page to your Google Docs document and design the back of the flyer there. When printing, select double-sided or duplex printing in your printer settings. Make sure both pages are the same size and orientation before printing.
Click the Share button in the top right corner of the document. Enter the email addresses of the people you want to share it with and set their permission to Commenter so they can leave feedback without editing the design. You can also copy the shareable link and send it directly.
How do I stop images from moving in my flyer?
When you insert an image in Google Docs, it defaults to inline positioning which means it moves with the text. To fix this, click on the image and select the In front of text or Behind text wrap option from the image toolbar. This lets you drag and position the image freely without it shifting when you edit surrounding text.
Conclusion: Create eye-catching flyers with Venngage and stand out amongst the noise
Even if Google Docs does not show a dedicated flyer template, you still have enough tools to create a clean, printable flyer. Whether you adapt a brochure layout, use a blank document or set up a custom page size for a half-page flyer, the process is straightforward once you know where to look.
Use Google Docs when the flyer is simple, text-based and needs to be made quickly. Use a design tool when you need stronger visuals, brand colors or a more polished layout.
Either way, the reader should be able to scan your flyer, understand the message and know what to do next in under 30 seconds. Start with the steps above or use Venngage’s flyer templates if you want a more polished design faster.