


A few months back, I wanted to surprise a friend on his birthday with a wall poster made from a photo I took on my phone.
I thought it’d be easy: just upload and print. Instead, I ended up with a blurry mess that looked nothing like I imagined. If you’ve ever tried to turn a picture into a poster, you know how tricky it can be.
I had to come up with a new gift at the last minute. But hey, I’ve figured out the easiest way to do it!
In this blog, I’ll share the steps, examples and poster templates that you can use to make a poster from a picture.
How to make a poster from a picture using Venngage
You can’t just enlarge a photo or print it in bigger dimensions and expect it to magically turn into a poster. Trust me, I’ve tried it (and failed miserably).
I’ve even tried to make a poster on Google Docs and quickly realized that it’s not built for design. You’ll spend more time fighting the layout than actually creating something worth printing.
If you don’t set up a photo the right way, you’ll end up with a grainy, pixelated printout. Here’s how you can make a poster from a picture using Venngage.
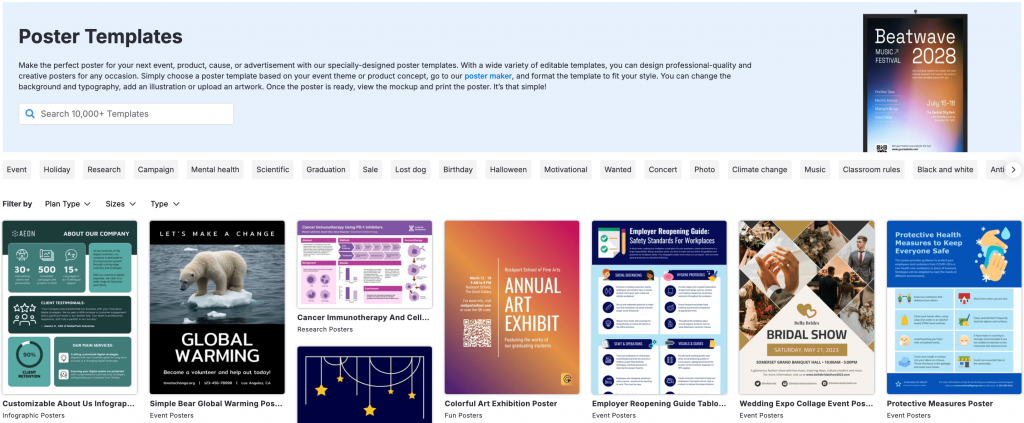
Step 1: Choose a good poster template
Instead of starting with a blank canvas, pick a ready-to-use poster template that matches the mood of your photo.
For instance, if it’s a travel picture, choose a layout with large image placeholders. If it’s for an event, go for a design with space for headlines and details.
And if you are a brand that uses posters frequently, templates ensure brand consistency:
Templates are like the anchor that keeps your brand’s visual identity on point. They ensure that every design element stays true to your brand, creating a cohesive look that screams professionalism from miles away.
From the Smarty Services blog
Venngage offers poster templates in multiple dimensions, so you won’t need to worry about whether your print shop accepts the file size.
Let me walk you through this entire process with a realistic example.
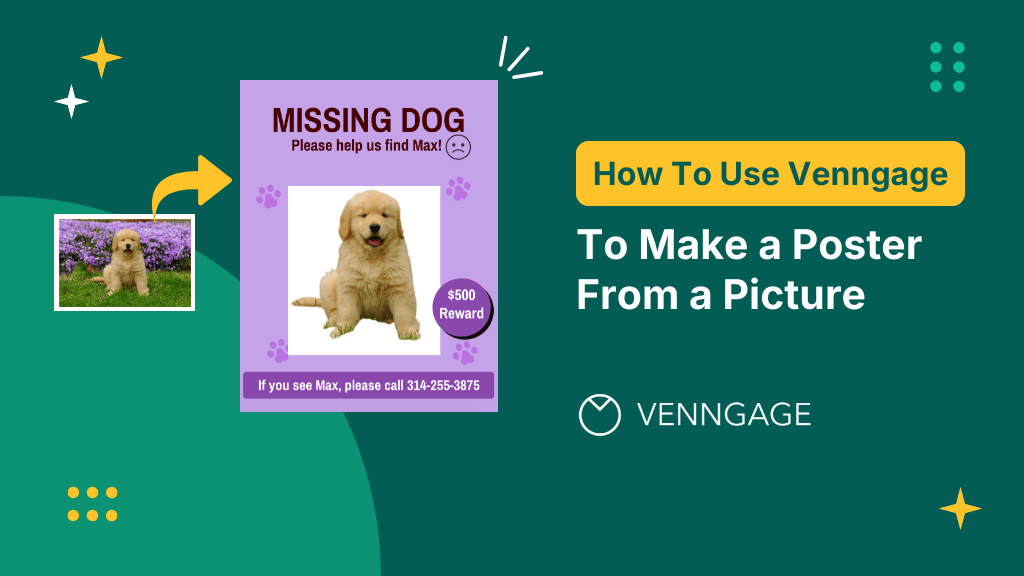
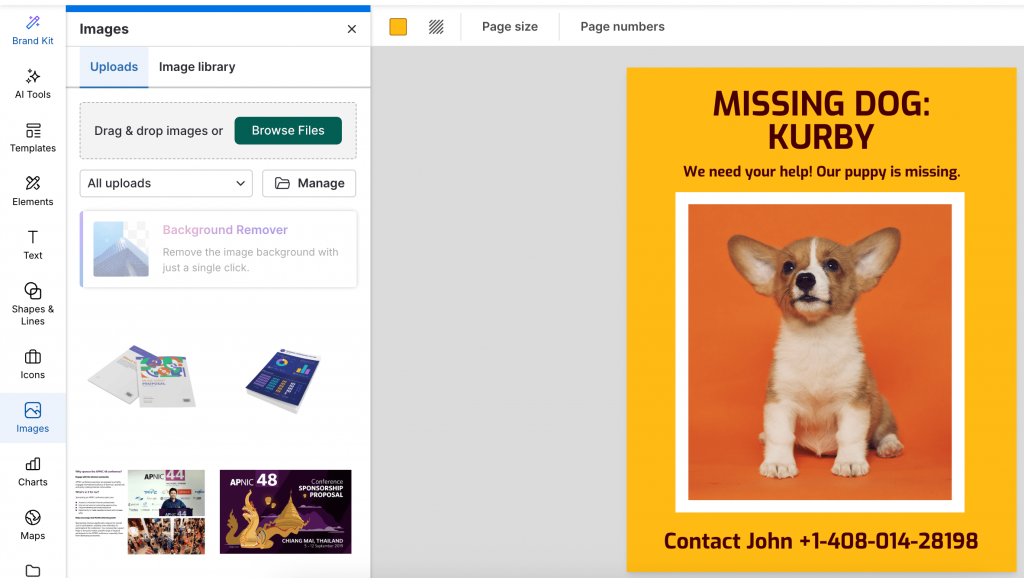
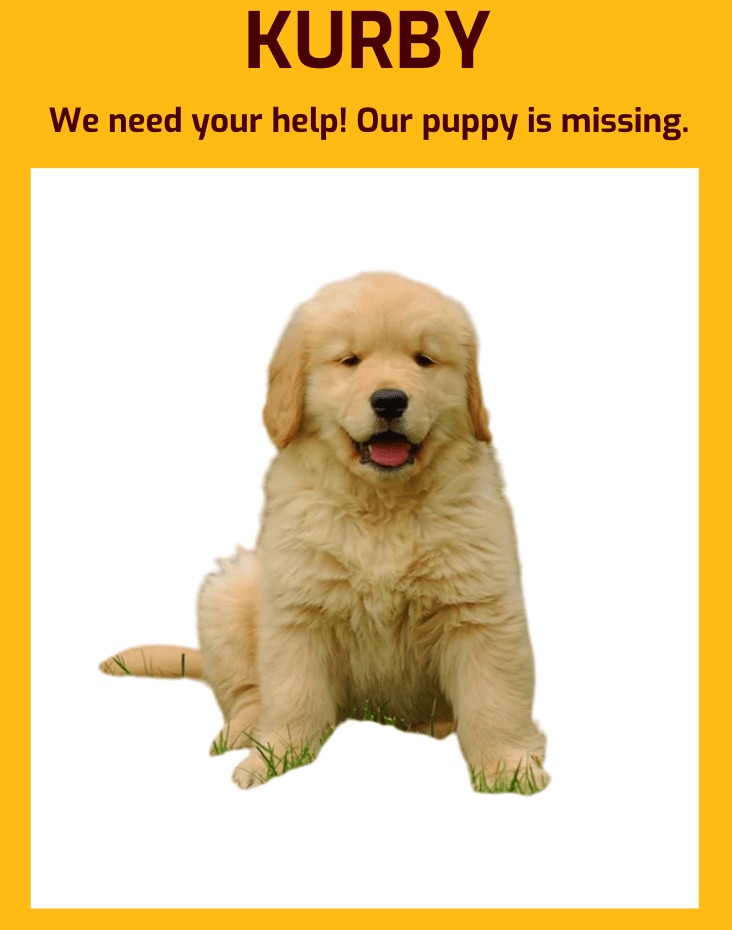
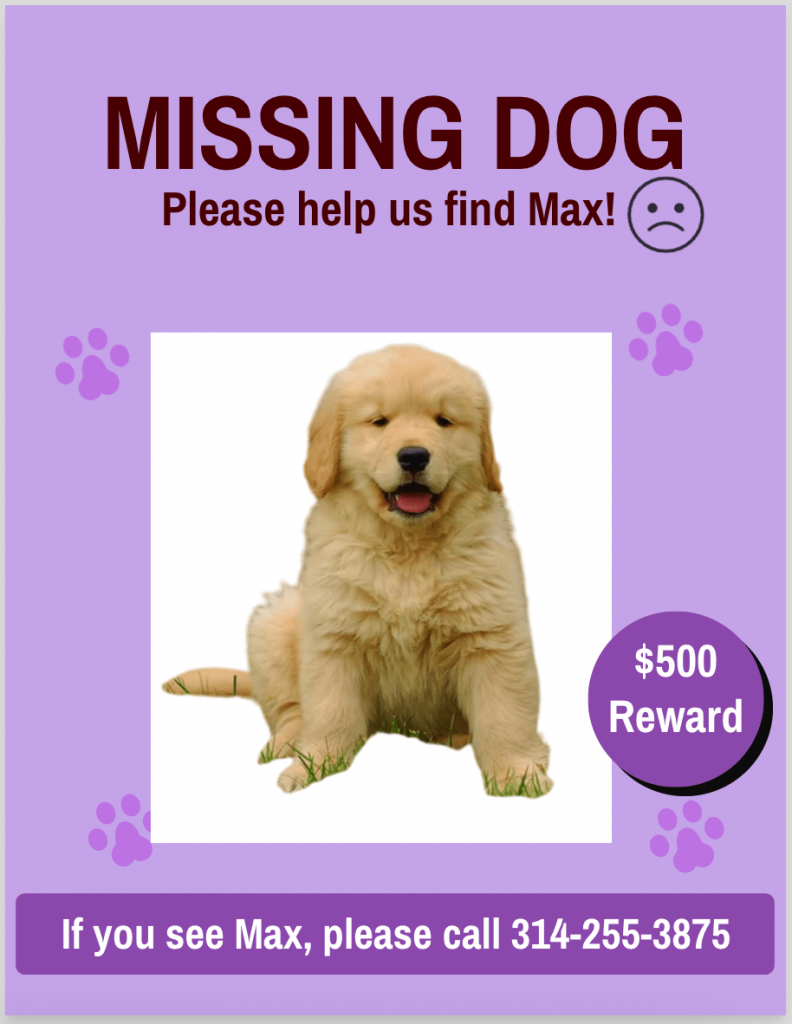
Suppose your neighbor lady lost her golden retriever puppy and you want to help her find it by sticking posters around the neighborhood.
You can start by choosing a poster template from Venngage, like the one below:
On a side note, don’t be surprised if you see flyer templates while searching for poster templates.
The two formats overlap a lot and the real flyer vs poster difference often comes down to size and how you use them. For instance, flyers are usually smaller and hand-distributed, while posters are designed to be seen from a distance.
If you search for ‘real estate poster templates’ on Venngage, you might land on several great templates categorized under flyers, like the one below:
It’s perfect for real estate agents or property hosts who want a bold, modern look to promote open houses. And it can easily pass as a poster:

The point is, posters and flyers essentially do the same thing; what differs is how you use them.
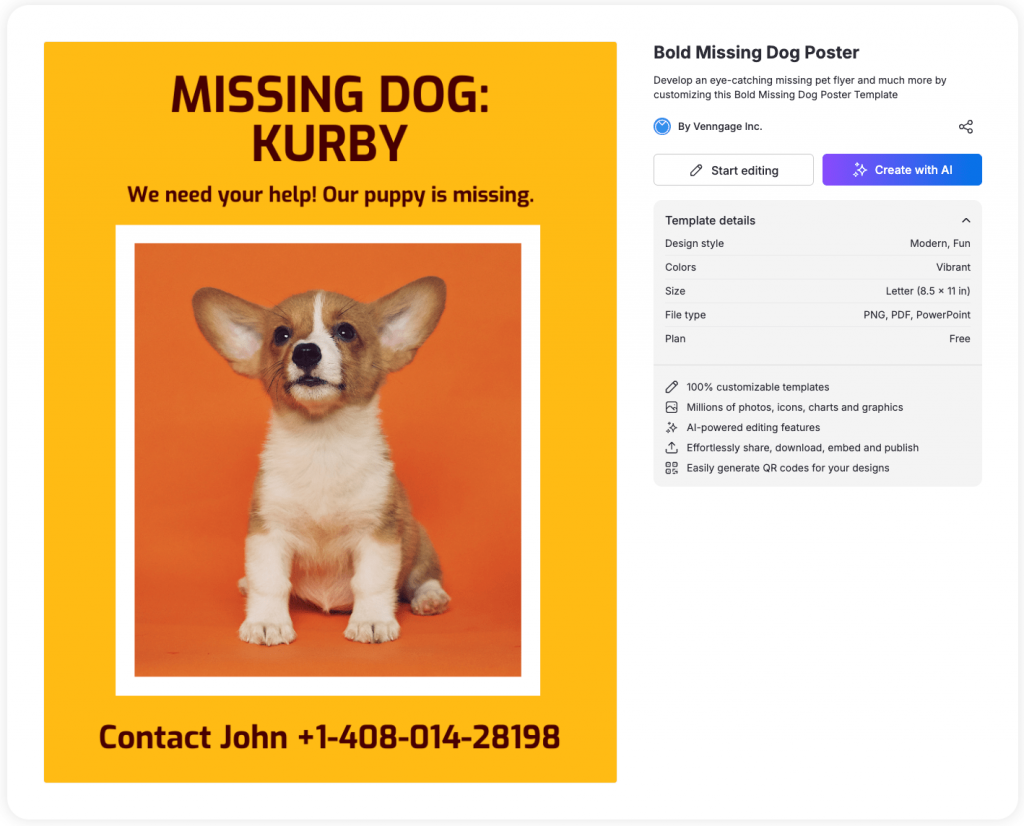
Back to our original template; do you know why did I choose the missing dog template above? Because this template is particularly ideal for pet owners or neighborhood groups who need an eye-catching design to spread the word quickly about a missing pet.
It’s colorful, attention-grabbing and has plenty of room for you to add multiple images or text blocks. Just click on the “Start editing” button to work on this template.
Since it’s a template and the details in it are just default placeholders, we’ll need to make some changes to it before printing.
Let’s start with the most obvious one: the image.
Step 2: Upload your picture
This is how your template will appear in your editor once you click on the “Start editing” button:
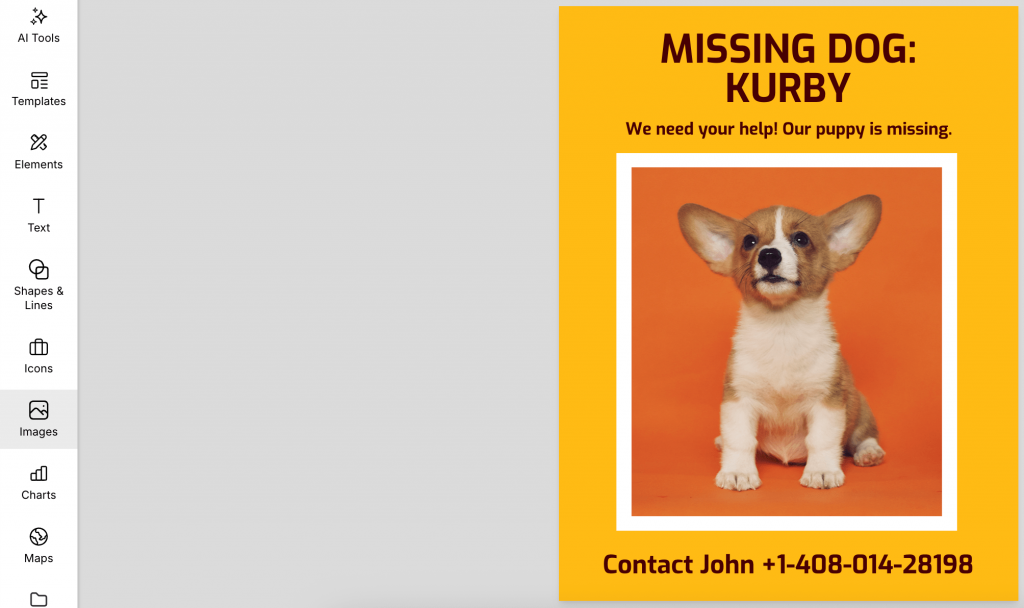
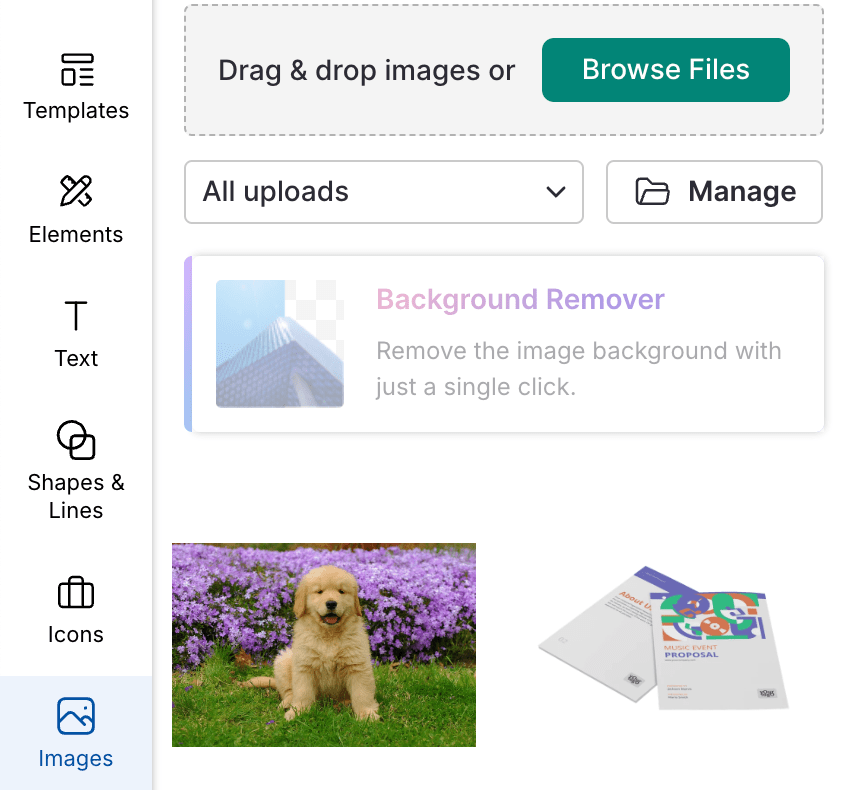
See the “Images” option in the menu panel on the left? Click on it and you’ll see options to upload your own image:
Click on “Browse Files,” choose the image from your computer and the dog’s image will appear in the library:
Next, click on the default image on the editor and click on the “Replace” icon that appears at the top:
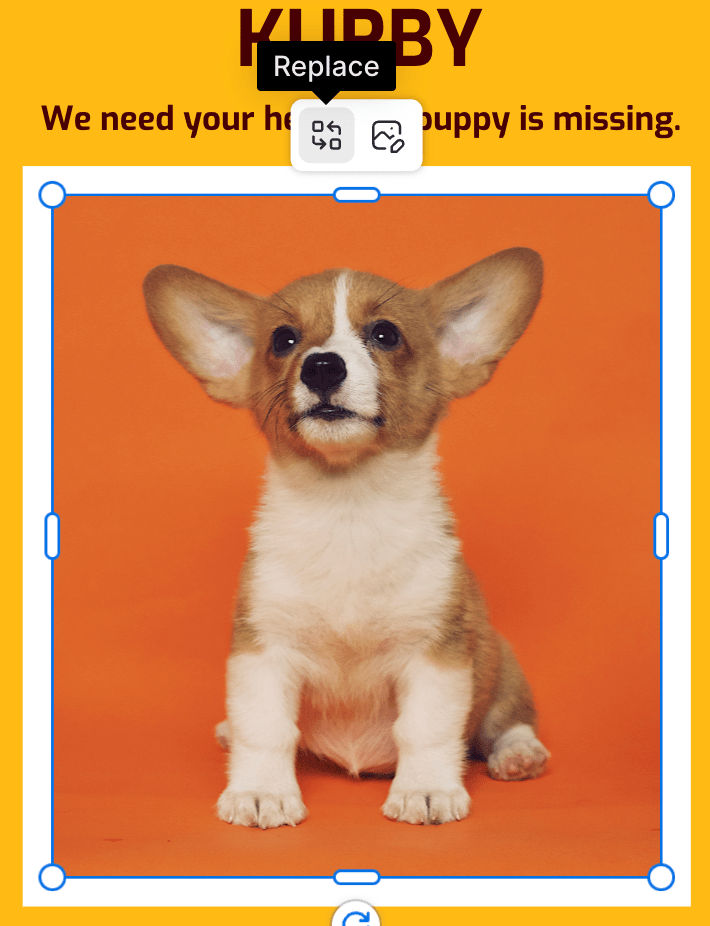
To change it, click on the pup’s image we uploaded earlier to the image library.
Pro-tip: High-resolution images work best for posters you intend to print. Most print shops recommend at least 300 DPI (dots per inch) for posters. That means a smartphone photo can work fine if it’s taken in good light and not overly cropped.
300 DPI is the standard resolution for commercial printing, including postcards, flyers, print ads, business cards, stationery, brochures, posters, product packaging, books and magazines.
From the VistaPrint blog
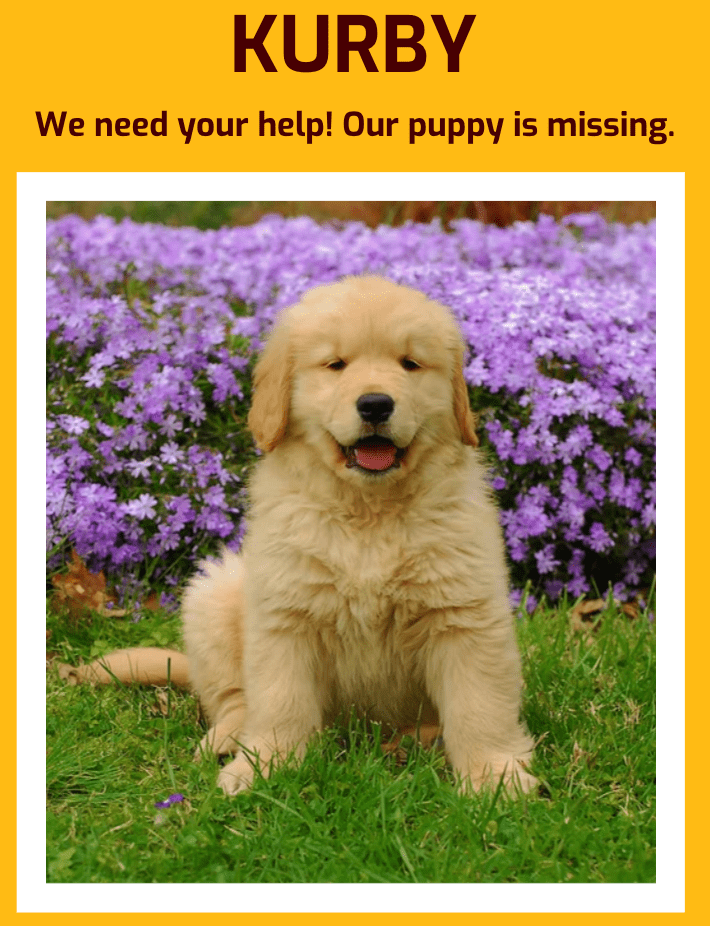
This is how our poster looks so far:
By the way, you can also use Venngage’s “Background Remover” feature when you click on the “Edit Image” option from the top menu:

Removing the background is useful when you want to reduce visual noise and guide people’s focus on the main subject. For instance:
By eliminating distractions or busy backgrounds, the viewer’s attention is directed to the main focus, whether it’s a product, person, or object. A clean, polished, and high-resolution image background helps communicate the intended message more effectively.
From the Graphic Aid blog
Related: 21+ Poster Background Images and Professionally Designed Templates
Step 3: Customize the text
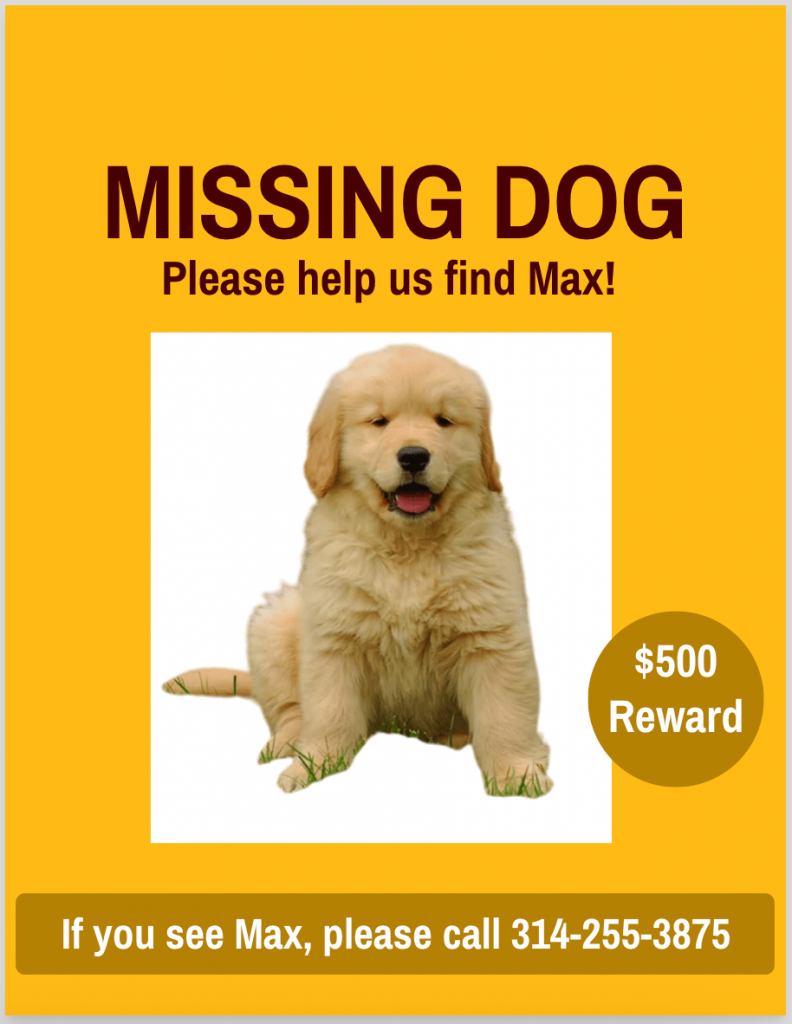
Suppose the pup’s name was Max. It was last seen in Forest Park, St. Louis (a few blocks away from where it lived). And the dog owner, Mrs. Macklind is ready to pay a $500 reward for anyone who brings her back the dog!
We’ll need to communicate all of that in the poster.
The poster template already does a good job of having a headline, subheading and a call-to-action. We just need to make sure it reflects accurate information.
And this is true for other design use cases. For example, if you’re creating a birthday poster, spell out the person’s name and the event date:

This poster with elegant floral designs lets you add a personalized name to it, and is perfect for friends or party planners.
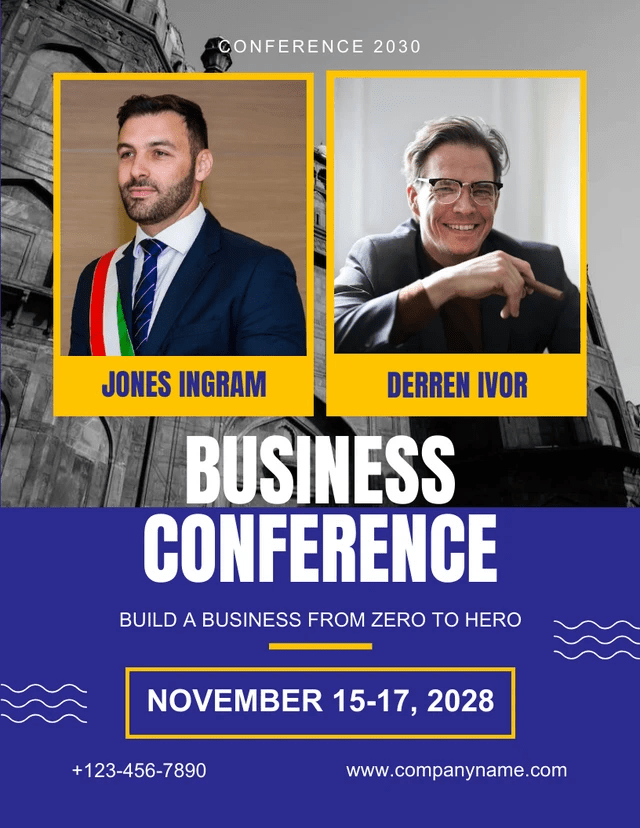
Similarly, if it’s for a business, add your brand’s tagline or promotional offer. This business conference poster is a great example of a template that allows you to do that:
Stick to clean fonts with strong readability. According to the San Francisco Edit, legibility is one of the top factors that determine whether viewers actually engage with a poster.
Here’s how the poster looks after I made the necessary changes:
Step 4: Improve the design elements (optional)
Small details make your poster look intentional instead of rushed. For instance, you can add icons, shapes or borders that complement the subject of your photo.
Once again, this rule applies to all other poster design use cases. For example, if your poster is for a wedding expo, you can use heart icons to add warmth to the design:
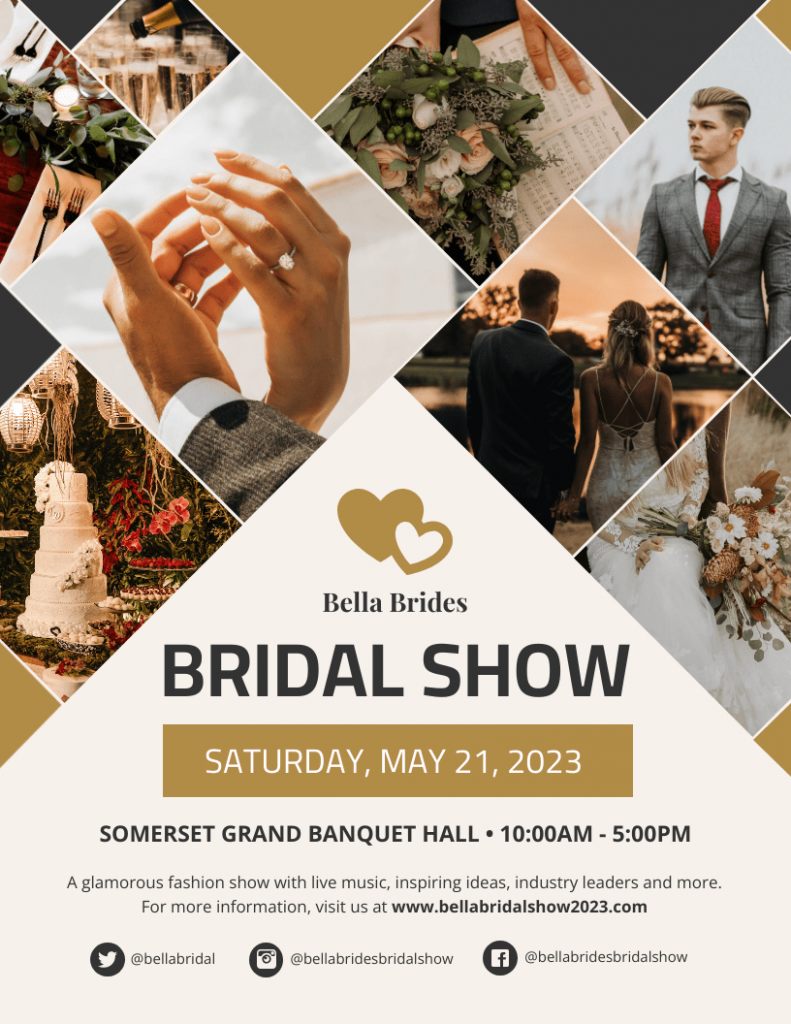
This template is ideal for wedding planners, bridal boutiques or event marketers looking to promote a large-scale bridal expo with elegance and visual appeal.
Similarly, if you’re designing a fundraiser concert, drop in music notes or guitar icons to instantly signal what the event is about:
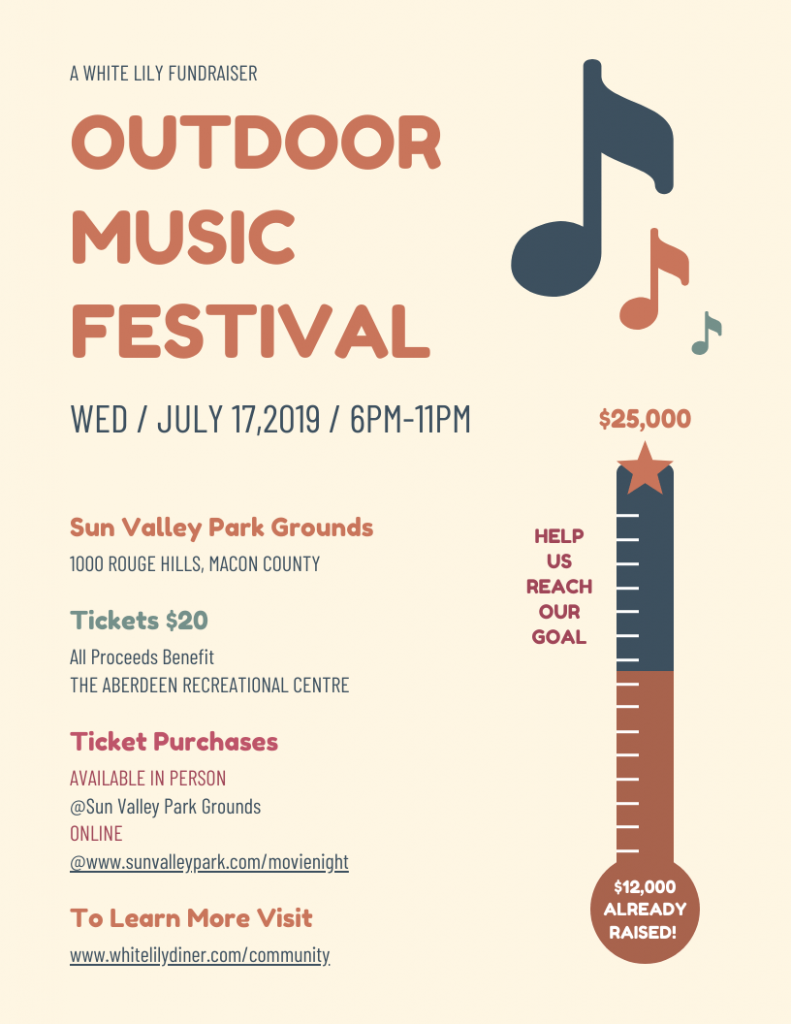
This template is great for community organizers, bands or nonprofits hosting local events. It uses bold typography and visuals to attract attendees.
Venngage’s built-in library of icons and shapes means you don’t have to hunt for assets elsewhere. For this example, I’ll change the poster’s background color and add a few paw prints along with a sad emoji to capture the mood:
As a rule of thumb, don’t overly decorate a poster template unless absolutely necessary.
A cluttered poster is a distracted viewer. Keep your design clean, concise, and focused on key details such as the event name, date, time, location, and any other pertinent information. Less is often more when it comes to poster design.
From the My Creative Shop blog
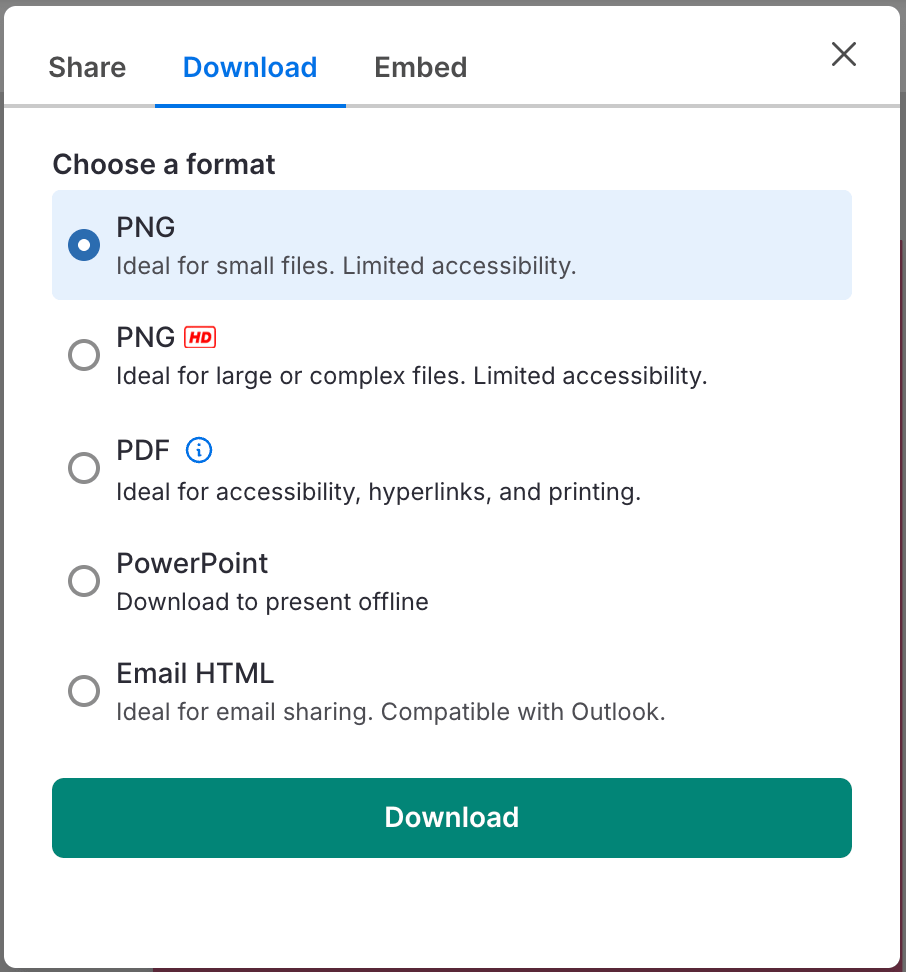
Always preview your poster before you finalize it for printing or distribution. Check alignment, spacing and whether the text is readable from a distance.
Venngage allows you to download your poster in high-resolution PDF or PNG formats, which most print services accept without issues:
Once printed, you can also share a digital version online for wider reach, such as in local Facebook groups.
Now it’s your turn to create
It took me less than 10 minutes to turn a photo into a print-ready, professional poster. That’s the real power of getting the setup right: you no longer have to suffer with grainy blow-ups or cluttered layouts.
Once you know how to control templates, colors and design elements, you can turn any picture into something worth sharing, whether it’s for a personal gift, a local event or a business campaign. If you want a head start, try Venngage’s AI poster generator.
But if you want to apply the steps you learned in this blog, choose from Venngage’s poster templates to turn a photo into a well-designed poster.


