


One of the best ways to enhance understanding of information is with concept maps which visually depict ideas and their relationships.
Though concept maps are commonly used in educational settings (think back to your school days or college days – I’m sure), they’re also great tools in professional settings. They make great additions to presentations and reports and lead to increased audience engagement, improve information retention, and effective communication.
The great news is you can make concept maps directly in presentation software such as Microsoft PowerPoint. Alternatively, you could also use a free concept map maker or edit free concept map templates.
Ready to go? Let’s walk through how to make a concept map on PowerPoint.
Click to jump ahead:
- Step-by-step guide for creating a concept map in PowerPoint
- How to make a concept map in Venngage
- Conclusion
Step-by-step guide for creating a concept map in Microsoft PowerPoint – Tables of Content
To create a concept map in Microsoft PowerPoint, follow these steps:
- Step 1: Prepare the slide
- Step 2: Build the concept map
- Step 3: customize the concept map
- Step 4: Finalize the concept Map
Let’s dive deeper with a step-by-step explanation to help you create a concept map easily with Venngage.
Step 1: Prepare the slide
Launch Microsoft PowerPoint and open a new blank presentation.
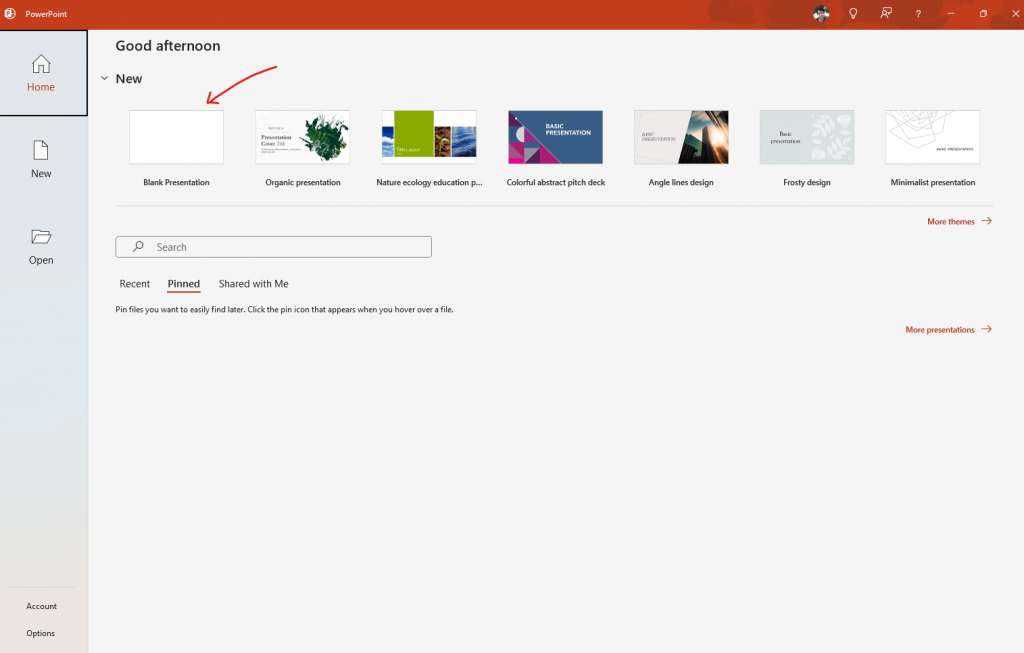
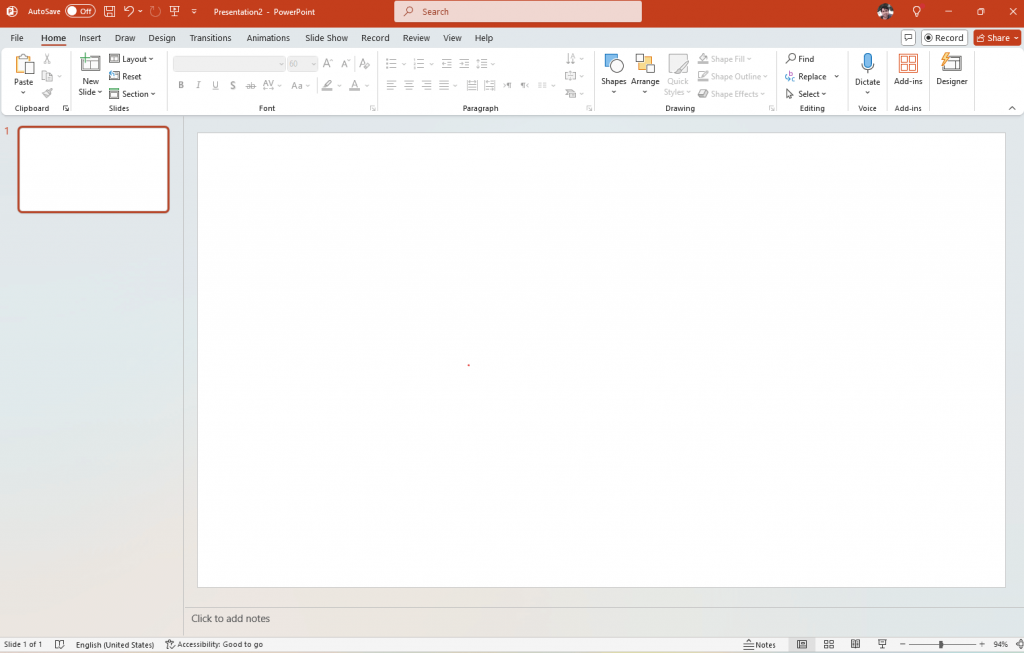
Create a new slide
Create a new slide (this is where we’ll build our concept map). Make sure to select the blank presentation layout option so you have a clean canvas to work with.
Step 2: Build the concept map
Building a concept map requires you to set up shapes and lines so you can organize information and connect related topics. This is what makes concept maps a powerful tool for brainstorming, studying, and understanding complex topics.
Doing this on PowerPoint can be tedious and time-consuming, but it’s not rocket science.
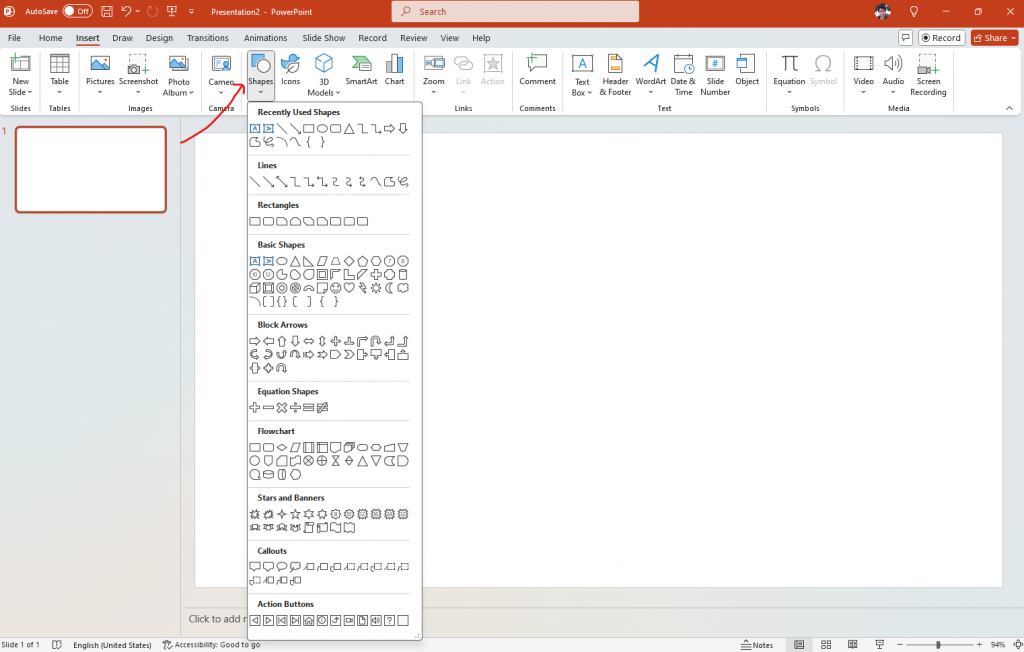
Find the shapes option
- Go to the Insert tab on the PowerPoint ribbon.
- Click on Shapes to open the drop-down menu where you’ll see various shape options.
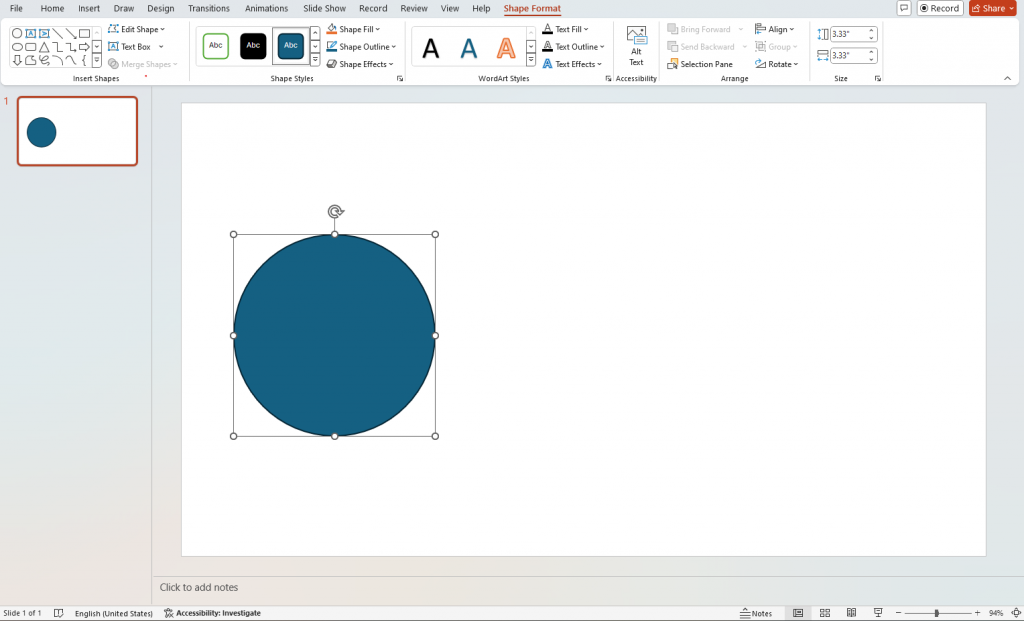
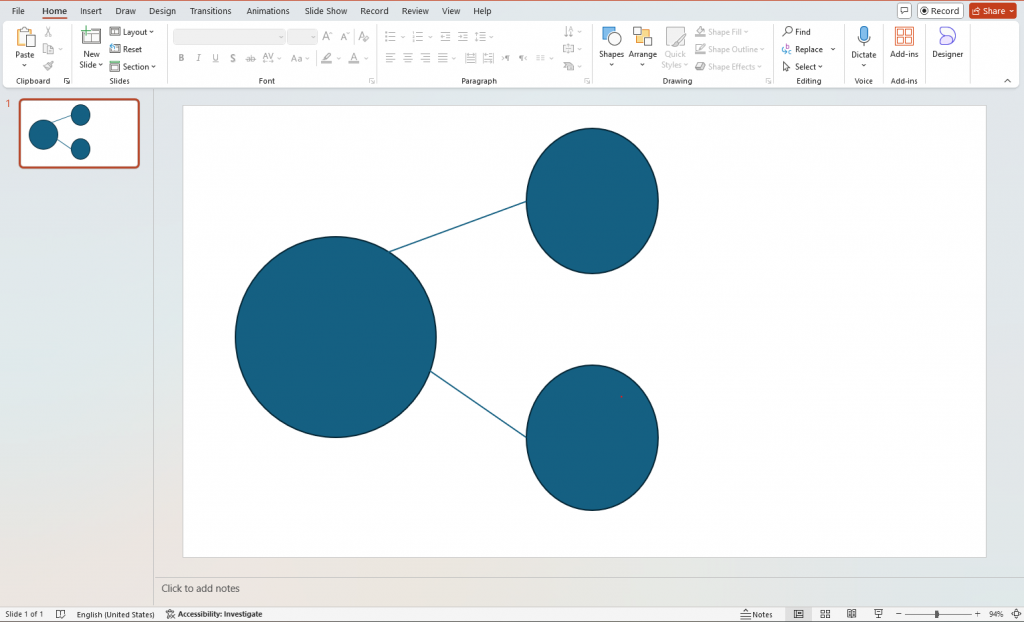
Draw the central idea
The central idea of a concept map is the foundation upon which the entire diagram is built. Generally, you’ll want the central idea to grab attention immediately and communicate the main idea.
Tip: A common practice is to use a larger, more prominent shape to symbolize the central idea. This visually distinguishes it from the other concepts within the map.
To draw the central idea in PowerPoint, follow these steps:
- Select a shape such as rectangle, oval, or circle by clicking “Insert” and then “Shapes”
- Click and drag on the slide to draw the shape
- Double-click inside the shape to type the central concept or idea
Note: The shape you use to represent your central can convey meaning as well. For example, a circle can represent a cycle, a square a system or process, and a triangle a hierarchy or progression.
Add the main branches
Once you’ve established your central idea, the next step is to add branches. These branches represent the main concepts or ideas that directly relate to the central theme.
- Go back to the “Insert” tab.
- Select “Shapes” and pick a line or connector.
- Draw lines from the central shape to where you want your main branches to be.
- At the end of each line, add another shape to represent the main branches of your concept.
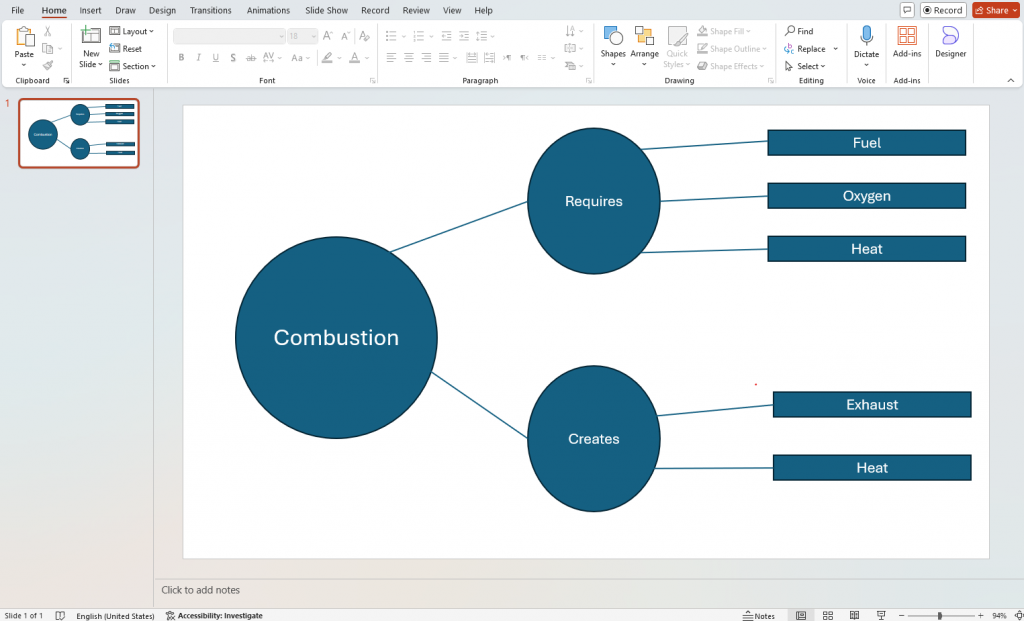
Label the branches
Once you have all the shapes and branches in place, it’s time to provide clear and concise descriptions of each concept, making it easier for viewers to understand the relationships between different ideas.
- Click inside each branch shape.
- Add text that represents the main topics or categories related to the central idea.

Expand with sub-branches
For complex concepts or ideas, it’s not uncommon to have several sub-branches that extend out from branches. In these cases, repeat the steps mentioned or add the shape, connect the sub-branches to a branch, and make sure to label them.
- Repeat the process of inserting lines and shapes
- Create sub-branches from each main branch
- Label these sub-branches with more specific ideas or details
Step 3: Customize the concept map
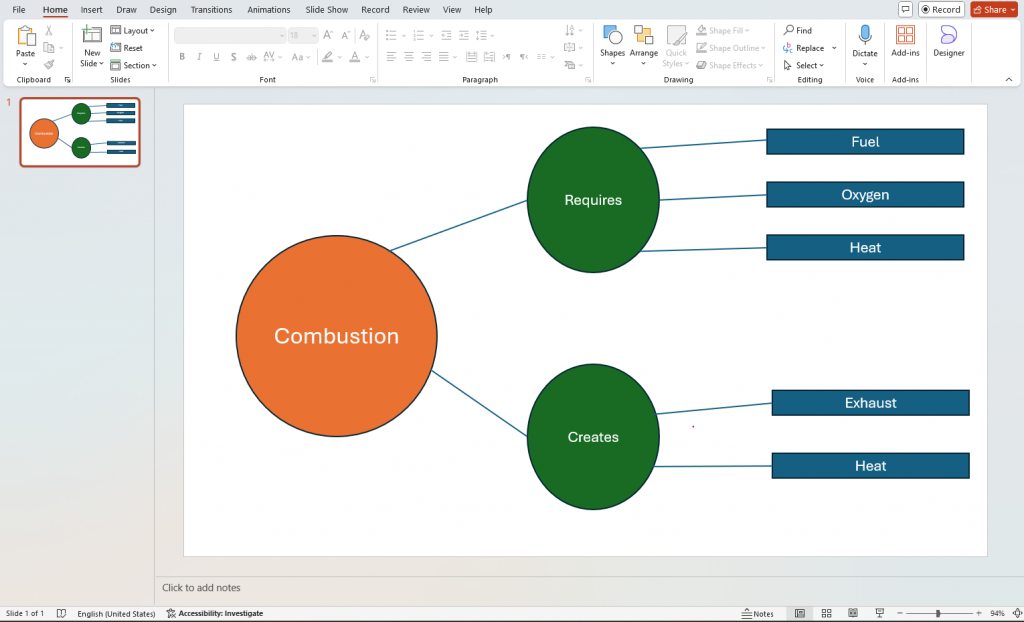
After you have the basic structure (shapes and labels) in place, you’ll want to customize your concept map to enhance effectiveness.
By experimenting with different color schemes, layouts, font styles, and more, you can create a more visually appealing and engaging concept map.
Customize the shapes (change colors and style)
To change the color, border and style of shapes in your concept map, here’s what you need to do:
- Select the shapes and lines.
- Use the formatting options in the “Format” tab to customize colors, borders, and styles.
- Use “Shape Fill,” “Shape Outline,” and “Shape Effects” to make your concept map visually appealing.
Add text boxes for additional information
Adding additional text boxes to a concept map allows you to provide more context, information, or explanations for specific concepts or relationships. These text boxes can be used to define terms or provide additional context.
- Go to the “Insert” tab
- Select “Text Box”
- Click on the slide to place it
- Type in any additional information or notes you want to include
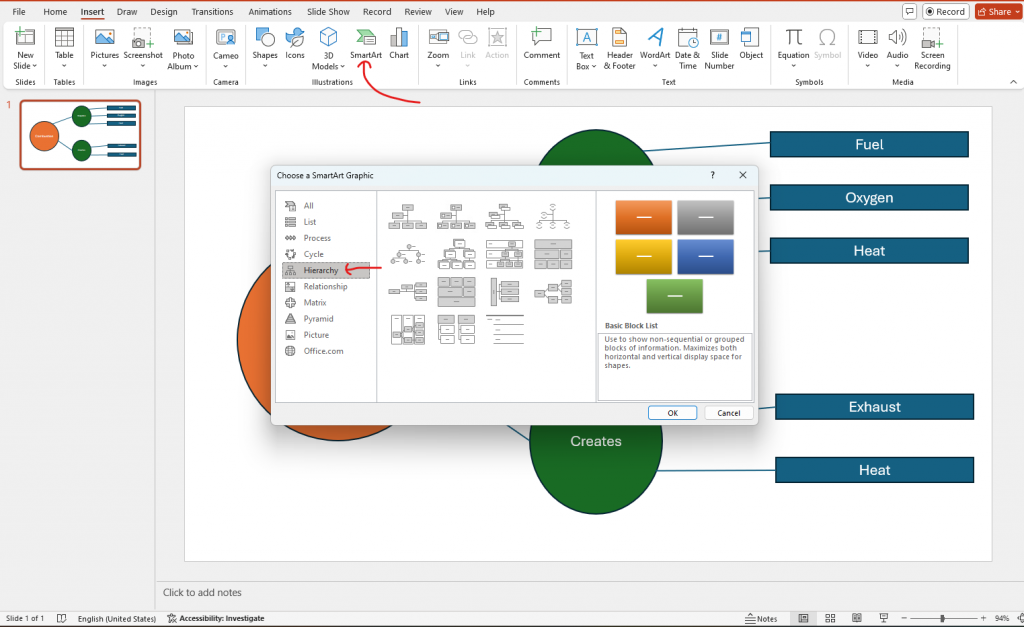
Use SmartArt for automated layouts (optional)
PowerPoint’s SmartArt features offer various pre-designed layouts suitable for creating concept maps. These templates typically feature a central idea at the top, followed by branching lines and shapes to represent subordinate concepts or ideas.
- Go to the “Insert” tab
- Click on “SmartArt”
- Choose “Hierarchy” or “Relationship” layouts
- Enter your text in the SmartArt graphic
Step 4: Finalize the concept map
Once you’ve completed your concept map, make sure to review it to ensure accuracy and clarity. Some items to lookout for include checking spelling and making sure the relationships between concepts are clear and overall structure is easy to follow.
Review and adjust your concept map
- Go through the entire concept map to ensure all information is correctly placed.
- Adjust the positioning of shapes and lines to make the map clear and organized.
Save your concept map
When you’re done reviewing your concept map, it’s finally time to save it so you can share it with the world or come back to it easily.
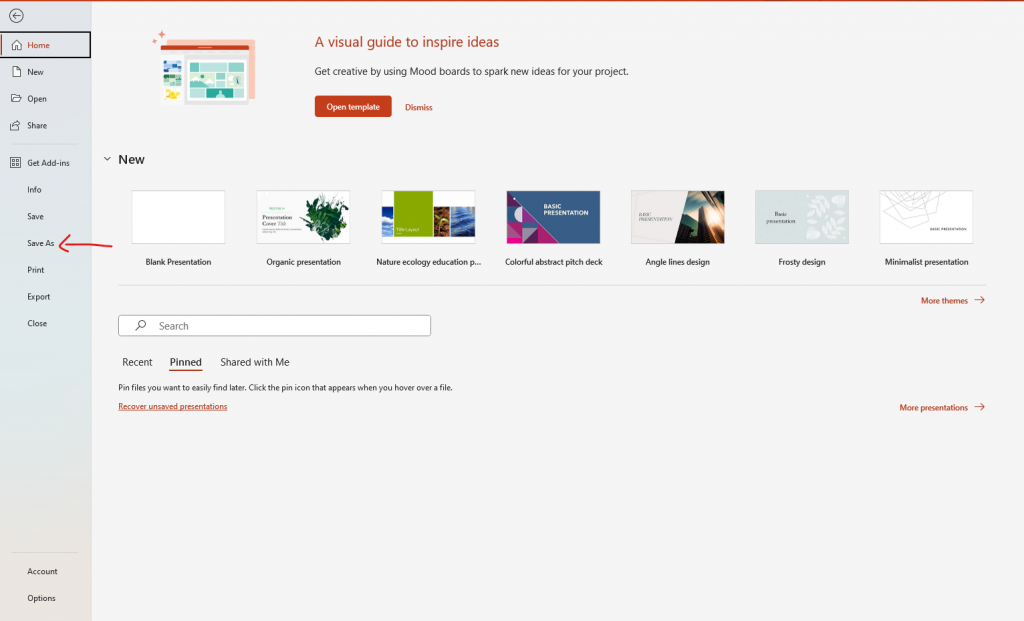
- Click on the “File” tab.
- Select “Save As” and choose the desired location and file format.
Present your concept map
If you want to present your concept map to an audience, you can enhance the concept map using the present feature in PowerPoint.
- Use the “Slide Show” tab to present your concept map.
- Select “From Beginning” or “From Current Slide” to start the presentation.
How to make a concept map in Venngage
Although making concept maps in PowerPoint is possible, the process is quite repetitive and tedious. Moreover, you have little control over the design since customization options are limited.
A faster and better way to create concept maps is to use a Venngage’s concept map maker or edit concept map templates to create visually engaging concept maps you can use in reports or presentations.
Here’s how easy it is to make concept maps in Venngage:
- Pick a template from our library of hundreds of easy-to-customize concept map templates.
- Sign up for a free Venngage account using your email, Gmail, or Facebook account.
- Use our drag-and-drop editor to add text and/or change elements like text, color, and fonts on your concept map.
- Make your concept map visually engaging by choosing graphics from our collection of 40,000+ free diverse icons and illustrations.
- Download your concept map or share it directly with your team using a private link.
This concept map visually represents various branches of chemistry using color-coded bubbles for each branch, highlighting both the field’s definition and its related professions.

This concept map on biodiversity highlights uses visuals to emphasize the urgency of protecting biodiversity and various factors that influence its survival.

Related: 10+ Concept Map Examples to Showcase Your Ideas
Create visually engaging concept maps in minutes with Venngage
PowerPoint is a great starting point if you want to make concept maps, but don’t expect them to be visually engaging or professional-looking out of the box.
PowerPoint offers only basic shapes and connectors for creating concept maps. For advanced design features and customization options, such as the potential to add graphics and icons to your concept maps, you need a tool like Vengnage.
With a drag-and-drop interface, even non-designers can create visually appealing concept maps in Venngage. Check out our concept map templates page today and start editing to see how easy it is.


