Flowcharts are one of the simplest tools for decision-making and explaining a process. But designing them — adding shapes and nodes and adjusting the elements so everything is perfectly aligned — is a hassle.
In this article we’ll tell you how to create a flowchart in Word in a few simple steps. If you are looking to create advanced flowcharts for detailed decision making or processes, we’ll also show you how to use Venngage’s Flowchart Maker. Our flowchart maker allows you to drag and drop steps in a process, quickly update colors and fonts, or edit a flowchart template.
Quick Guide: Basic Flowchart in Word
- Open Word and start a new blank document.
- Type your title at the top.
- Go to Insert > Shapes and choose Rounded Rectangle.
- Click and drag to draw your first shape for a question or step.
- Copy and paste the shape for each additional step in your flowchart.
- Go to Insert > Text Box, draw it inside each rectangle, and type your question or label.
- Use Insert > Shapes > Oval to draw circles for yes/no answers.
- Add text boxes inside each circle to label them.
- Use Insert > Shapes > Arrow to connect the steps in logical order.
- Adjust spacing and layout as needed.
- Select all shapes, right-click, and choose Group > Group to lock the layout.
You’re looking for ways to make a flowchart in Word though, so let’s take a look at how you can make a flowchart in Microsoft Word and some reasons you might want to reconsider that plan.
How to create a flowchart in Microsoft Word
When creating a flowchart in Microsoft Word, you have a couple of options.
- You can draw the flowchart manually, inserting shapes, text boxes, images and more.
- Or you can use the onboard SmartArt graphics the program comes with.
Going the manual route is the best way to make sure you get exactly what you want, but it’s much more time-consuming, both to build and to make changes.
Using Word’s built-in SmartArt may save you some time, but the available SmartArt graphics may be limiting creatively.
Let’s check out how it works using both methods and what the finished product might look like.
Read more about: Flowchart Symbols and Its Meaning
How to create flowchart manually in Word?
For most types of flowcharts used for decision-making, manually creating the image in Word is the only method. We’ll look at what’s possible with SmartArt in a moment, but it’s important to note that Word’s built-in graphics include only process charts.
We’re going to create this simple flowchart (inspired by a Venngage template):
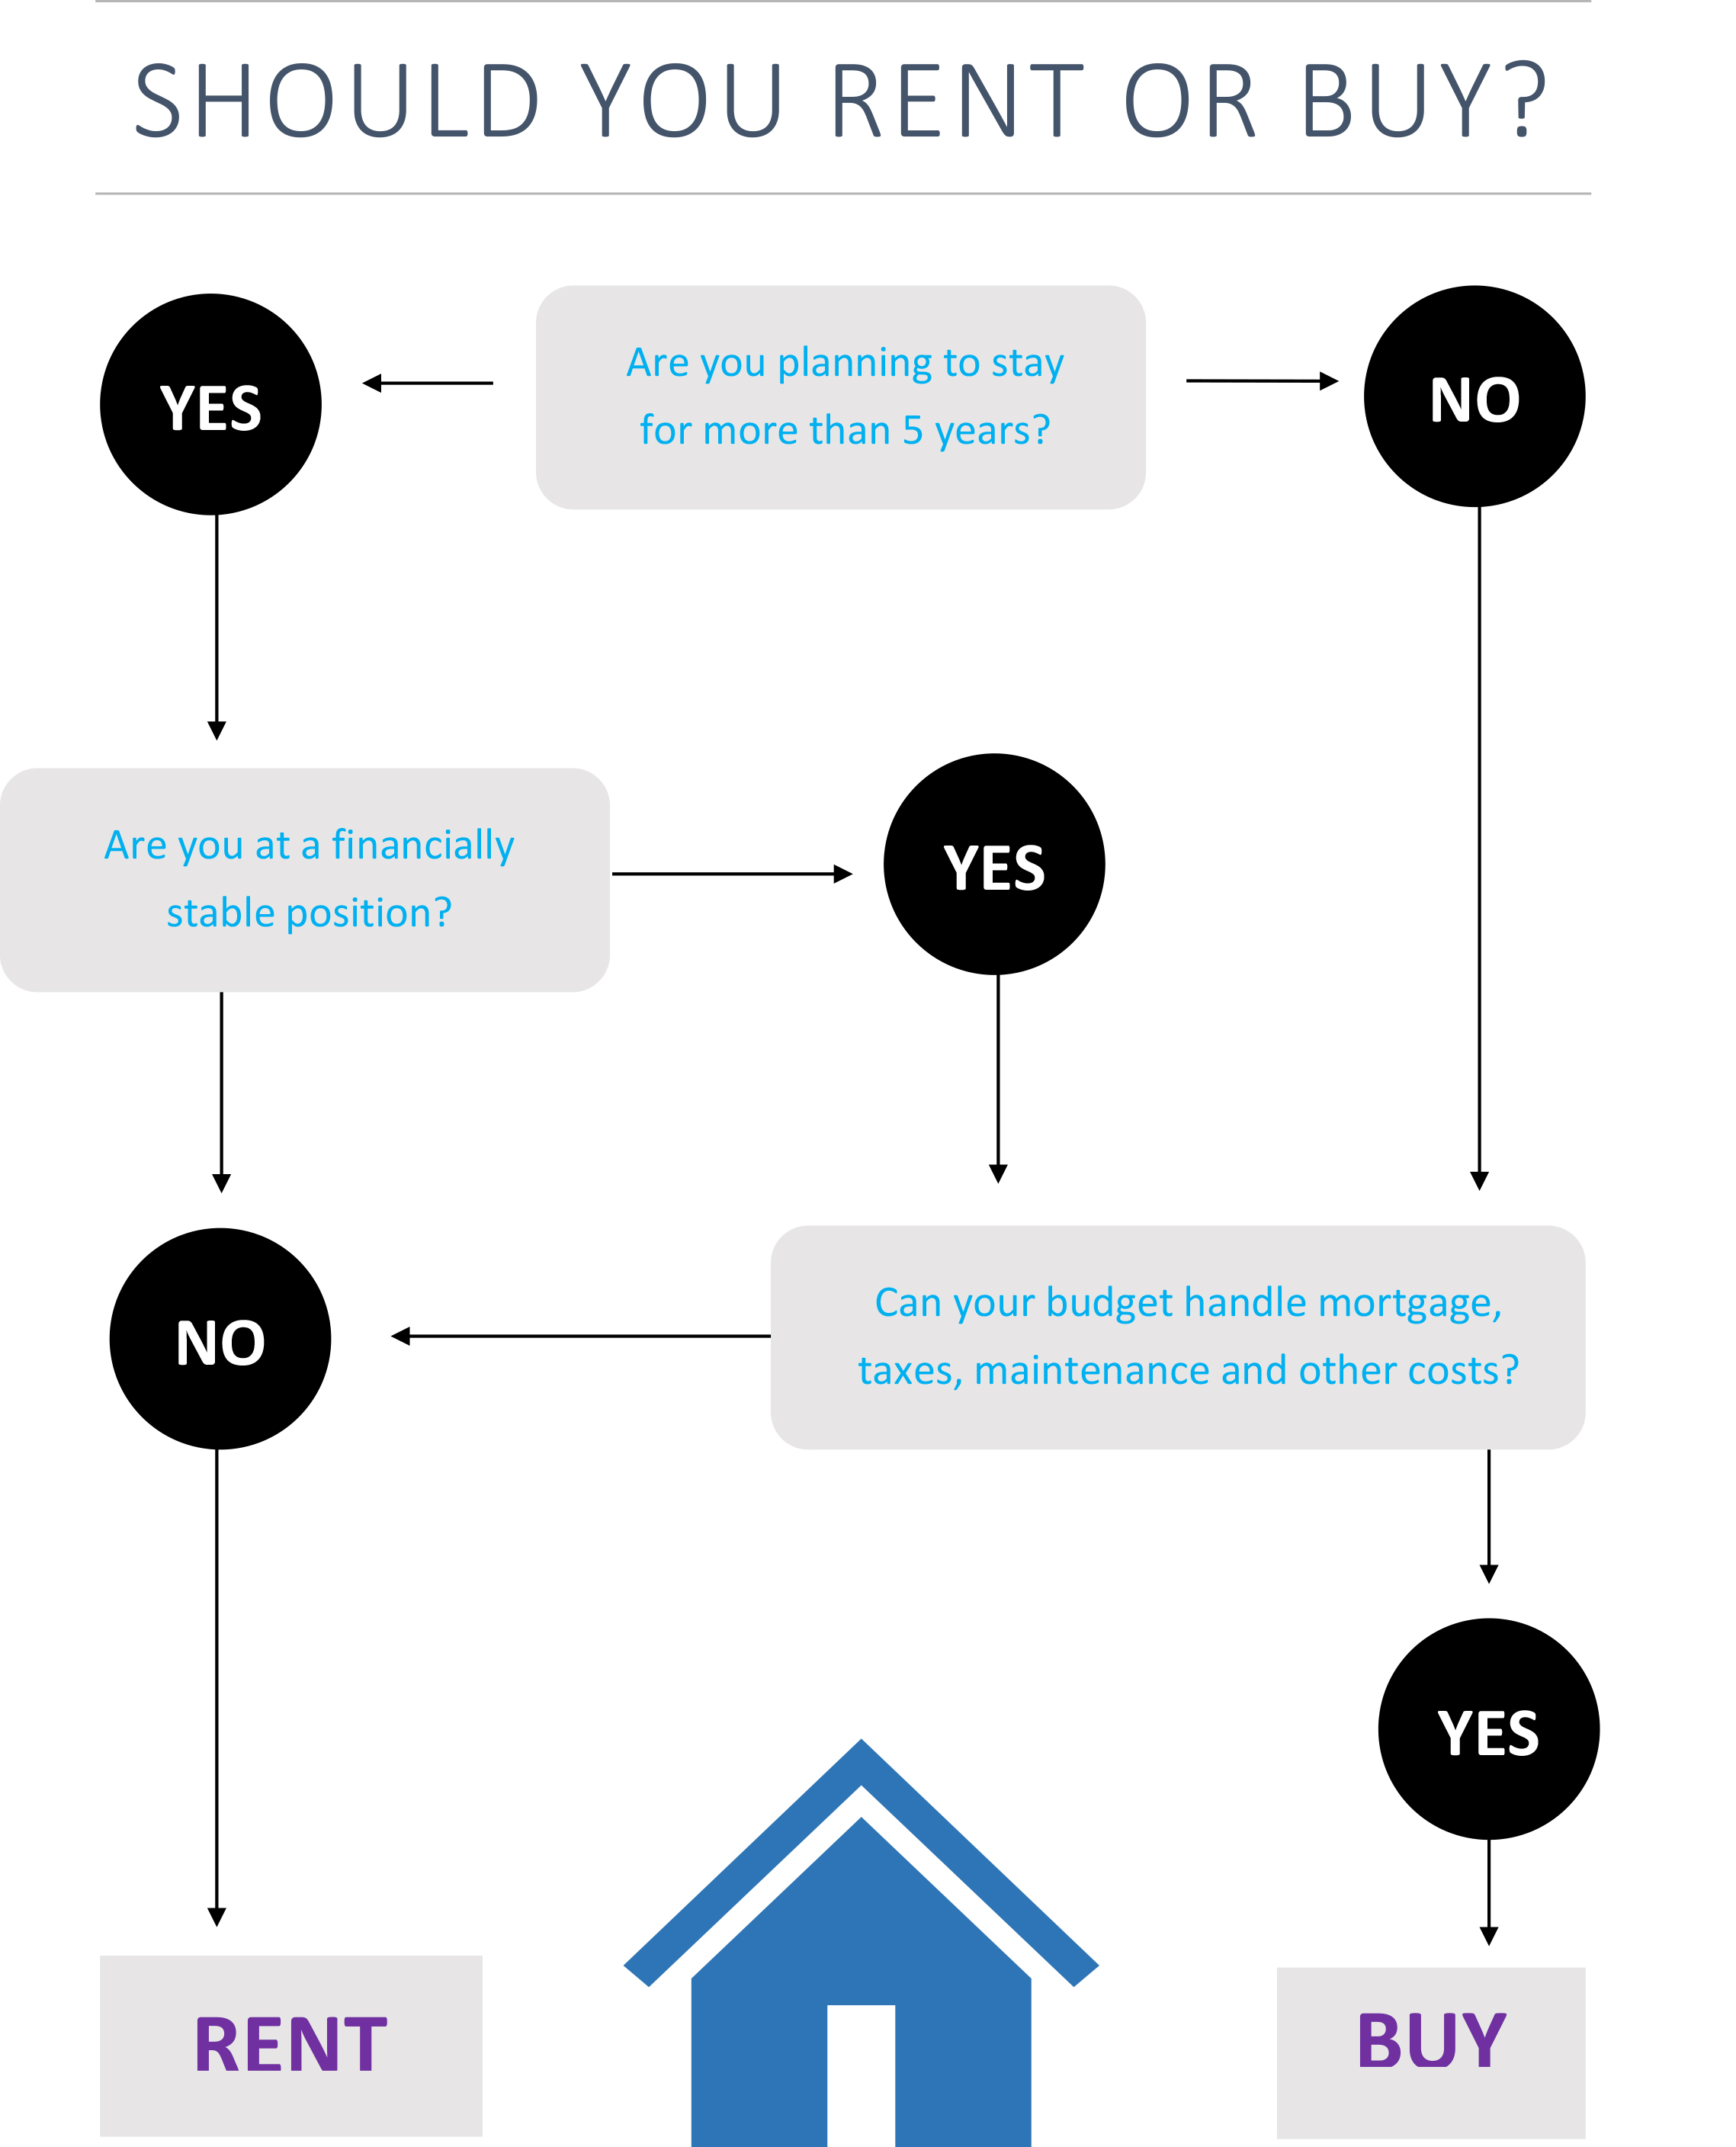
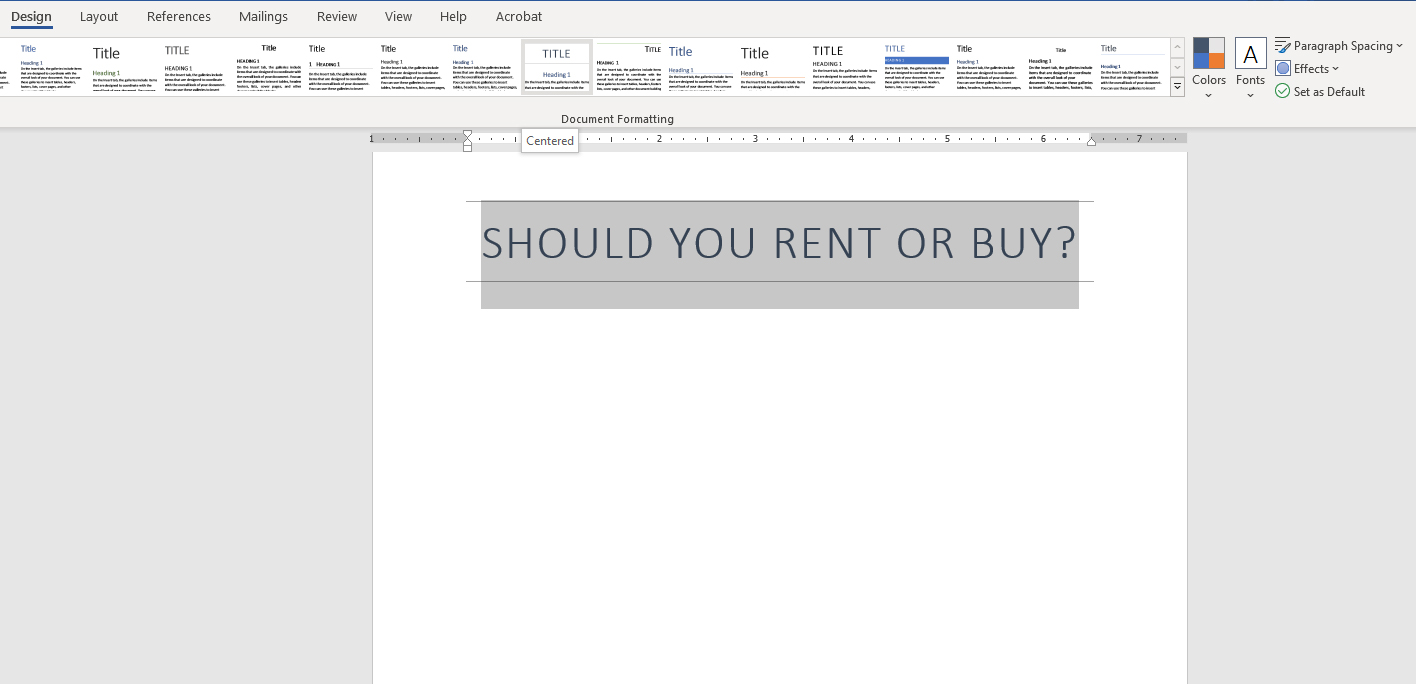
Step 1. Create a new document and insert the title
In this case, we chose a design theme that included a visually impactful title treatment. There aren’t a ton of great options the program comes with—this means in order to create a high-impact title, you’ll need to have a well-developed design sense.
Step 2. Draw rectangular shapes
Under the “Insert” tab, select the shapes dropdown and draw some rounded rectangles in the general areas where our question points will go.
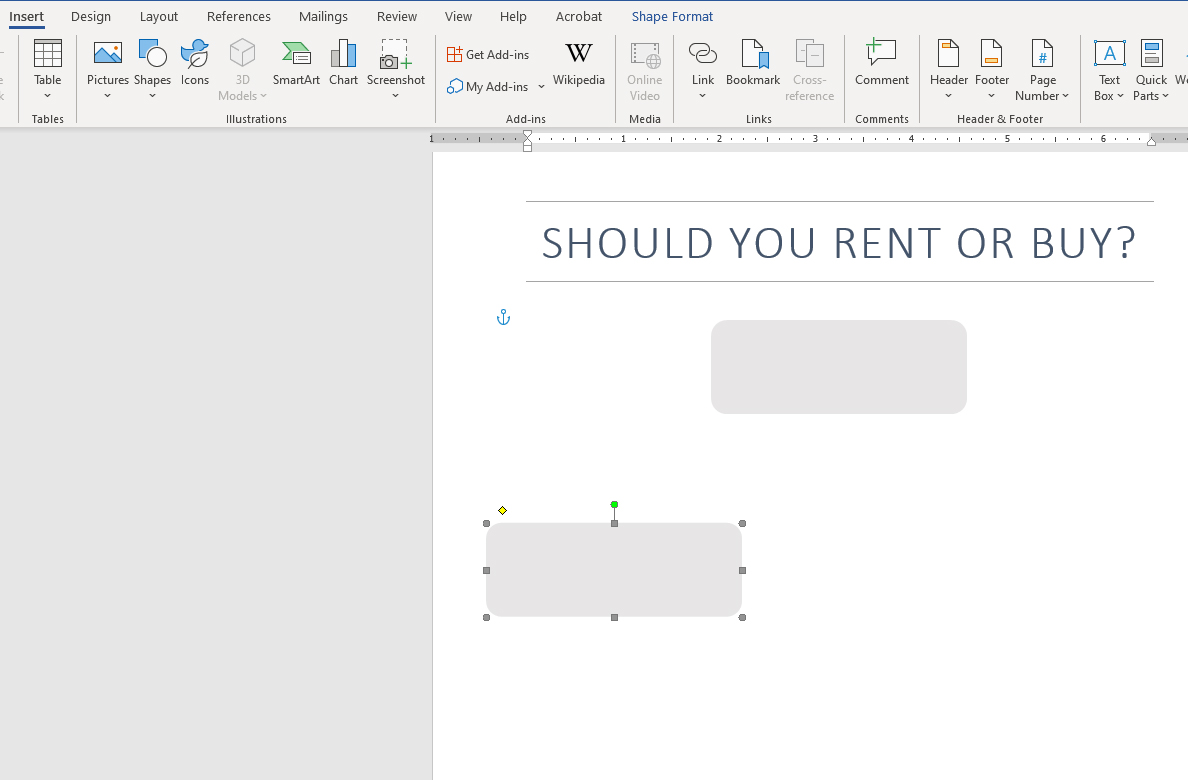
Even with copying and pasting shapes rather than drawing each new one, this step is time-consuming. It would be even more time-consuming with a longer flowchart.
Unless you are using templates that override the style, shapes will default to having a fill and an outline, even text boxes, which we’ll get to in a moment.
Step 3. Draw text boxes for each question
Every rectangle we drew needed a text box for the question, so we drew one and then copied and pasted it into each new box. We also added boxes for the two possible end results, rent or buy.
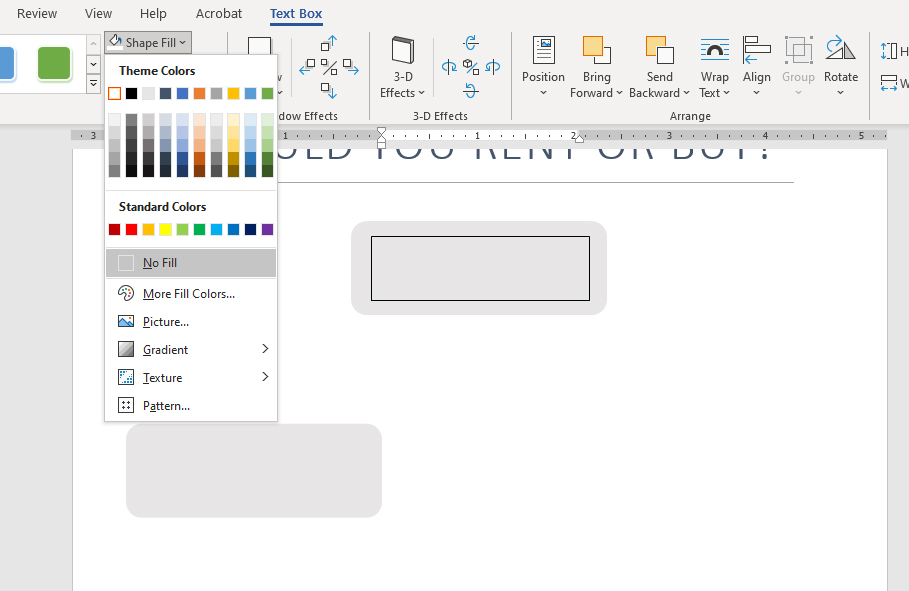
Step 4. Add content for each question
We then typed in all the content. But some boxes were too small while others were too large. Resize and style using the shape/text format tab, whichever is applicable.
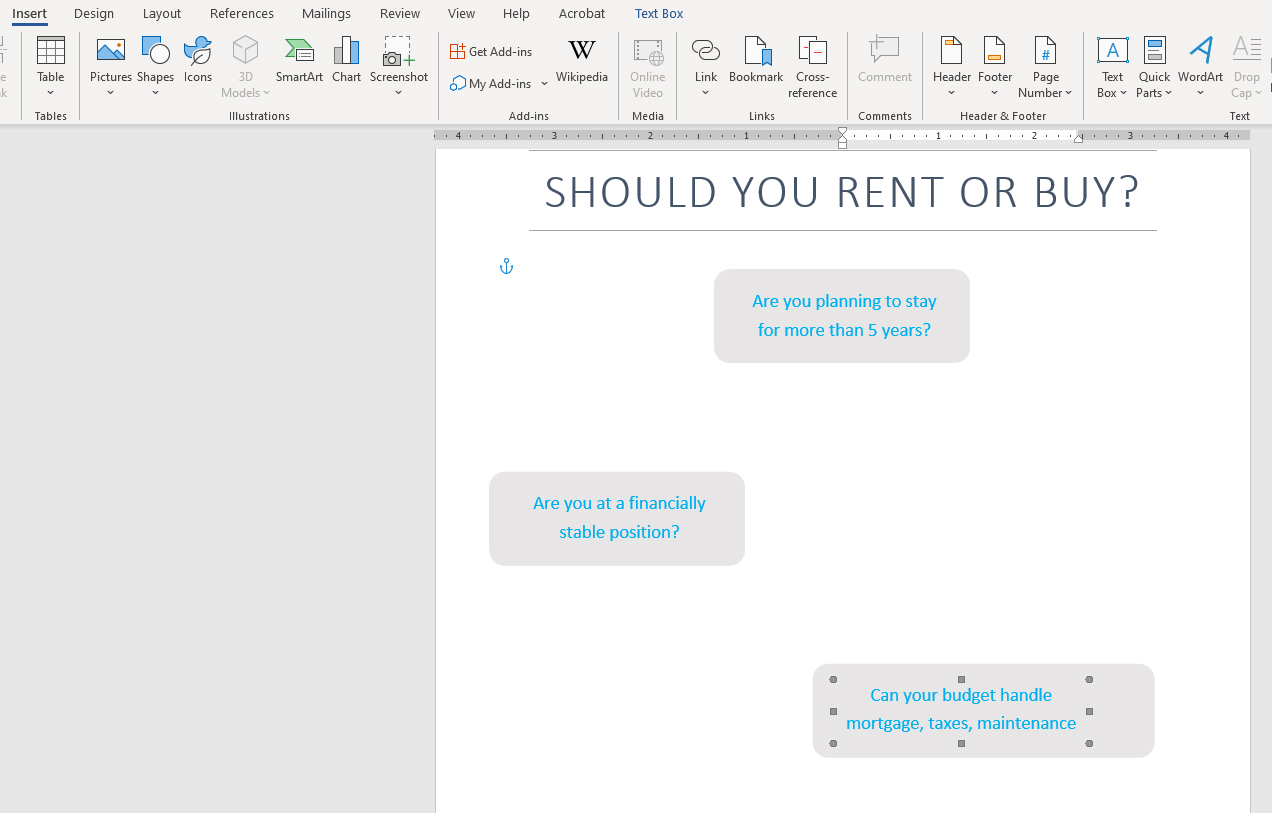
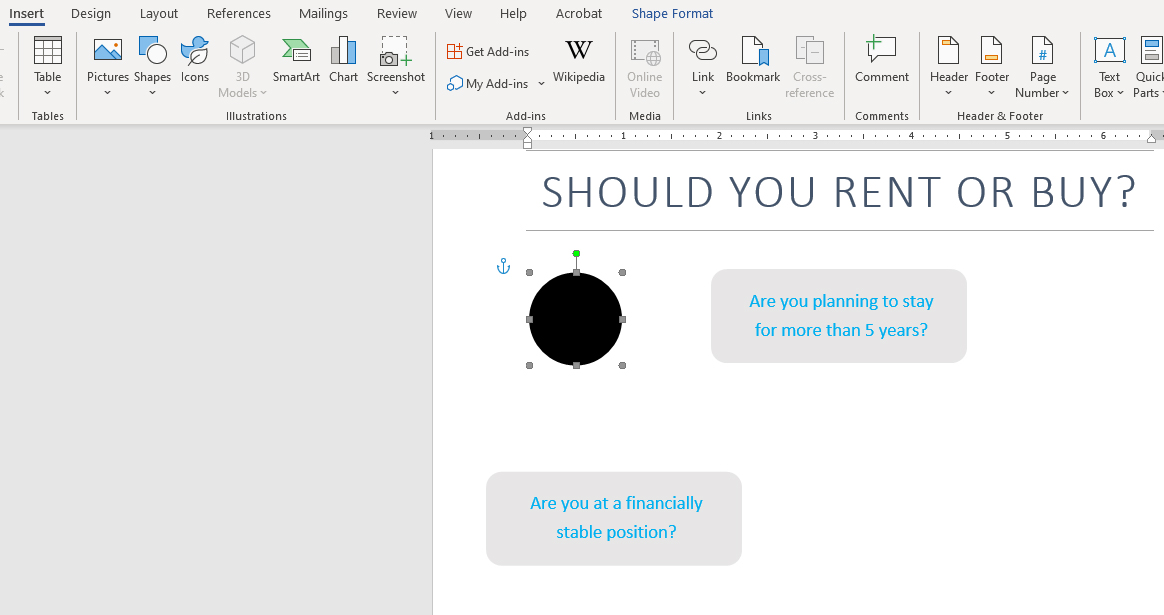
Step 5. Draw circle shapes
Place circles for yes/no answers in their logical places to create the flowchart result.
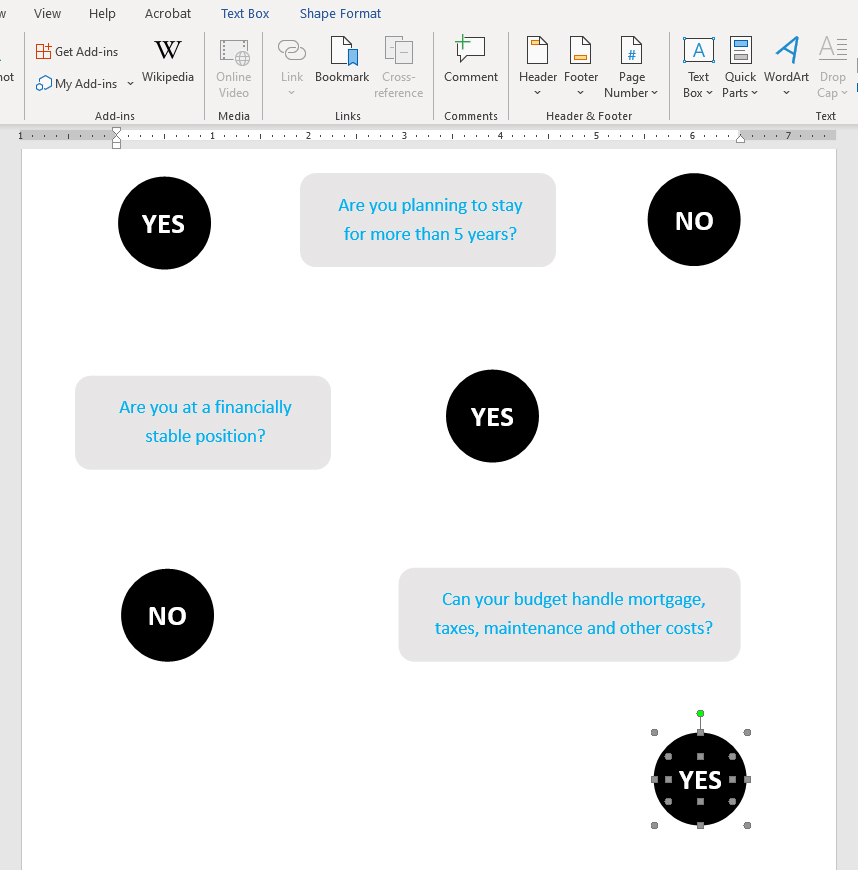
Step 6. Draw text boxes for each answer
In this case, it was easier to create two complete circle/answer combinations, then copy and paste where applicable since the size of the circle won’t change. In flowcharts that don’t follow a yes/no flow, that will be more difficult.
Step 7. Insert arrow shapes
Connect the questions with their logical answers using arrows.
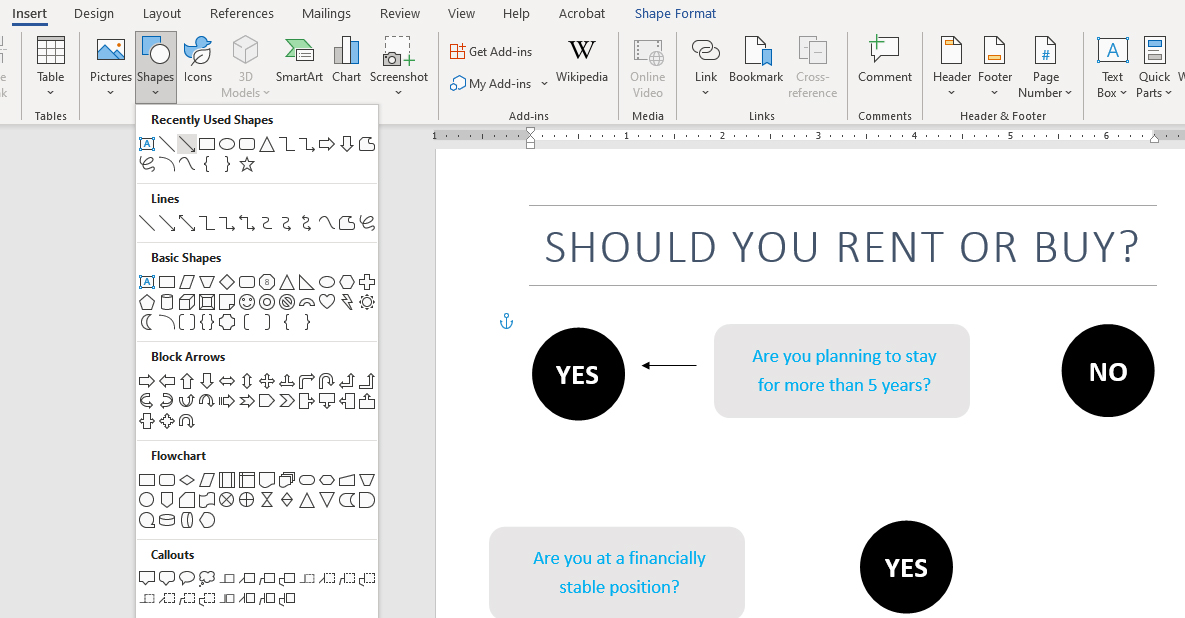
Step 8. Insert icons
Without some visuals other than rectangles, circles and arrows, the flowchart would feel quite plain. So we added a house icon. Under “Insert” > “Icons”, search the word “house” and pick one of the available options.
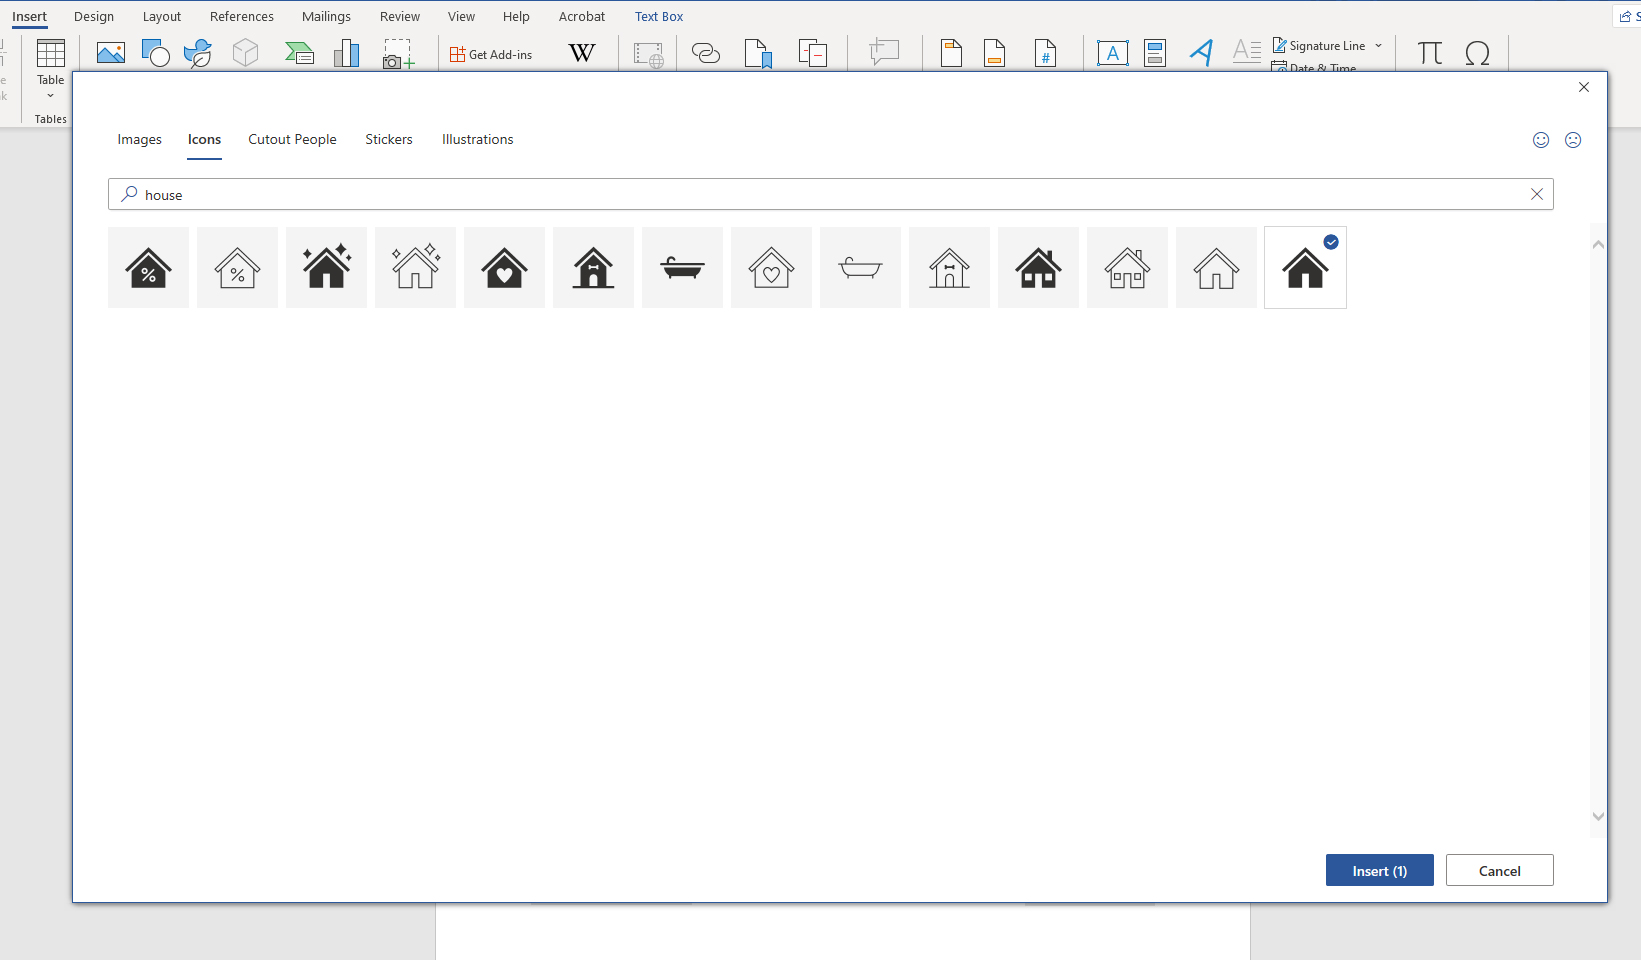
This window shows all the house icons available; there’s not much. And two of them are bathtubs.
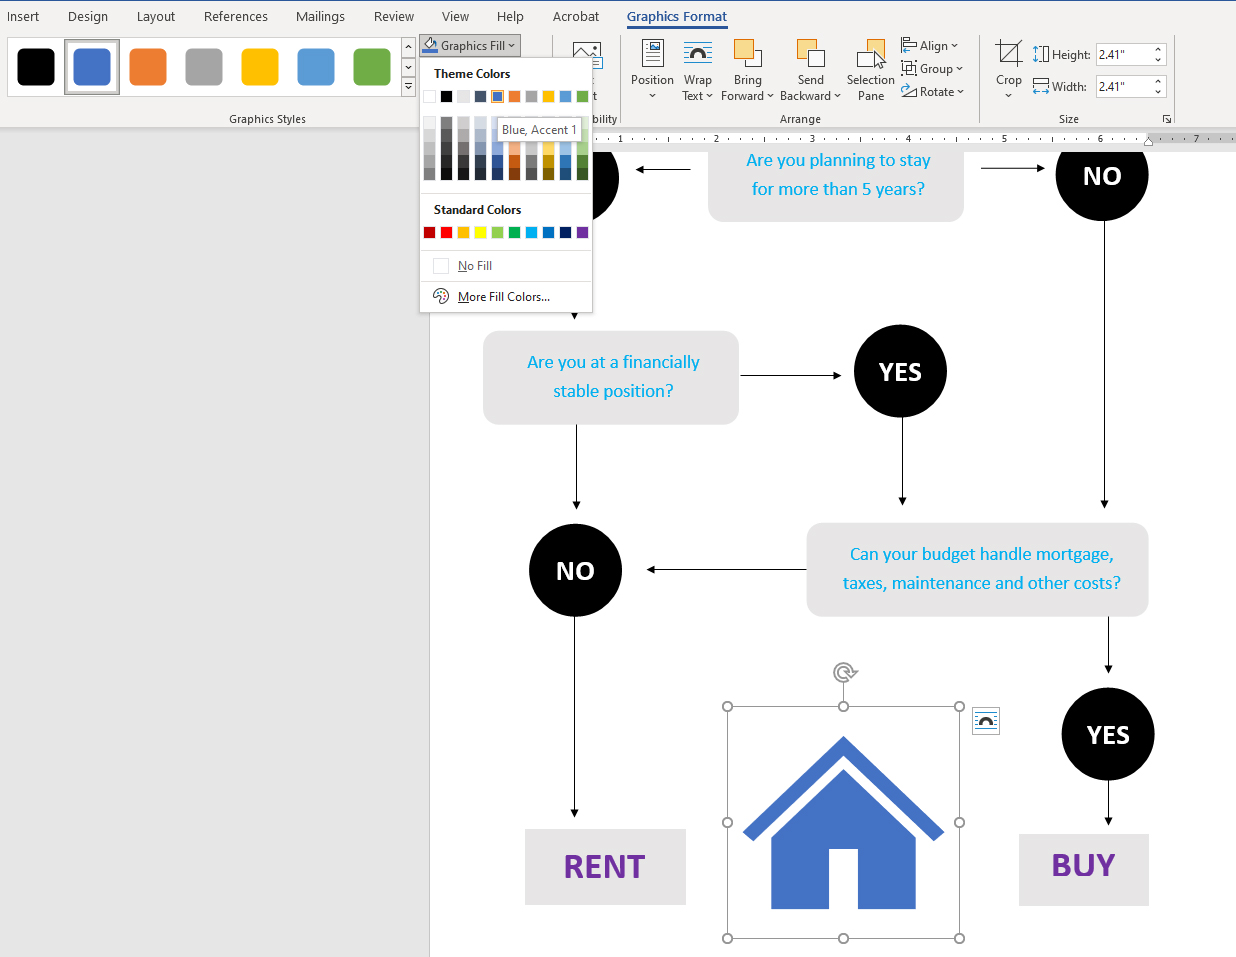
Step 9. Size and recolor icon
Set the icon not to wrap around text, resize and move it to the bottom of the page. Change the color under the format tab.
Step 10: Make tweaks until you perfect the design
In this case, we moved some of the connecting arrows around to make sure the alignment made sense. Not that it’s perfect, but within the limitations of the size of a Word page, the flow works and all content is legible.
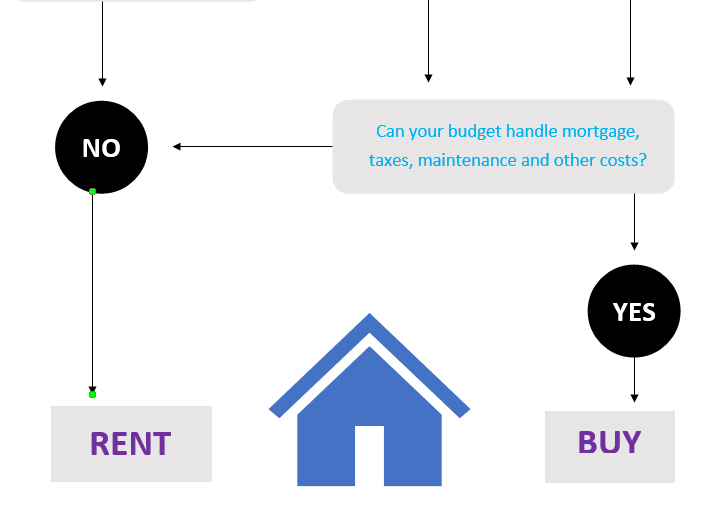
Make sure you also group all the design elements when you’re done designing to prevent them from moving around if you add new content.
Finished product: It’ll do in a pinch

This is a highly simplified series of steps. In reality, what looks like 10 steps is really at least 35 or 40. That’s because even if you copy and paste elements, you still have to make tons of manual tweaks to make it work.
In addition to taking way too many steps, Word is difficult to navigate as a design tool. That’s because it wasn’t developed for graphic design.
How to create flowchart in Word using SmartArt?
We actually weren’t able to replicate this exact flowchart using the SmartArt options in Word. However, we’ll show you the closest we could get and detail the steps required to get there.
Step 1: Insert the title and pick a SmartArt graphic
There are no flowcharts in the SmartArt menu, but we scrolled through to find the one we thought would fit best. This was easier said than done, as we loaded our content into one SmartArt graphic we thought would work and it didn’t make sense.
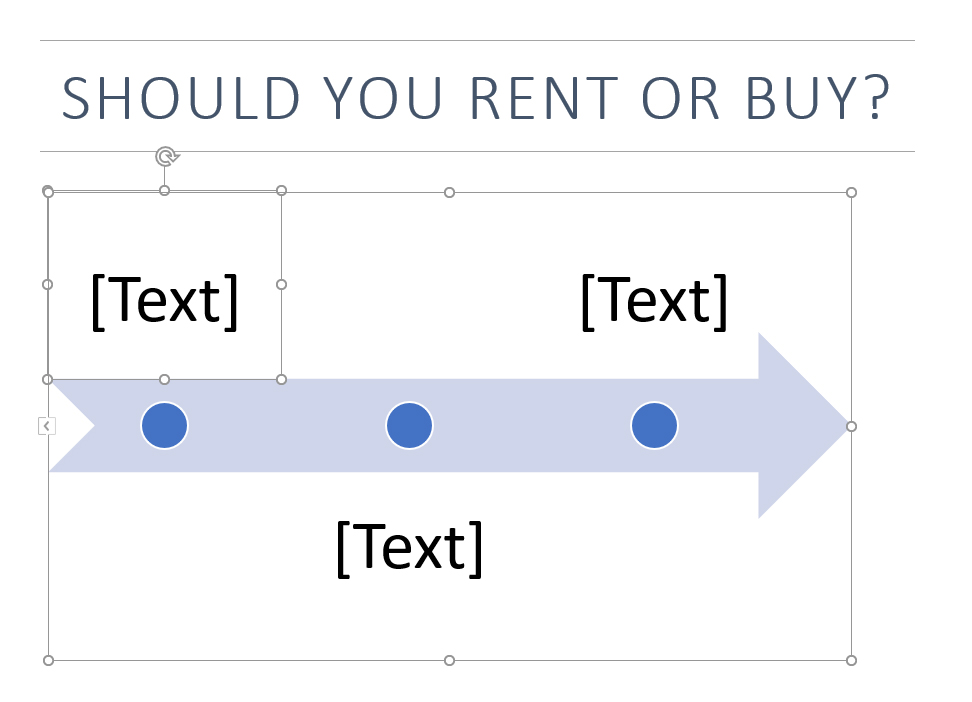
At this point, we realized this exact flowchart can’t be recreated using SmartArt and that we would have to boil down the flowchart to just the questions and disregard the answers.
Step 2: Add the content
You can either do this by selecting the individual Text boxes or you can use the Text Pane under the SmartArt graphic menu. That’s the easiest way. While it’s definitely easier than adding individual text boxes, writing the content just reveals how much Word falls short in this area.
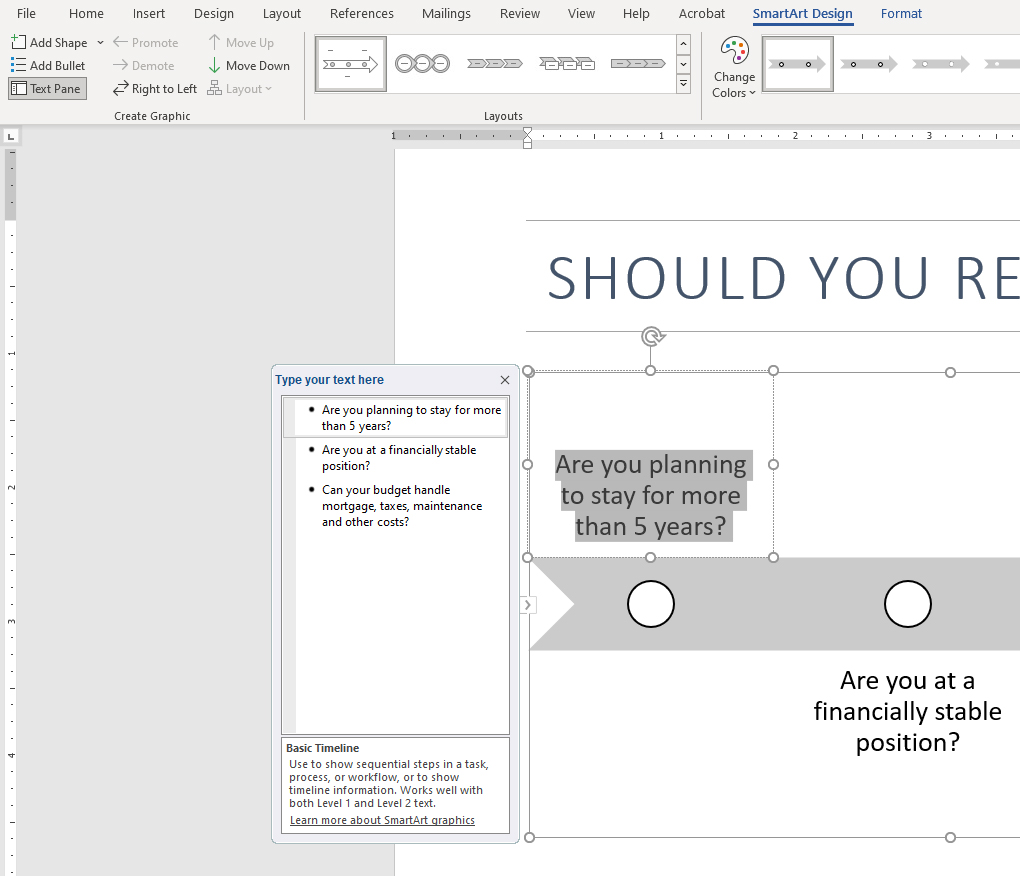
Step 3: Go through more options
After we finished tweaking all of our content, we decided to go through some other options to make sure what we had was the best version we could get. This is by far the best aspect of using SmartArt. You can see immediately how your content adjusts.
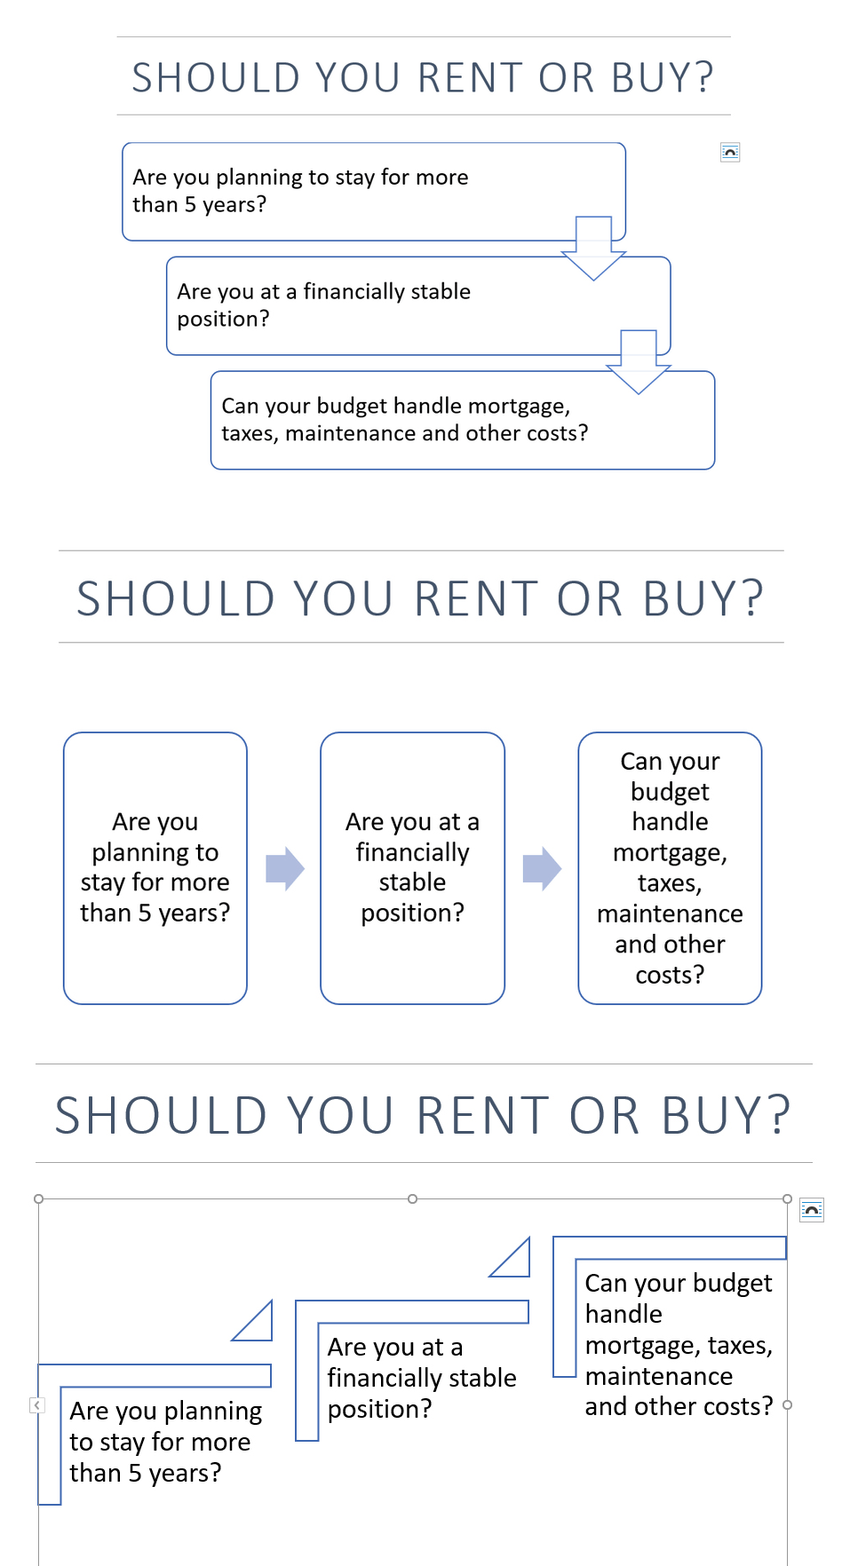
Step 4: Change colors and style as desired
You can’t easily do as much tweaking as if you make the flowchart manually, but the SmartArt menu allows you to change some color themes.
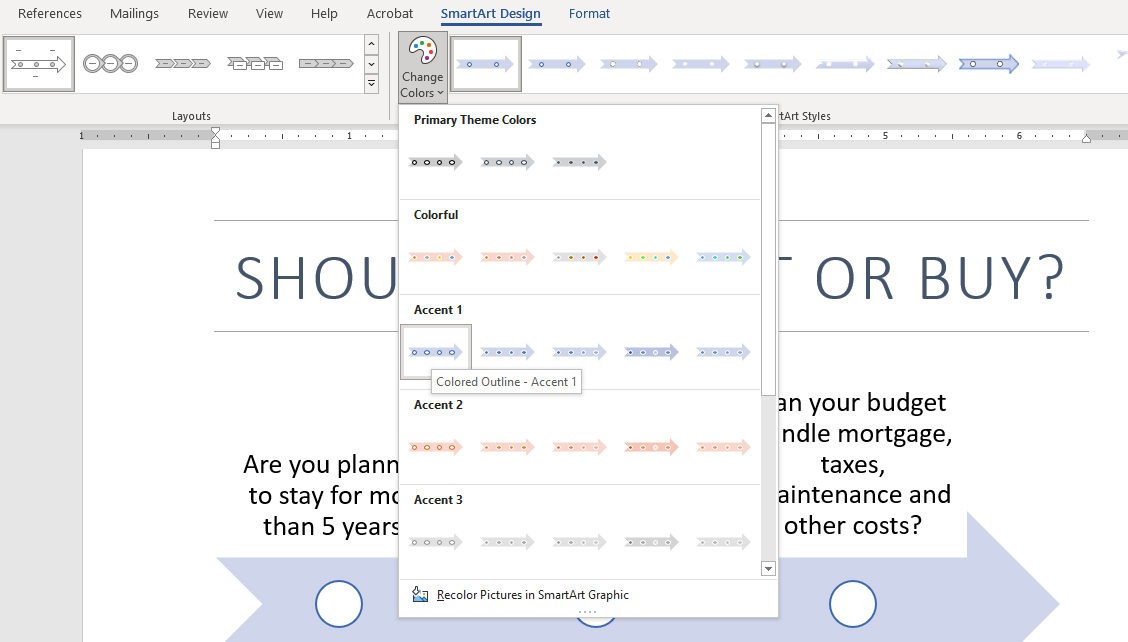
Finished product: Not really a flowchart
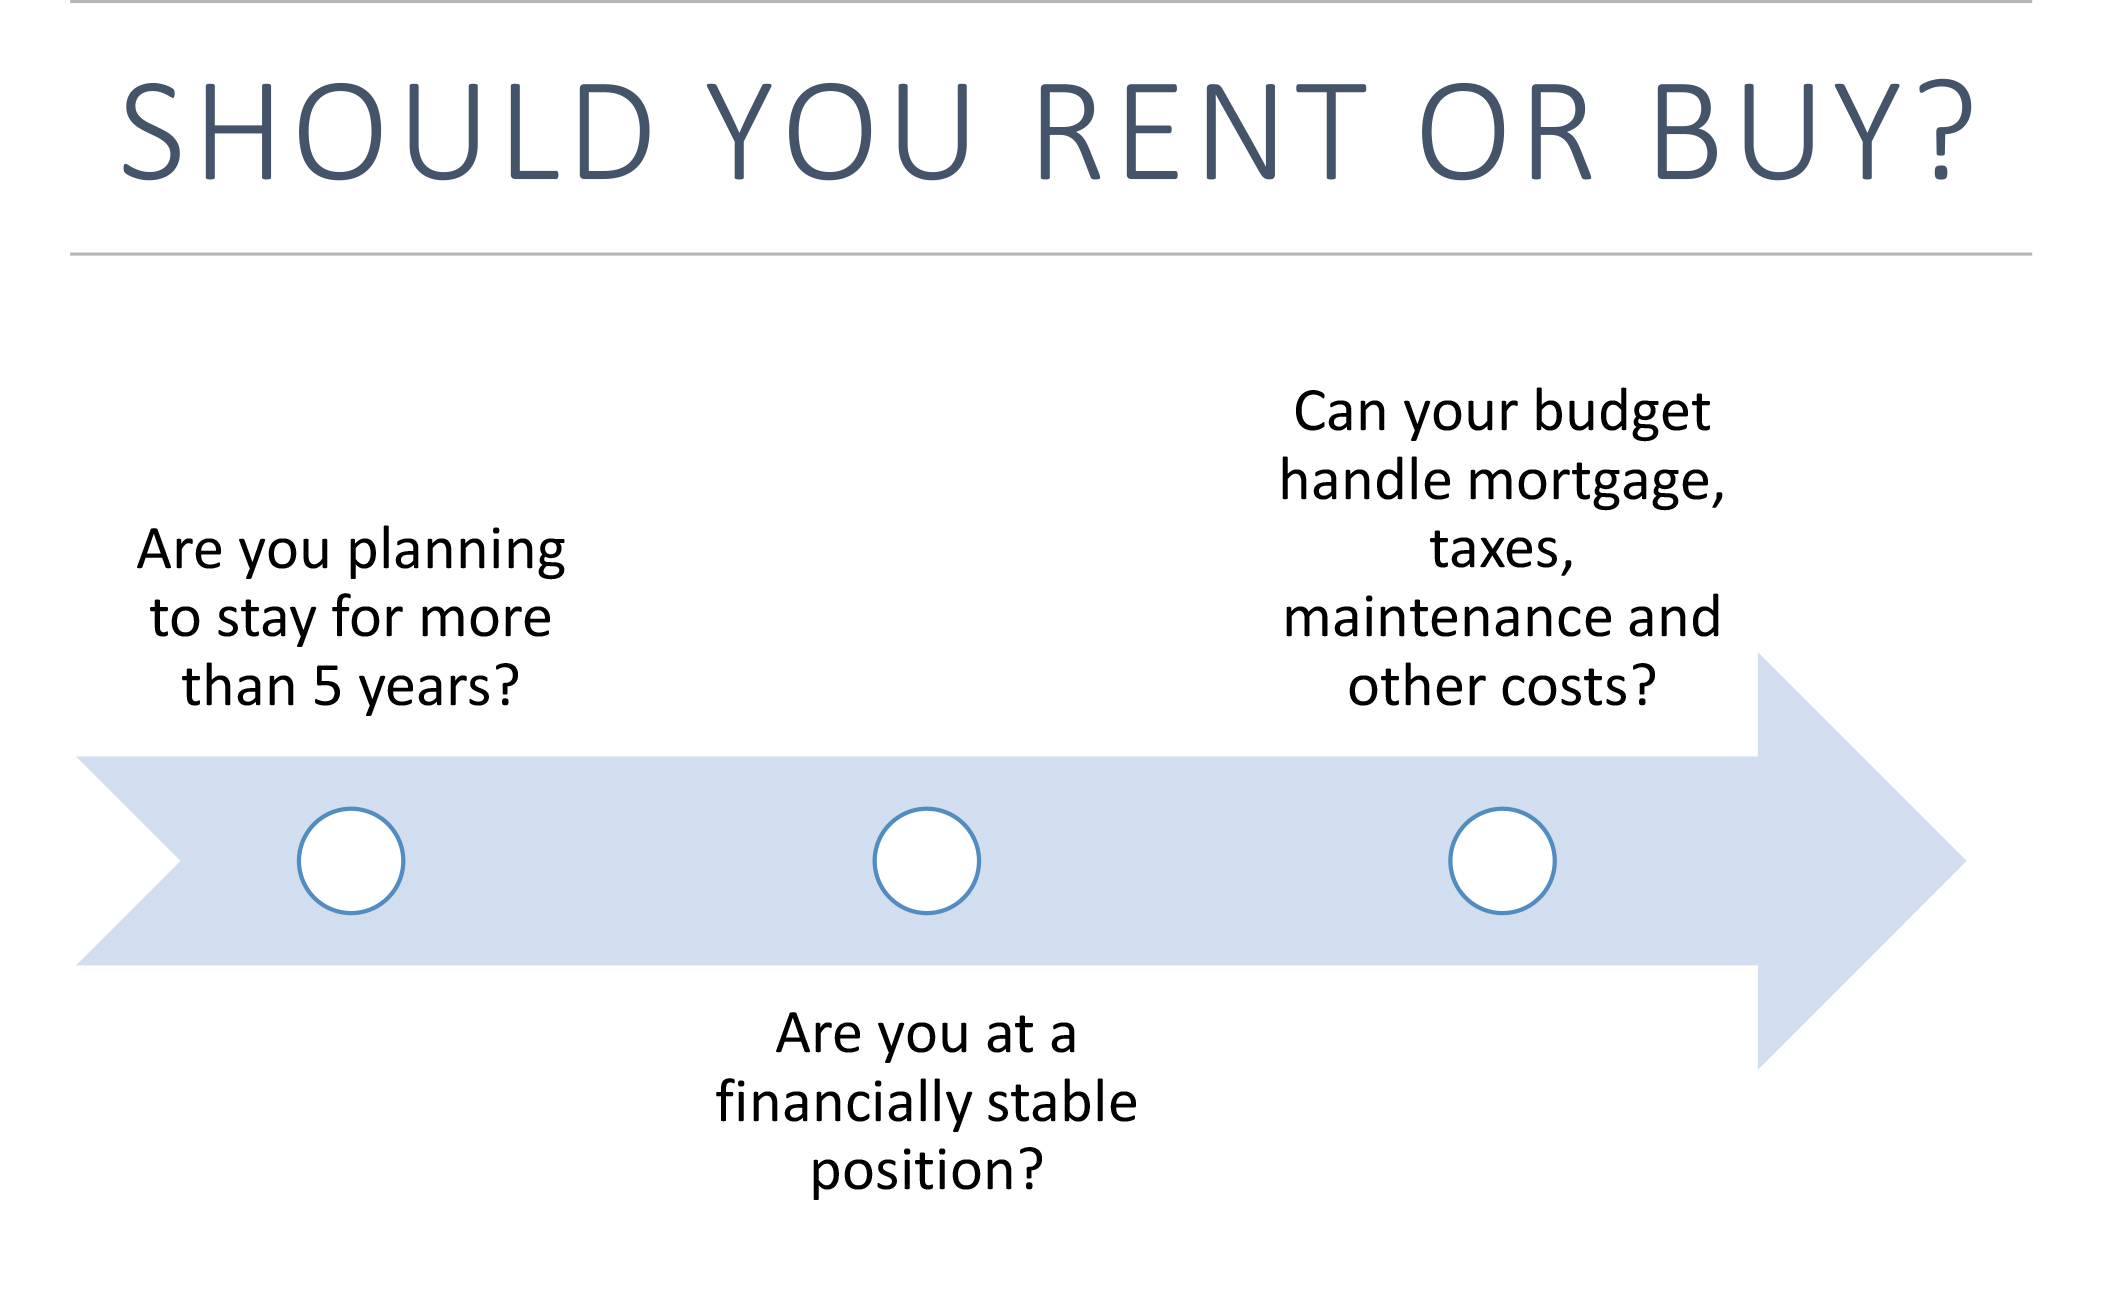
This really is just a series of questions, which is what a flowchart is when you really boil it down. But removing the flowchart visual completely removes its visual impact and efficiency.
A better way: Flowchart for Word using Venngage
For comparison’s sake, here’s what the same flowchart looks like after being created in Venngage’s flowchart maker. Even if we’d spent three to four times as long tinkering with the flowcharts in Word, they would never look like this.
If you’re looking for SmartArt-like functionality that lets you automatically add, resize and move content around, check out Venngage’s new smart templates.
How to create a Microsoft Word flowchart in Venngage?
Making a Microsoft Word flowchart in Venngage is incredibly simple, and it’s even easier thanks to the new smart diagram editor.
Step 1: Sign up for a free Venngage account
You can sign up with your email, Gmail or Facebook account.
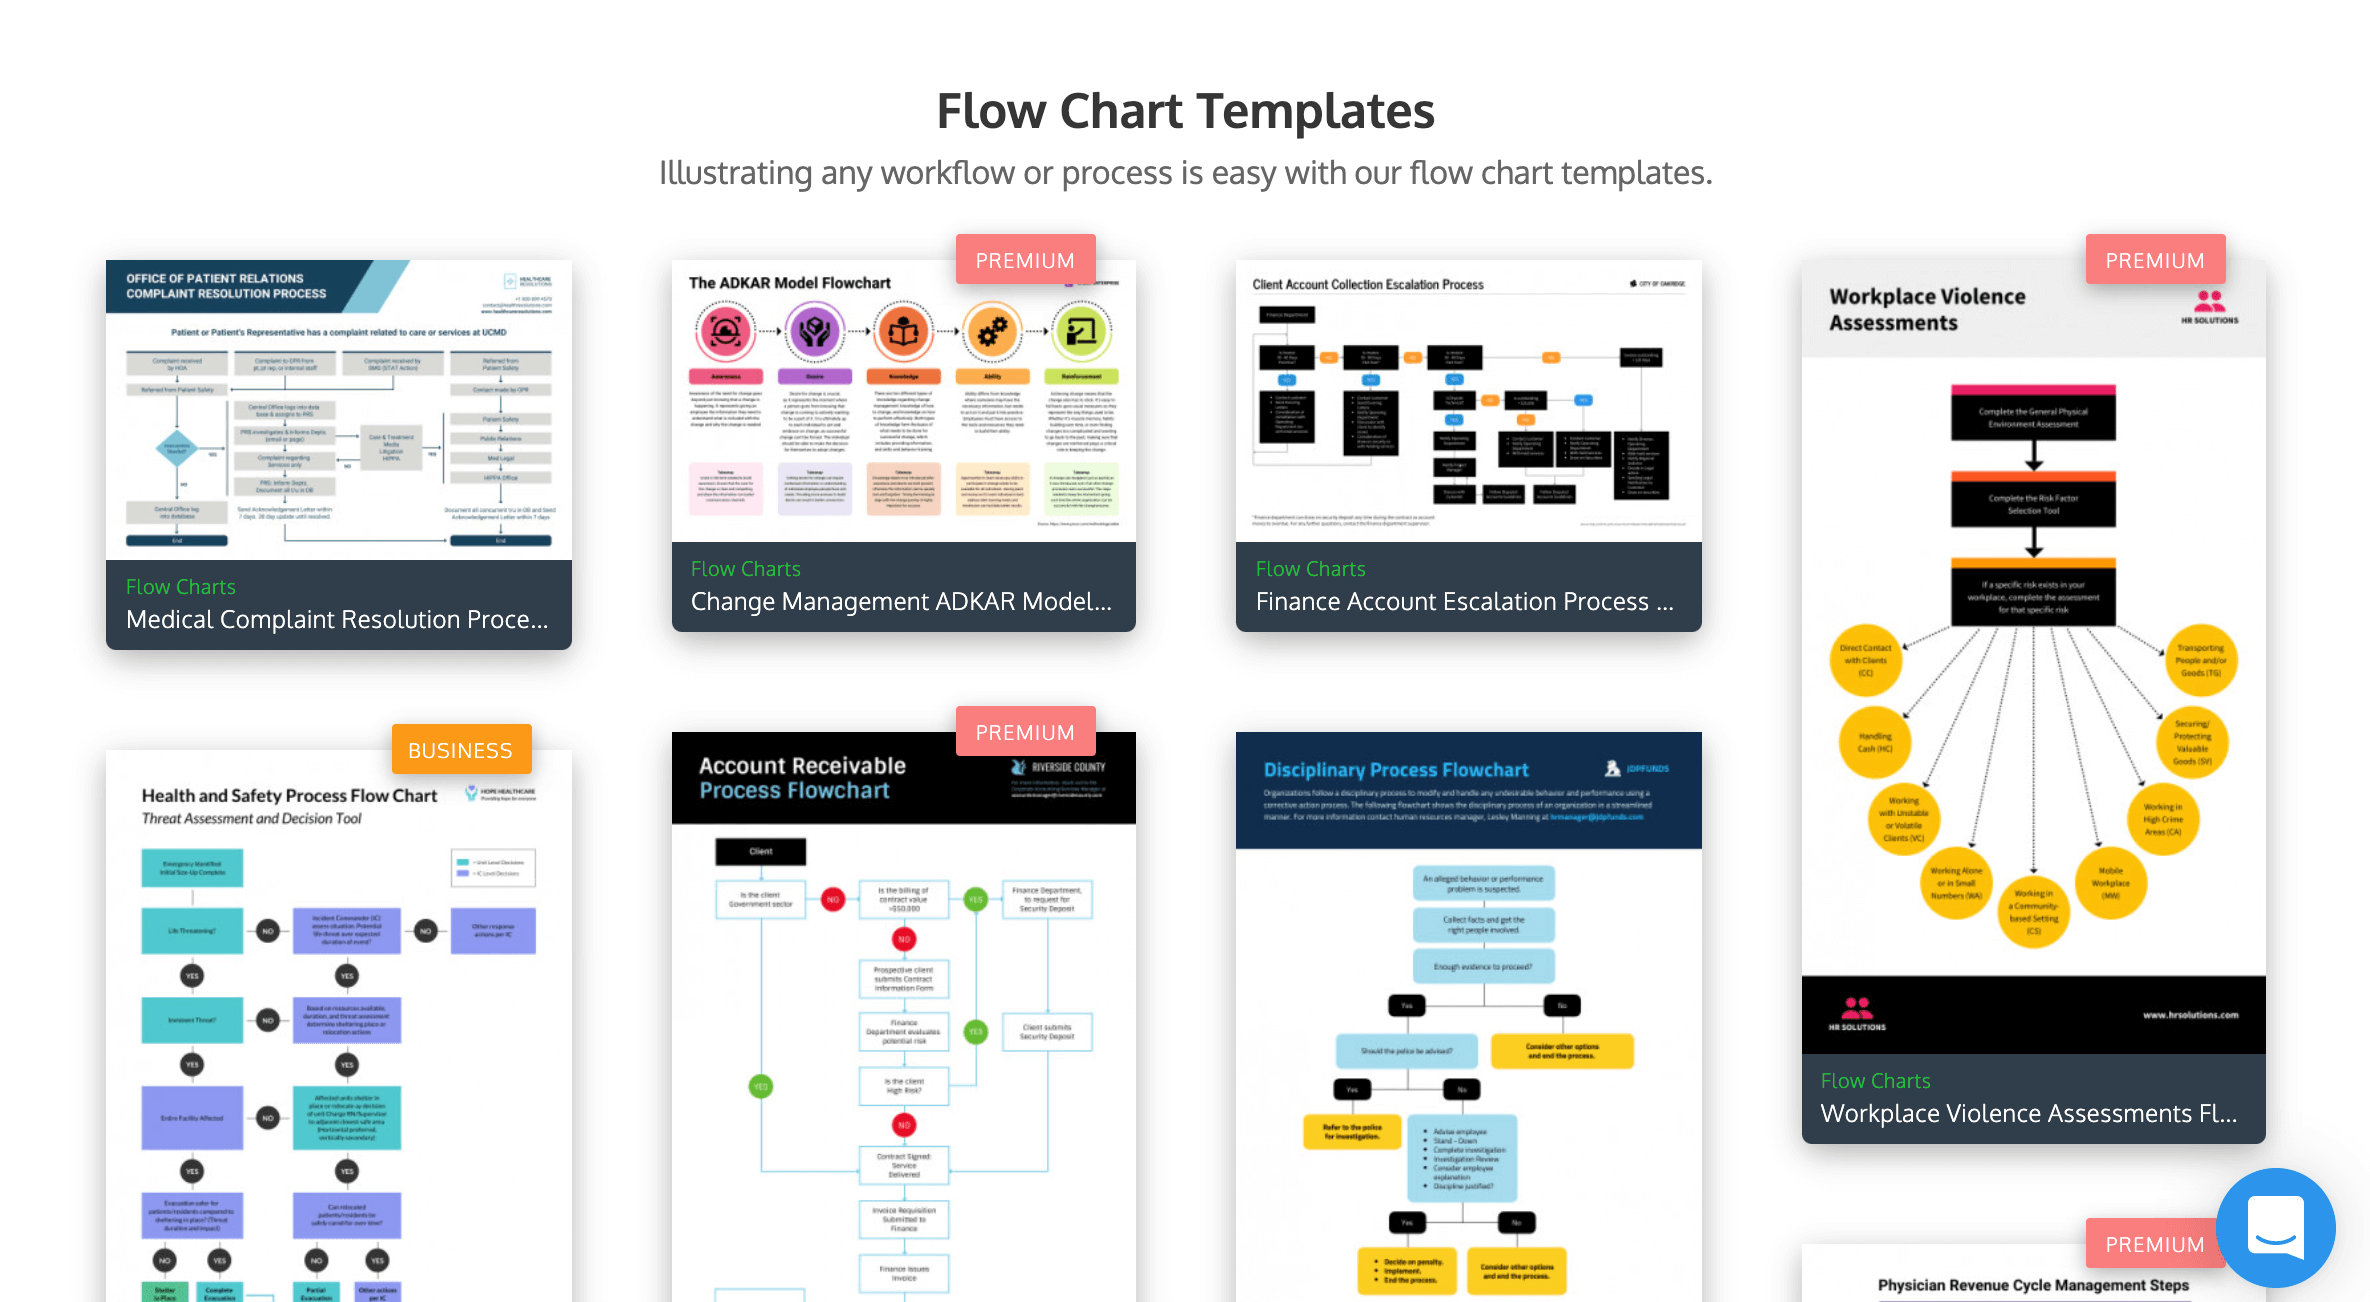
Step 2: Select a flowchart template from our templates library
Aside from the ones we’ve shared above, we also offer hundreds of others that are easy to edit even if you have no design skills.
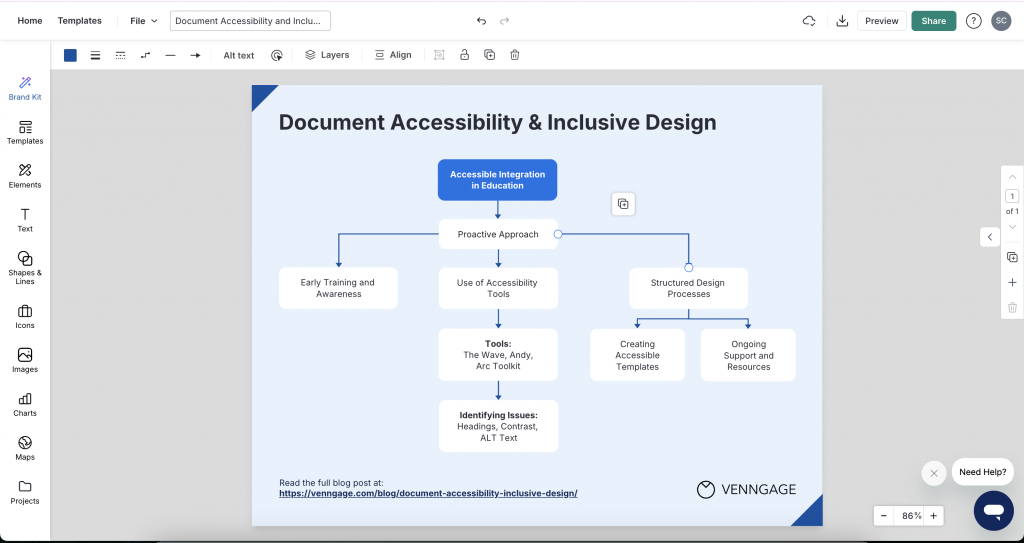
Step 3: Start editing your flowchart with our smart diagram editor
Most of our templates are created with the simple drag-and-drop editor that lets you design in minutes, even if you have no design skills.
We’re also rolling out new smart templates with the smart diagram editor which makes it easy for you to add new nodes/branches to your flowcharts.
You can add, edit, delete or drag nodes, texts, icons around in one click, and the node will automatically adjust to whatever content you add to it as well.
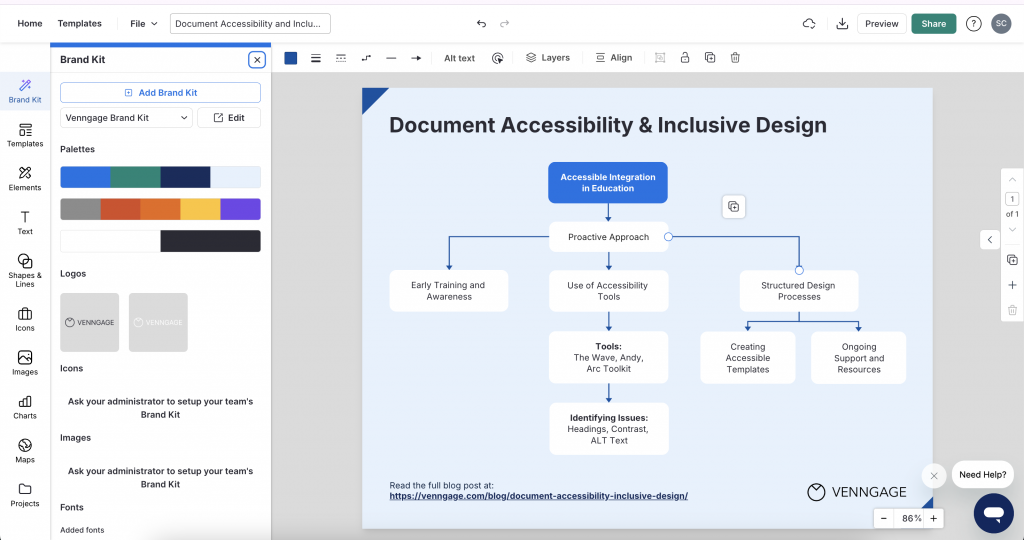
Step 4: Liven up your flowchart with icons, illustrations and branding elements
We offer over 40,000 icons and illustrations for you to visualize any information you want on your flowchart.
If you upgrade to a Business account, you can enjoy My Brand Kit—the one-click branding kit that lets you upload your logo and apply brand colors and fonts to any design.
Once you upgrade, you can download your flowchart as a PNG file that you can insert to your Word document and share it using a docx viewer link to gather feedback from others. After you’ve downloaded it, feel free to go back and make edits any time.
You can also export your flowchart in PDF, Interactive PDF or PowerPoint format—if you want to use it for your presentation.

Related: 7 best flowchart software for this year
In summary: Create stunning, engaging flowcharts for your Microsoft Word proposals, contracts and reports
Instead of creating a flowchart in Word, beef up your visual impact by creating an image in Venngage’s Flowchart Maker and using it to supercharge the visuals in your Word document.
You can start creating one for free right now and see how easy it is to make a flowchart with Venngage’s drag-and-drop editor—no design experience required.


