One of the biggest parts of building a recognizable brand is using visually consistent messaging across all of your communications.
That means your marketing collateral, reports, email newsletters, and other communications should all use consistent branding.
But according to a survey we sent to over 300 digital marketers, 47% said they found it very difficult to produce visual content for their brands consistently.
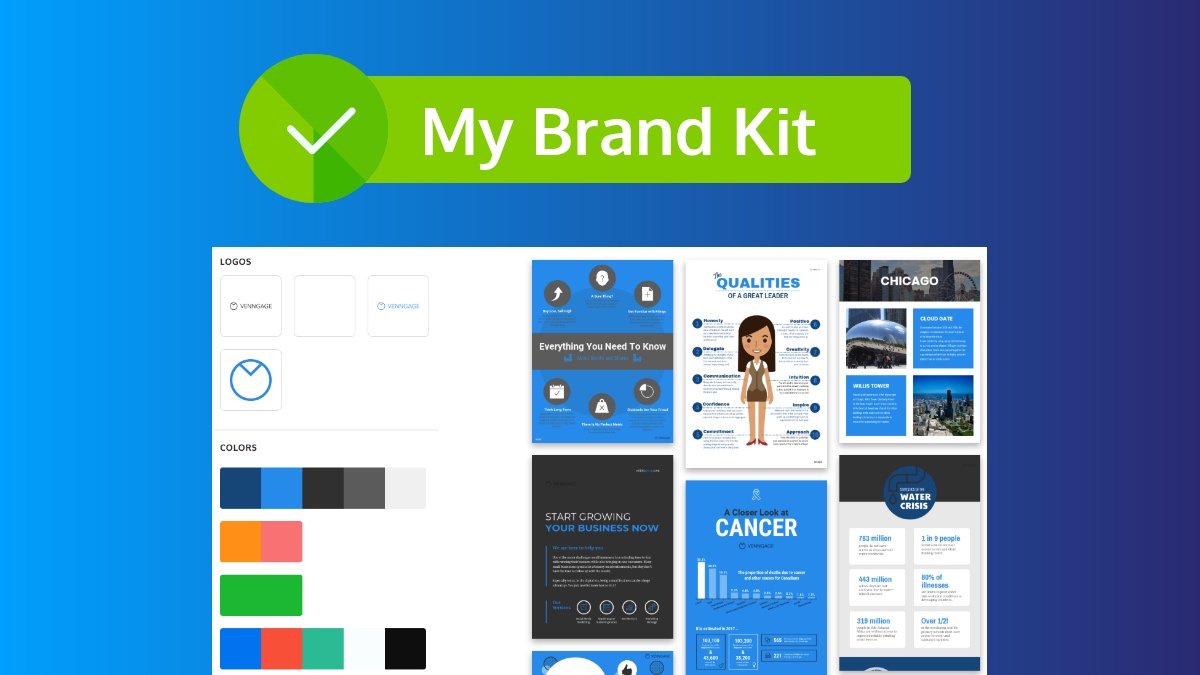
My Brand Kit on Venngage makes it easy to add your visual branding to your designs. In just a click, you can customize any template using your logo, brand color palette and fonts.
Upgrade to Venngage for Business to start using My Brand Kit:
This guide will walk you through how to set up My Brand Kit, and how to apply it to your designs (click to jump ahead):
- How to automatically upload your brand assets to My Brand Kit/a>
- How to add your brand assets manually to My Brand Kit
- How to insert your logos into a template
- How to apply your brand color palettes to a template
- How to apply your brand fonts to a template
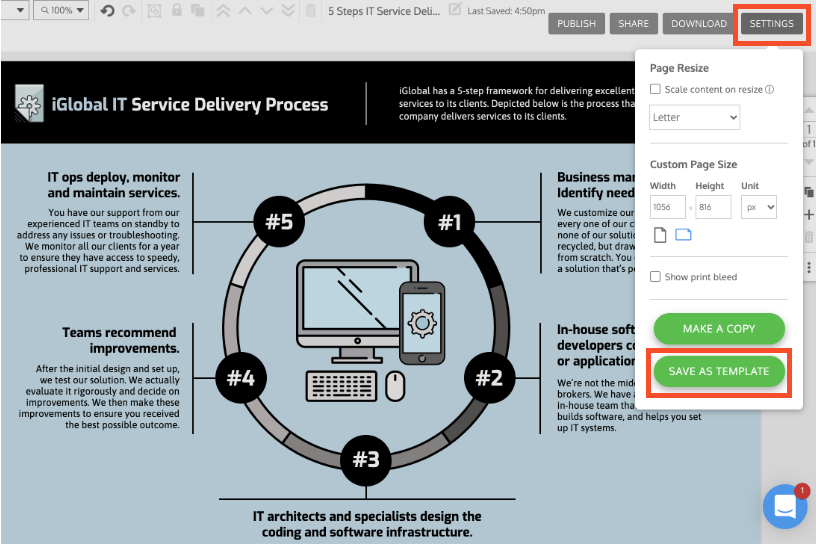
- How to save your branded design as a custom template
- When to use My Brand Kit
How to automatically upload your brand assets to My Brand Kit
To add your logos, fonts and color palettes to My Brand Kit, go to “My Brand” in the top menu. This will take you to My Brand Kit.
This is where you can:
- Upload your logos
- Set your color palettes
- And pick your fonts
When you first go My Brand Kit, it will look like this:
Where it says, “Add your brand colors and logo automatically”, click “automatically”. A pop-up will open asking you for your website URL. Paste your URL in the box. Wait for My Brand Kit to pull your brand assets…and voila! Your logos and brand colors will be saved in My Brand Kit.
How to add your brand assets manually to My Brand Kit
With My Brand Kit, you also have the option to manually upload your brand assets.
Click the plus symbol to upload a logo:
Or hover over a logo image click the garbage bin icon to delete one.
To add a new color palette, click on +Add new palette and insert the HEX codes for each color:
And to delete colors, hover over a color block and click the garbage bin icon.
To add your custom brand fonts, click “+Upload new font” under the “Uploaded Fonts” header. Then, select a font file from your desktop. You will need to check a box to confirm that you have the license to use the selected font. Once you’ve selected a font, click “Upload Font”.
To pick from a list of pre-set fonts, select a font for your headers, subheaders and body text from the drop down menus:
If you don’t see a font you want, you can Request a Font. That will let us know what fonts we should add!
Awesome! Now your Brand Kit is ready to go. You can now apply your branding to any template you create on Venngage.
Now, let’s walk through how to do that.
How to insert your logos into a template
Your logo is the most important visual asset for your brand. Once people are able to look at your logo and know immediately who it belongs to, you’ll know you’ve achieved that much-sought-after brand recognition!
That’s why you don’t want to forget to add your logo to your marketing visuals, reports, slide decks, or any document from your brand!
When you click the My Brand Kit tab in the menu on the left-hand side of your editor, your logo images will be readily available.
To add your logo to your design, simply click on the logo. This will insert it onto the canvas. Then you can drag your logo to reposition it, and resize it as needed.
How to apply your brand color palettes to a template
When you click the My Brand Kit tab in the menu on the left-hand side of your editor, your color palettes will be shown right under your logos.
You can change the color palette of your design by simply clicking on one of the palettes in your Brand Kit.
Click the Shuffle icon to generate a new color layout using the same color palette.
Your brand colors are also saved in the color picker tool, so you can access them easily.
How to apply your brand fonts to a template
To edit a font style, select a text box. Then, use the drop-down font menu at the top of the editor to select a font. Your brand fonts will be saved at the top of the drop-down menu for easy access.
With the tools in My Brand Kit, you can create visuals that consistently represent your brand across multiple platforms. And when it comes to branding, you definitely want to put your best face forward!
How to save your branded design as a custom template
Once you’ve customized a template with your branding, you can save you design as a template. That way, you will have a branded template ready to go whenever you or your team need it.
When to use my brand kit
A strong visual brand is important for both external and internal communication. Many of our users create their own branded templates to:
- reinforce their brand recognition in both their external and internal communications.
- create cohesive messaging across their company or organization,
- and to make the design process quicker and easier!
Whether you’re designing a lead magnet like a white paper or an infographic for a blog post, cohesive branding will help spread awareness of your brand.
Cohesive branding is equally important for internal communications. Align your team and set a standard by using a branded company template. For example, you can create a branded company newsletter template for aligned internal communications.
If you don’t already have a Venngage Business account, upgrade your account to use My Brand Kit:


