PowerPoint is a solid tool for creating posters, but it is not always straightforward. If you are not familiar with the tool, setting the right layout, adjusting colors and preparing the file for print can feel confusing.
This step-by-step guide walks you through the process from start to finish, focusing on the parts people usually get stuck on so you can create a clean, print-ready poster without trial and error.
Poster design has evolved for centuries, and today anyone can create clean, professional layouts in minutes. PowerPoint is a solid starting point, but tools like Venngage’s Poster Maker offer more creative control. Here’s how to design a poster in PowerPoint.
How to create a new poster in PowerPoint
To create a poster in PowerPoint, you can start by creating a blank slide, selecting the slide size, and choosing your preferred poster dimensions. Next, set the width and height, pick the orientation, then add text, visuals, and design elements to finalize your poster before saving and printing it.
Step 1: Create a blank slide
Step 2: Select design –> slide size
Step 3: Select the poster dimensions
Step 4: Set width and height
Step 5: Choose poster orientation
Step 6: Add text, visuals, and design your poster
Step 7: Finalize your poster
Step 8: Save and print

Setting up the slide
Before starting work on your poster, remember that all effective posters have the following in common.
- Are easy to understand
- An appealing layout and typography
- A clear and concise message
Step 1: Start with a blank slide
When you open PowerPoint, you’ll see a bunch of pitch deck templates. Skip those and choose Blank Presentation so you’re starting with a clean slate.

Step 2: Choose a poster template
Poster templates save time because they take care of the layout for you. To look through PowerPoint’s options, open the Design tab.

You’ll get to choose from different themes in the Themes bar.
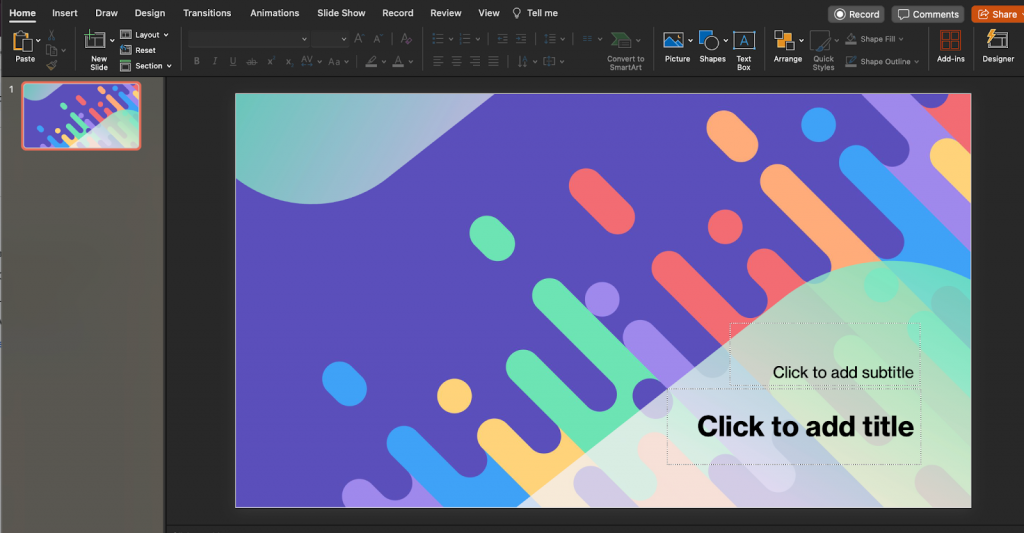
If you want more variety, click Designer in the upper-right corner. These layouts were built for slides, but you can repurpose a few for posters.

For example, this template is a great option to use as a visually appealing poster.

That said, if you want templates actually designed for posters—event posters, sales posters, movie posters, infographic posters and more.—Venngage’s poster maker will give you far more flexibility and assets to work with.
Step 3: Choose the right slide size and orientation
A regular slide won’t look like a poster, so you’ll need to adjust the dimensions.
In PowerPoint, open the Design tab and select the Slide Size setting.

From the dropdown, choose Page Setup and switch the size to Custom. Enter these measurements:
- Width: 59.4 cm
- Height: 84.1 cm

Your content may shift after resizing. A quick round of manual adjustments usually fixes it.

Now, our poster is beginning to take shape.

Step 4: Select a background
A clean background helps your message stand out.
To change your background settings, go to Format Background. You can use solid colors, gradients, photos, patterns or subtle textures.

For example, the original template I used was pretty bold, so I switched to a softer pink–purple gradient to match the Women’s Day theme.

Step 5: Design your poster
When designing your poster, keep the following things in mind.
- Ensure visual hierarchy: Arrange elements to guide the viewer’s eye across the poster. The most important information should be prominent.
- Focus on white space: Give elements in your poster room to breathe. Less is more since we want the poster to convey a message rather than be an art piece at a museum.
In my poster example representing Women’s Day, I added icons by selecting Insert and then Icons.

The symbols I chose hint at what will happen at the event: beauty and makeup booths and drinks.

Step 6: Add a title and headings
Your title is what grabs people first, so make it bold and clear.
To add one, insert a text box using Insert → Text Box.

Customize your font from the Home tab. A pro design tip is to make it bigger, bolder and easier to read.

For the rest of your content, stick to bullet points or short lines.
Posters aren’t meant for long paragraphs. To add bullets inside a text box, open Home and click the arrow beside the Bullets button.

Add visuals
Strong visuals make your poster more memorable and help your message land quickly.
To add an image, open Insert → Pictures. You can upload your own photos or browse PowerPoint’s stock library.

In the Women’s Day example, I added balloons and wine glasses to create a fun, celebratory feel.

Small tweaks like adjusting outlines or shadows can also help images blend better with the overall design.

Use shapes and SmartArt to add diagrams
Shapes are great for dividing sections or highlighting key details. To add one, go to Insert → Shapes.

Alternatively, PowerPoint’s SmartArt is also handy if you need basic diagrams like flowcharts or lists.
Just go to Insert → SmartArt and browse the options.

Step 7: Add the final touches
Before calling it done, zoom out and check for alignment issues, uneven spacing or text that feels too small. A few small tweaks can make your poster look much more polished.
Proofread your poster
Before printing, double-check your text. You can run it through Grammarly or ask a friend to take a quick look. A fresh pair of eyes always catches what we miss.
Step 8: Print your poster
When everything looks good, open File → Print. Choose your printer, adjust paper size and quality, and use Scale to Fit to make sure your poster prints correctly.

Want an alternative to PowerPoint? Learn how to make a poster in Google Slides.
How to make a poster in Venngage
Venngage is a simple and powerful business communication tool that can help you make posters without design skills.
Here’s to create a poster in Venngage.
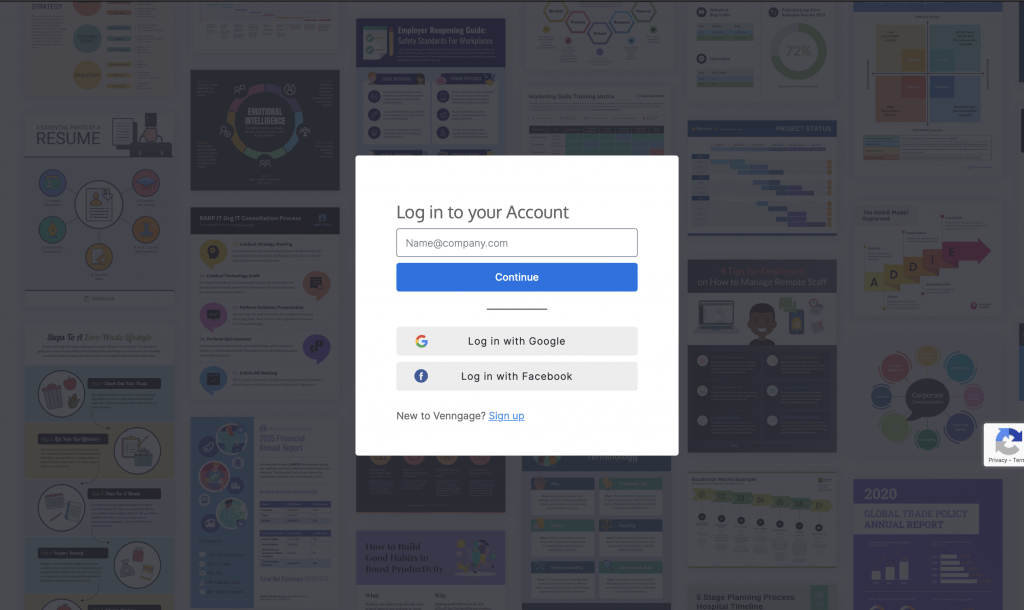
Step 1 – Sign up for a FREE Venngage account
Sign up for a free Venngage account using your email, Gmail, or Facebook account.
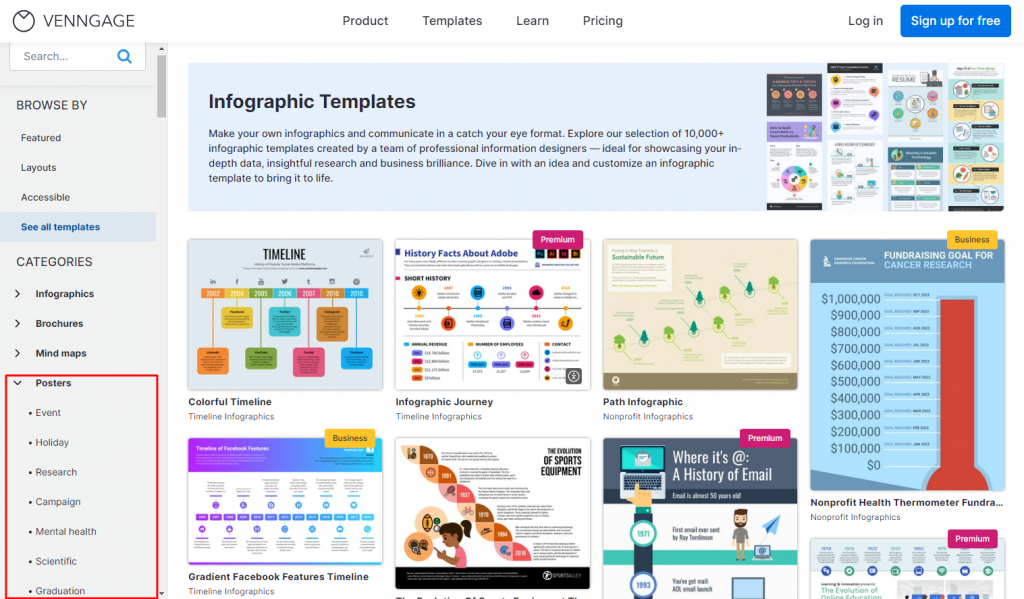
Step 2 – Pick a poster template from our templates page
Go to our templates page and select the poster option on the left panel to see poster templates, including movie posters, event posters, and more.
Step 3 – Edit one of our poster templates
Once you find a poster template you like, click on the Create button. You’ll need to sign in (or sign up if you haven’t already).
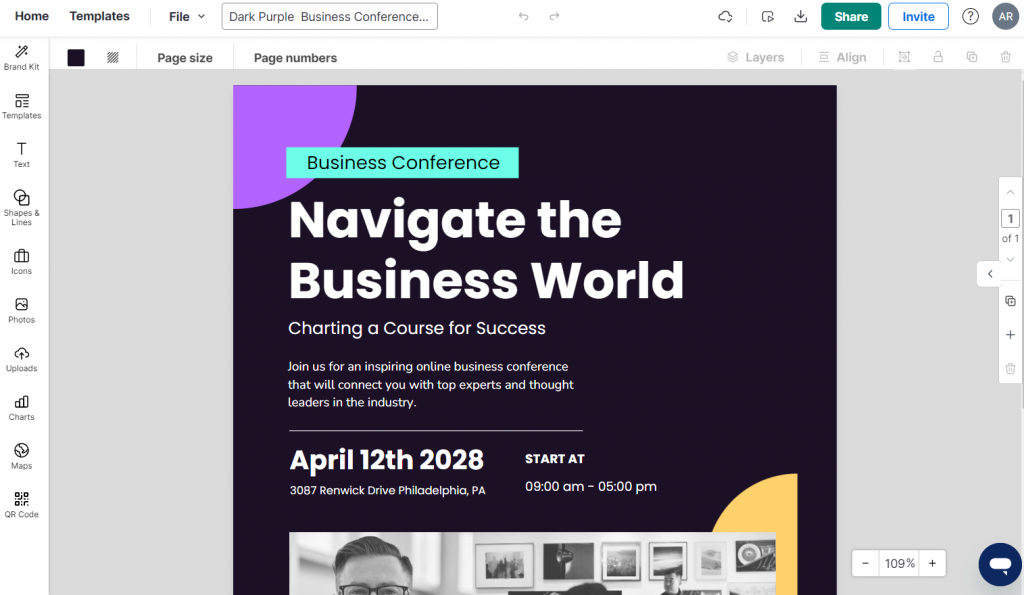
Once signed in, you’ll get access to our editor tool to customize posters.

Here are some things you can do with posters in the Venngage editor:
- Change the text, icons, layout, or graphics within the template.
- Add your brand colors to your vision board with a single click using My Brand Kit (available only for Business users).
Once you’re happy with your edits, you can download your poster in PDF, PNG, and other formats (for Business plan users only) or share a link to your poster for free.
Here are some poster templates you can edit using Venngage. For more layout inspiration, check out our guide on poster layouts.
Mental health has been a much-discussed topic lately, and this poster is an excellent reminder to take a break.
Are you looking to make a hiring poster? This one is perfect, with attractive colors and a clear message.

To spread awareness about your event, a colorful event poster is perfect for the job.

How I prepare a PowerPoint poster for printing
PowerPoint posters can look perfect on screen and still print poorly if a few basics are missed. Here’s the checklist I use before I send anything to a printer.
- Check image resolution: I zoom in to review every photo, icon and logo. If anything looks soft on screen, it will look worse in print, especially on large posters.
- Lock the poster size: I set the final dimensions first and build the layout around it. Resizing at the end can throw off spacing, shrink text and blur visuals.
- Design with print color in mind: PowerPoint uses RGB, so colors may print darker or less vibrant than they look on a monitor. I stick to clean, readable contrast and avoid neon-bright shades.
- Do a small-scale test print: I print a version on regular paper to check if headings are readable from a distance, body text is legible and key charts still make sense.
- Confirm printer requirements before exporting: I ask for exact specs like poster size, file format, bleed and any margin rules. This avoids last-minute formatting changes right before the print deadline.
Common mistakes I’ve seen people repeatedly making (and how to fix them)
Here are some common errors you should avoid while creating a poster in PowerPoint:
1. Designing before setting the slide size
Most people start on the default PowerPoint slide, design everything, then switch to a poster size later. That is when text jumps, spacing breaks and shapes start behaving strangely.
Fix: Set the final dimensions first, then build your grid. If you already designed it, copy sections into a correctly sized file instead of scaling the entire poster up.
2. Trying to fit in everything (because “it’s a poster”)
This is the biggest one. Posters are meant to be skimmed, not read line by line. When everything is included, nothing stands out.
Fix: Decide the one thing you want people to remember. Make that the headline and supporting visuals. Then cut or move the extra detail into a QR code link, a handout or speaker notes.
3. Using text that looks readable on screen but not at poster distance
Body text that looks fine at 100% zoom often becomes unreadable when someone is standing a few feet away.
Fix: Zoom out until the full poster fits on your screen. If the key sections are not readable at that view, increase font size and tighten the copy. A quick small-scale print test also makes this obvious fast.
4. Low-contrast colors and “pretty” palettes that fail in print
Pastels, light greys and thin fonts can look clean on a monitor but they often print dull, especially under indoor lighting.
Fix: Use strong contrast for anything important: headings, labels, axes and key numbers. If a section is not readable in black and white, it is usually not readable in print either.
5. Overusing icons and images without a job
Icons are often added to fill space or make things feel more “designed” but too many visuals create noise and reduce clarity.
Fix: Every visual should earn its place. Use images to explain an idea, show a process, support a data point or guide the eye through sections. If it is only decorative, remove it.
6. Messy alignment and inconsistent spacing
This is what makes a poster feel chaotic even if the content is good. Slight misalignment and uneven spacing is more noticeable at large scale.
Fix: Use PowerPoint’s alignment tools and stick to consistent spacing between sections. I treat it like building blocks: same margins, same gaps, same structure across the poster.
FAQs on PowerPoint posters
1. Is PowerPoint suitable for professional printing?
Yes, if set up correctly. PowerPoint works well for posters when you define the final size early and use high-resolution images.
2. Should I design in RGB or CMYK?
PowerPoint only supports RGB. Design with print in mind by using strong contrast and avoid overly bright colors that may shift in print.
3. Can PowerPoint handle large poster sizes?
Yes. PowerPoint supports large custom slide sizes, but performance depends on image quality and file size, so keep assets optimized.
Conclusion
Creating posters in PowerPoint is possible but tedious and time-consuming, especially if you don’t have design skills.
If you’re looking for an easy way to make posters, I recommend using Venngage’s intuitive poster maker (drag-and-drop interface) or editing one of our customizable poster templates to get professional posters in minutes.
For more poster-related guides and content, check out our other posts.
- How to Make a Poster in 10 Steps (2024 Poster Design Guide + Templates)
- 55+ Creative Poster Ideas, Templates & Design Tips
- 12 Types of Posters for Every Business Need [Templates Included]


