


A timeline is a visual, graphical, and chronological representation of a period of time, mapping key events or milestones in your project. Research shows that visual aids can improve learning retention by up to 42%, making timelines not just informative but memorable. They’re widely used — 81% of project managers present timelines or Gantt charts in PowerPoint reports.
A clear project timeline matters. It offers an at-a-glance overview, tracks progress and highlights critical stages. Studies show that projects with defined milestones have a 30% higher success rate, and according to Ravetree, projects are 2.5 times more successful when proper project management practices are in place.
On the flip side, 39% of projects fail due to poor planning. As project management expert Harold R. Kerzner said, “Perhaps the most important phase of any project is planning.”
The good news? You don’t have to start from scratch. Tools like Google Docs, Microsoft Word, PowerPoint, and Venngage’s infographic timeline templates make it easy to design timelines that are clear, accurate, and visually engaging.
Click to jump ahead
- Step-by-step guide for creating a timeline in Google Docs
- Tips for effective timelines
- How do you make a timeline in Venngage?
- Final thoughts: Simplifying your timeline creation
Step-by-step guide for creating a timeline in Google Docs
To create a Timeline in Google Docs, you can follow these steps:
- Step 1: Open a Google Docs document
- Step 2: Access the Google Drawing tool
- Step 3: Create the timeline base
- Step 4: Add events to the timeline
- Step 5: Customize the timeline
- Step 6: Edit the timeline
- Step 7: Save and insert the timeline
Let’s dive deeper with a step-by-step explanation to help you create the timeline easily by using Google Documents.
Step 1: Open a Google Docs document
In order to design or create a timeline with Google Docs, you will need to access the page and open a Google Docs document. While this may sound complicated from the get-go, it is actually the opposite. Here is how you can easily open a Google Docs Document:
- Your first step is to open your browser and head to Google Docs. If you need to or are prompted to, sign in to your Google account or sign up for one.
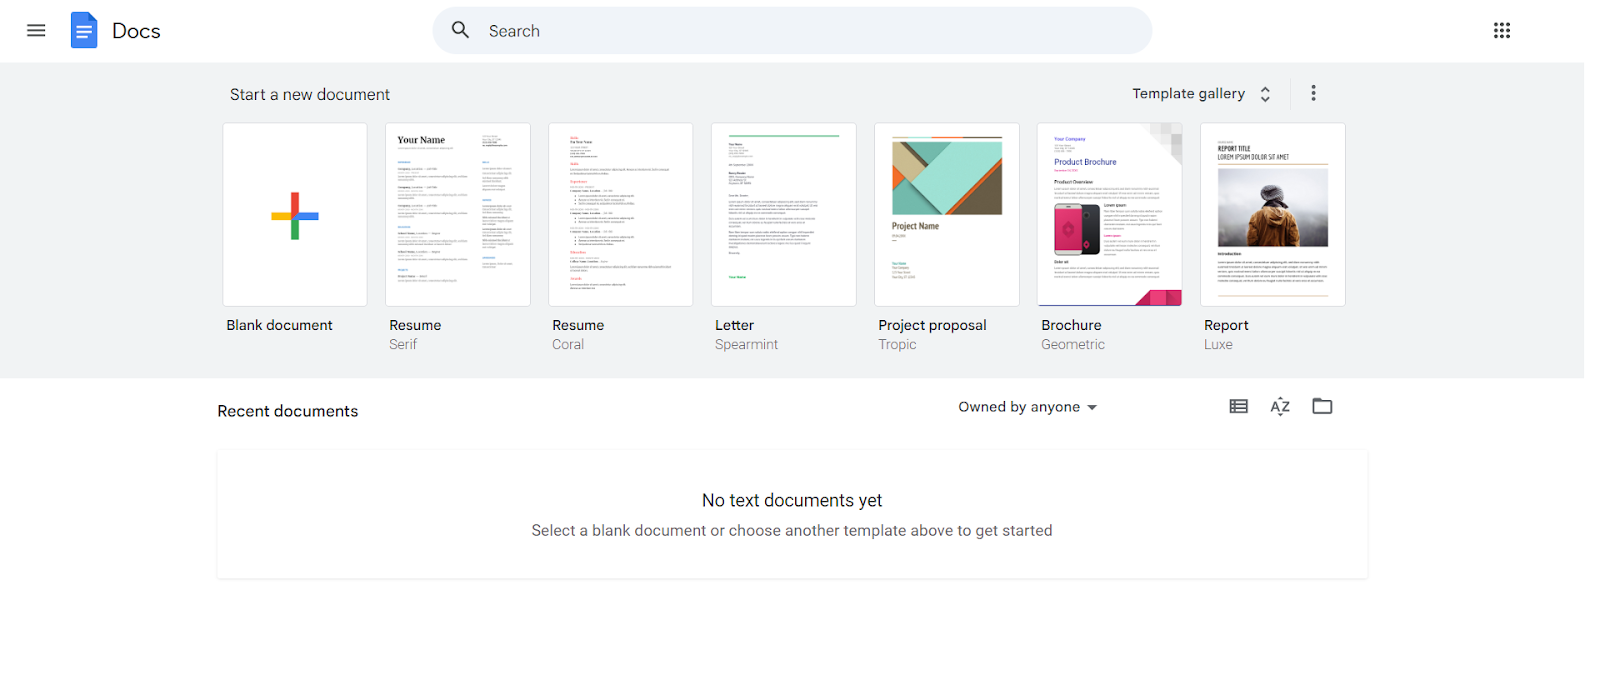
2. Create a new document:
- Once you have logged in to your Google account, you will see your Google Docs homepage. At your homepage, click on the plus symbol or ‘blank document’ to start a new Google Docs document.
Step 2: Access the Google Drawing tool
Once you have opened a new document, you will need to access Google Drawings.
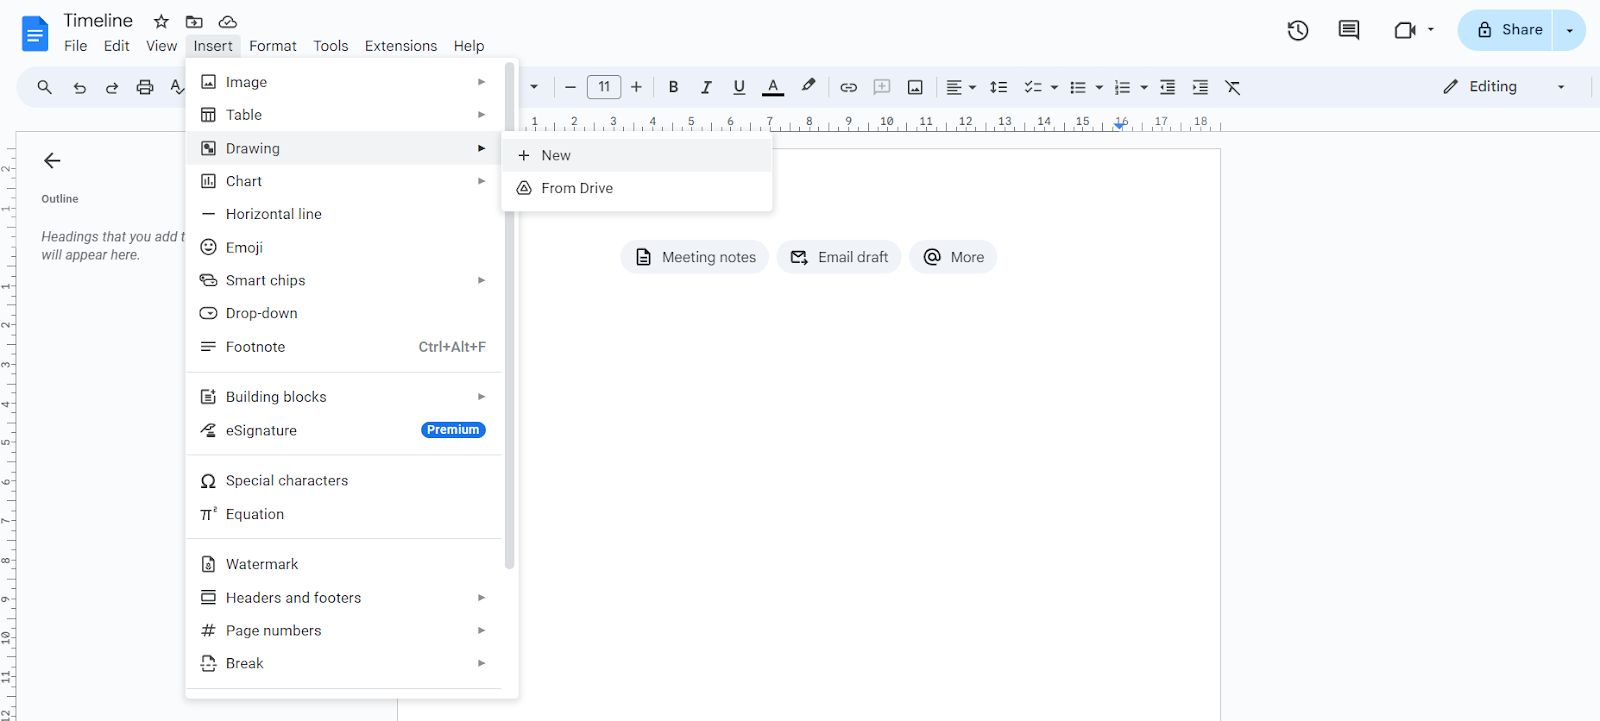
1. Open the Drawing tool:
- In the top menu of your new document, click on Insert.
- Hover over Drawing in the dropdown menu.
- Click on + New to open the Google Drawings interface.

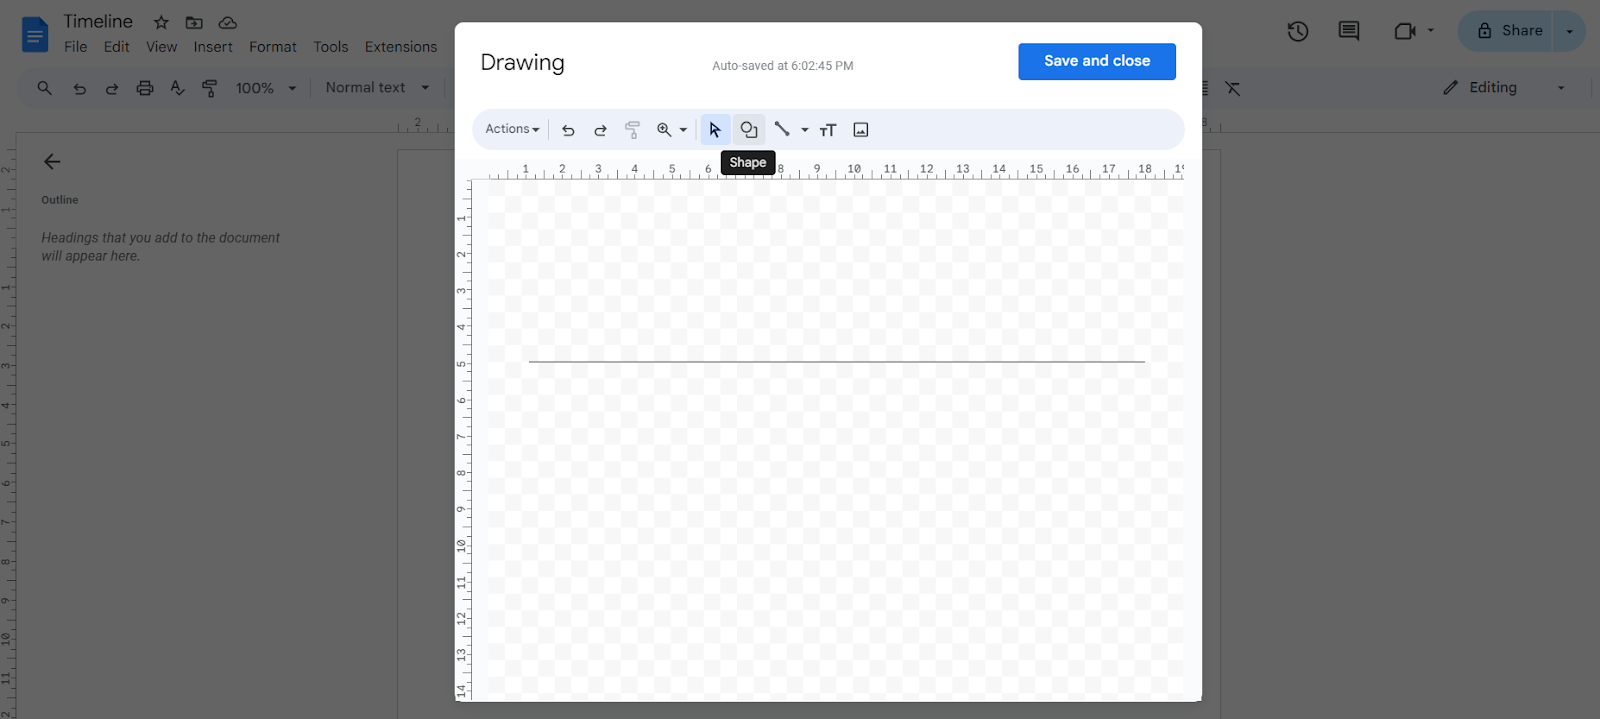
Step 3: Create the timeline base
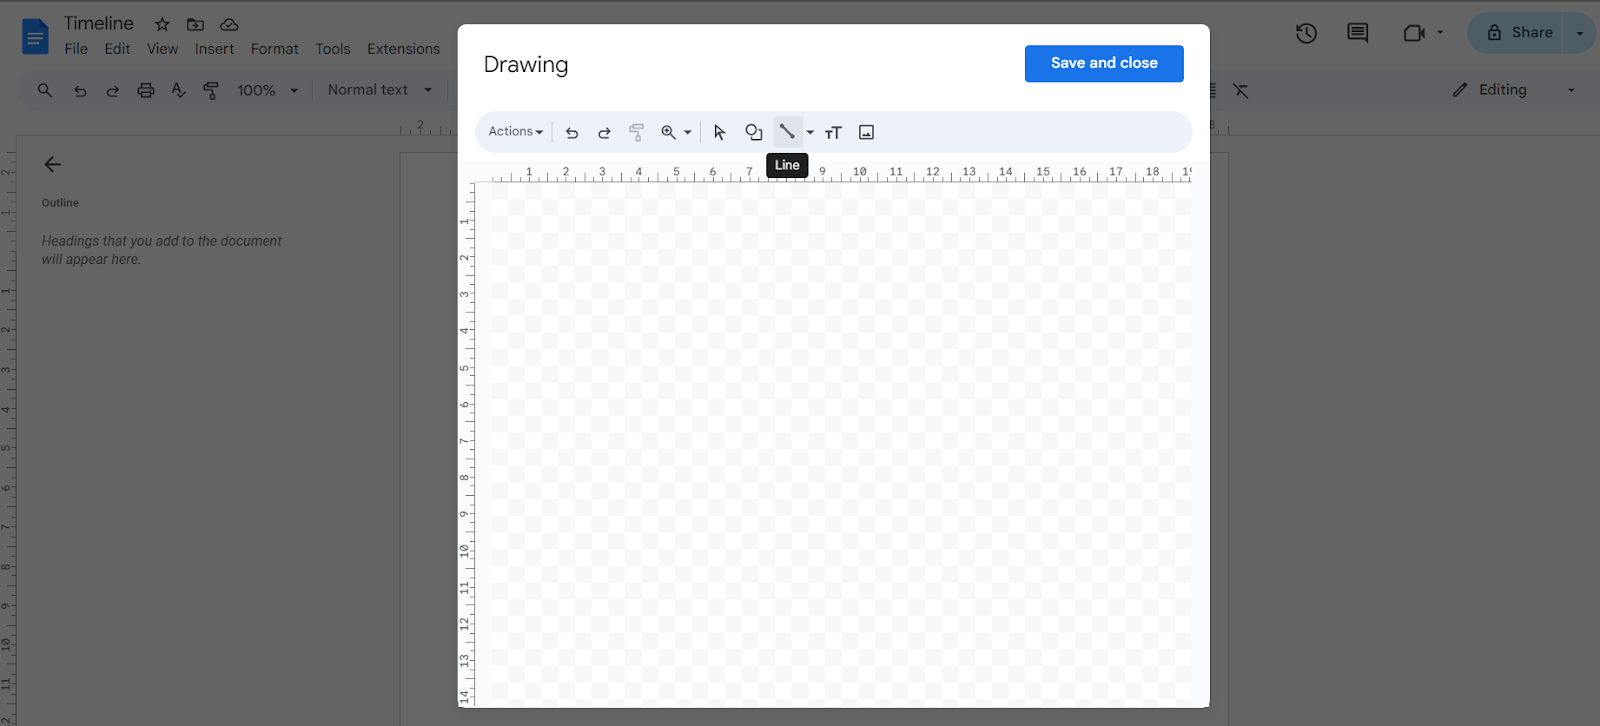
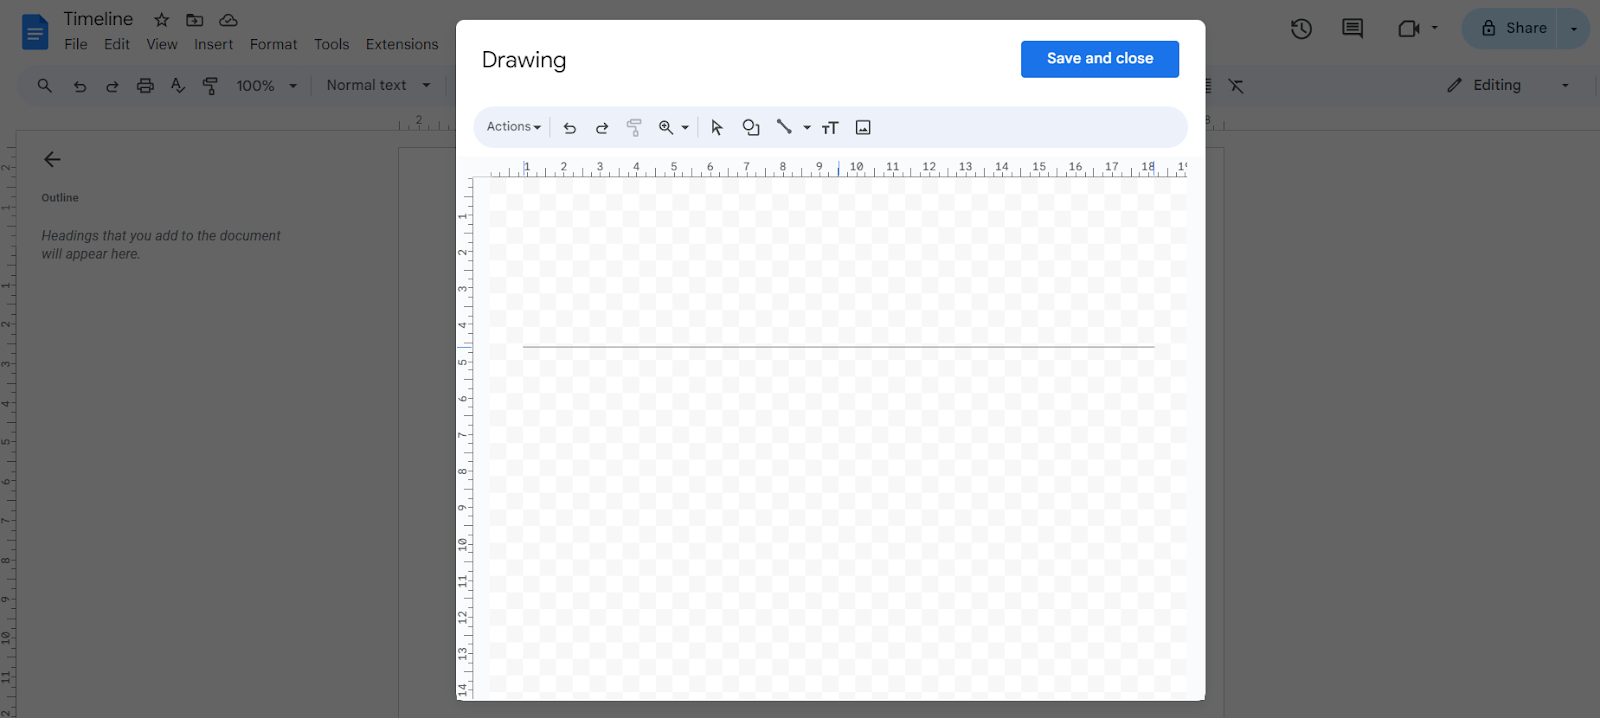
Once you have opened Google Drawings, click on the line tool (this tool is represented by an icon with a diagonal line). Use this tool to create a straight line that is required for the base of your timeline.
1. Draw the timeline base:
- Select the Line tool from the toolbar.
- Click and drag horizontally across the canvas to create a straight line, which will act as the base of your timeline.
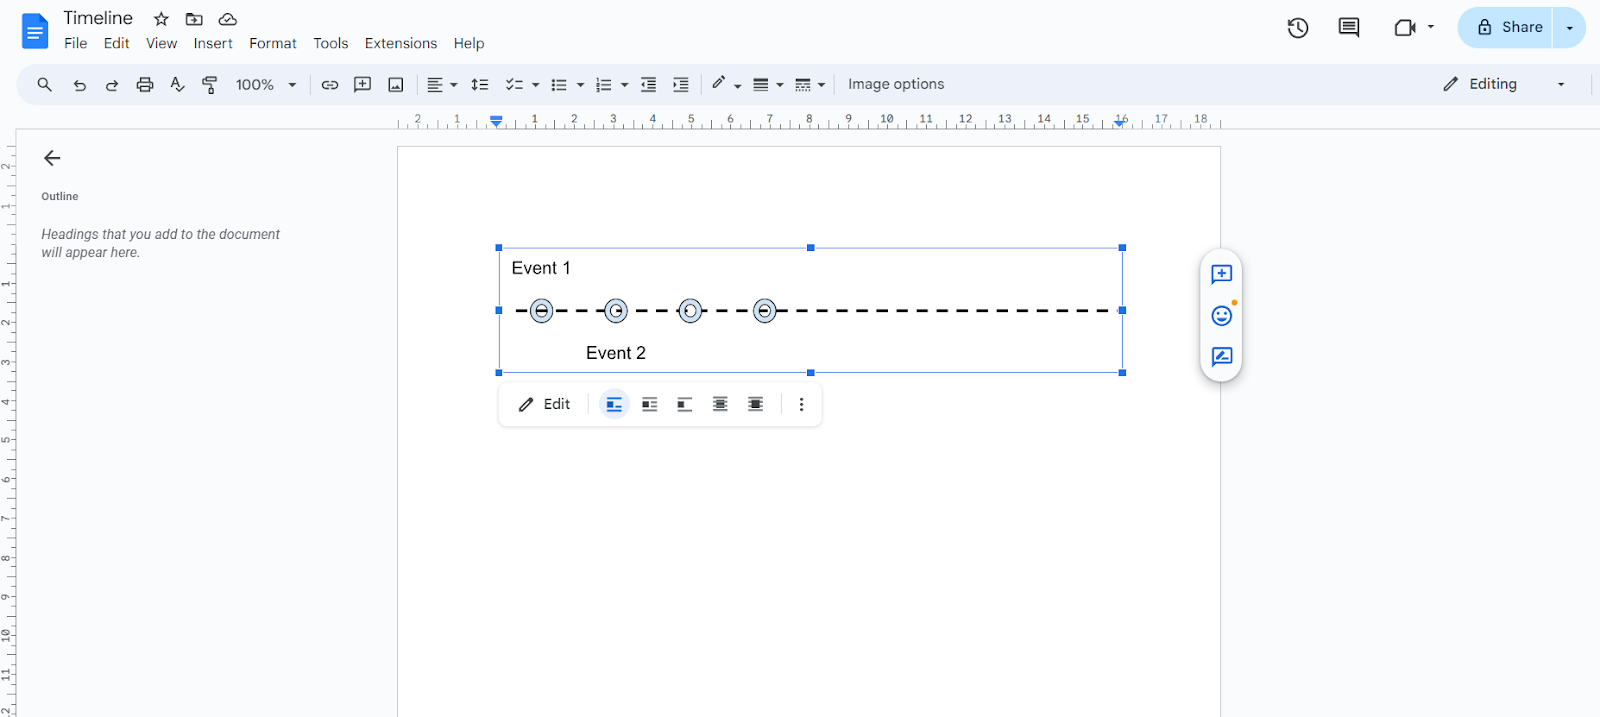
Step 4: Add events to the timeline
Now you have a base for your timeline, so it’s time to add markers for your events along your timeline.
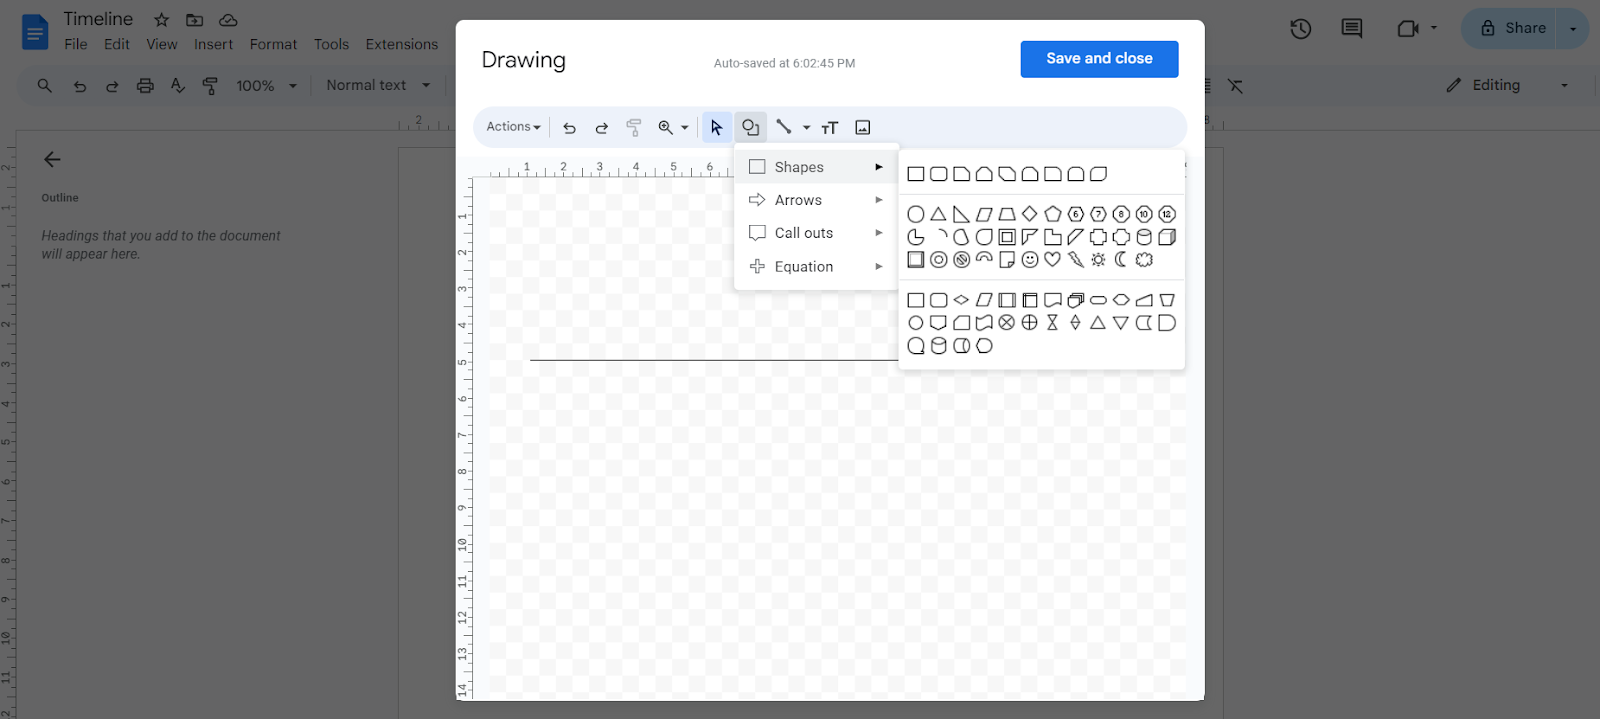
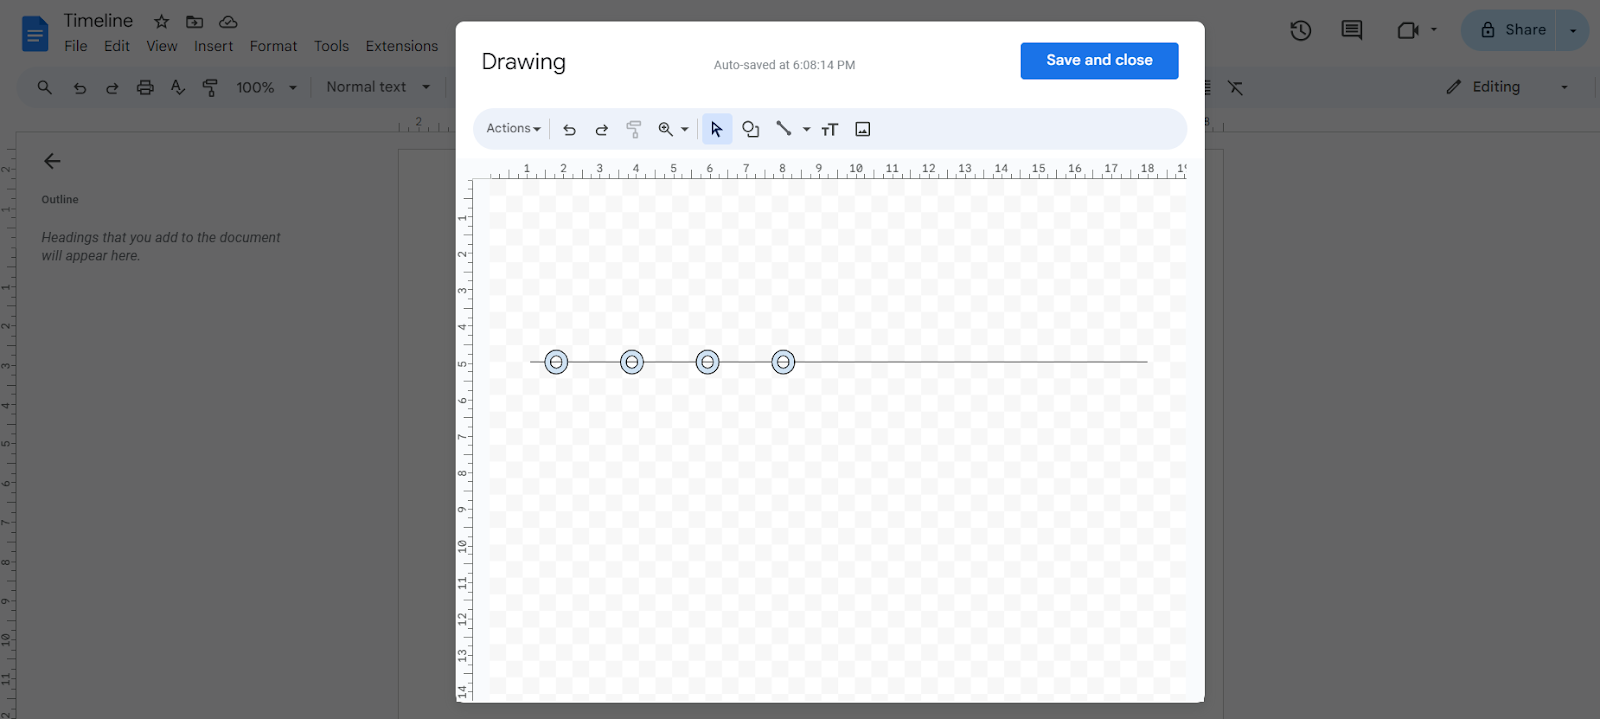
1. Insert shapes for events:
- Click on the Shape tool (icon with a circle and square) to select a shape like a circle or rectangle. (You can choose any shape that you like!)
- Place these shapes along the timeline base to mark events.
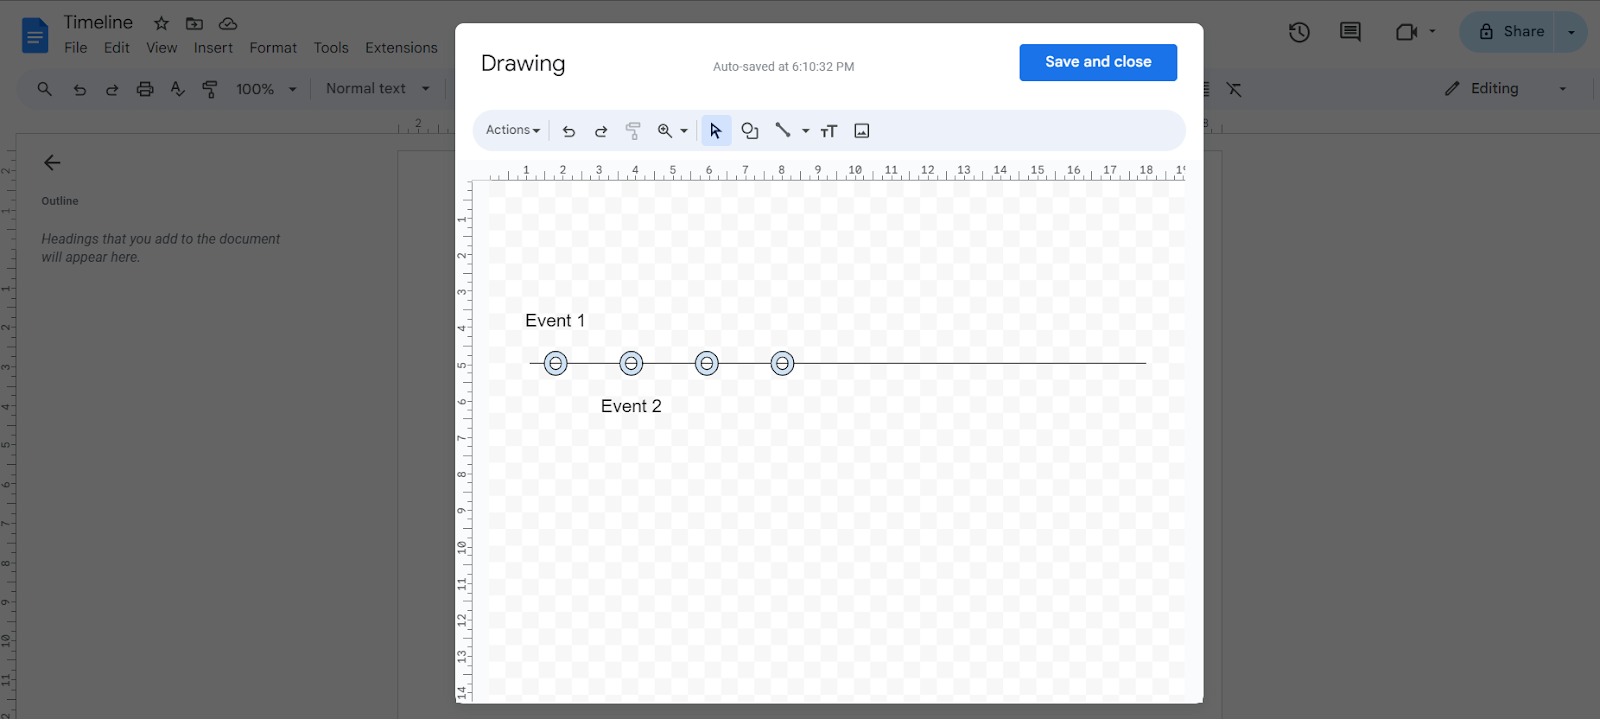
2. Label the events:
- Select the Text box tool (T icon) and draw text boxes near each shape.
- Align each text box to its respective shape.
- Enter the event names, dates, or descriptions into these text boxes.

Step 5: Customize the timeline
There is no one rule for designing your timeline, so you can customize it to your liking and needs. Here are a few ways that you can employ to make your timeline more appealing and visually friendly.
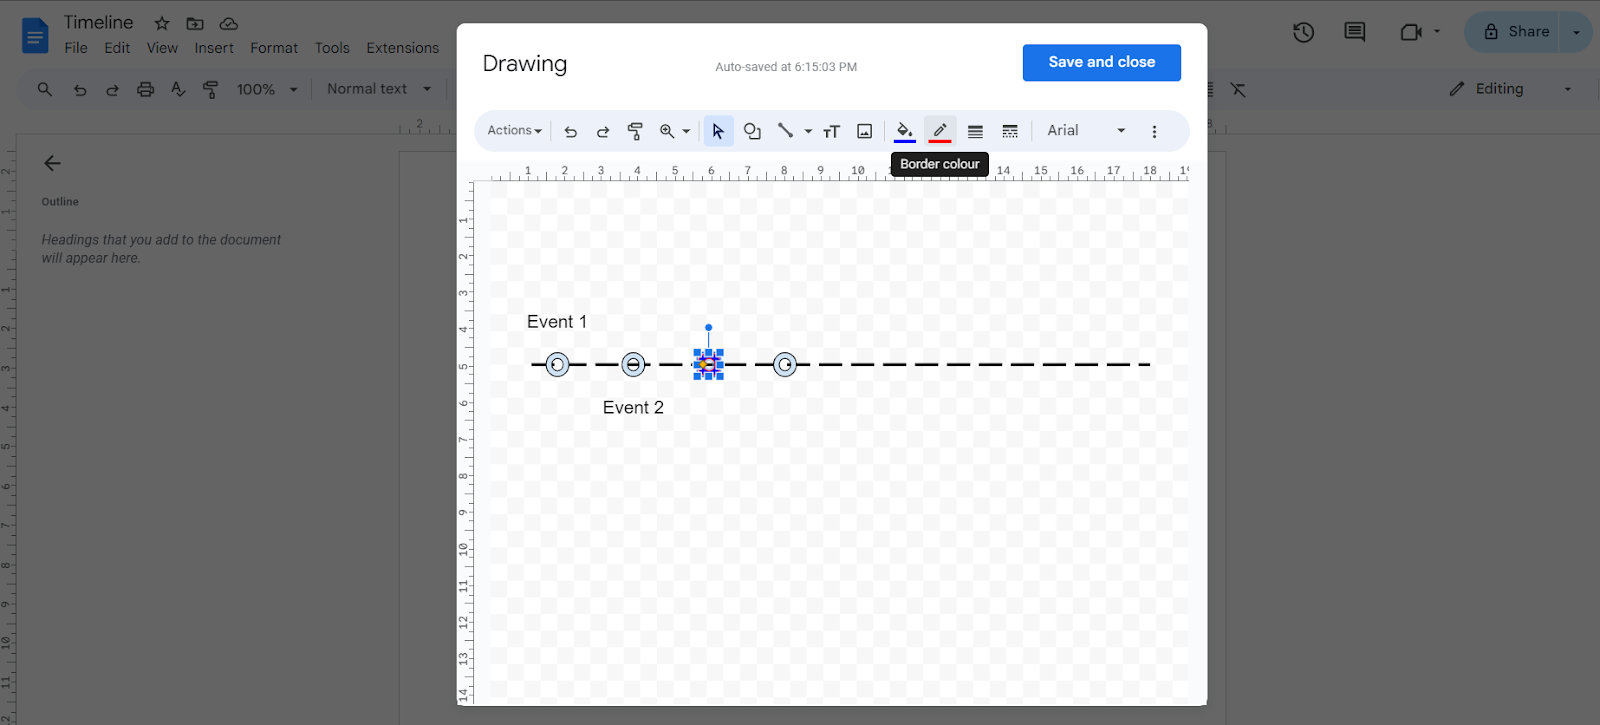
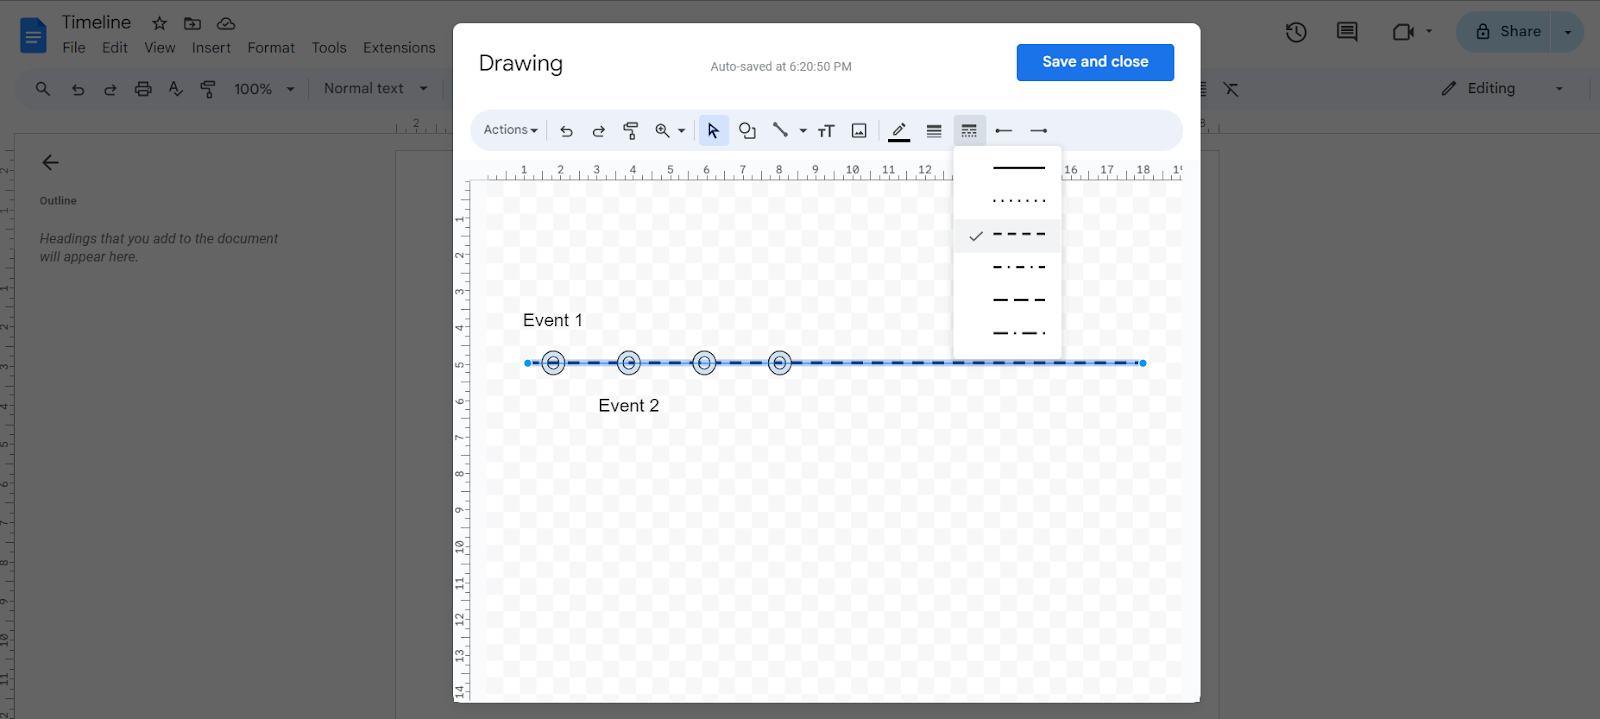
1. Adjust visual elements:
- You can use the toolbar options to change the colors of lines and shapes. (Tip: Use contrasting colors to differentiate and separate events.)
- Modify the line styles and add arrowheads or other end styles using the Line end button.
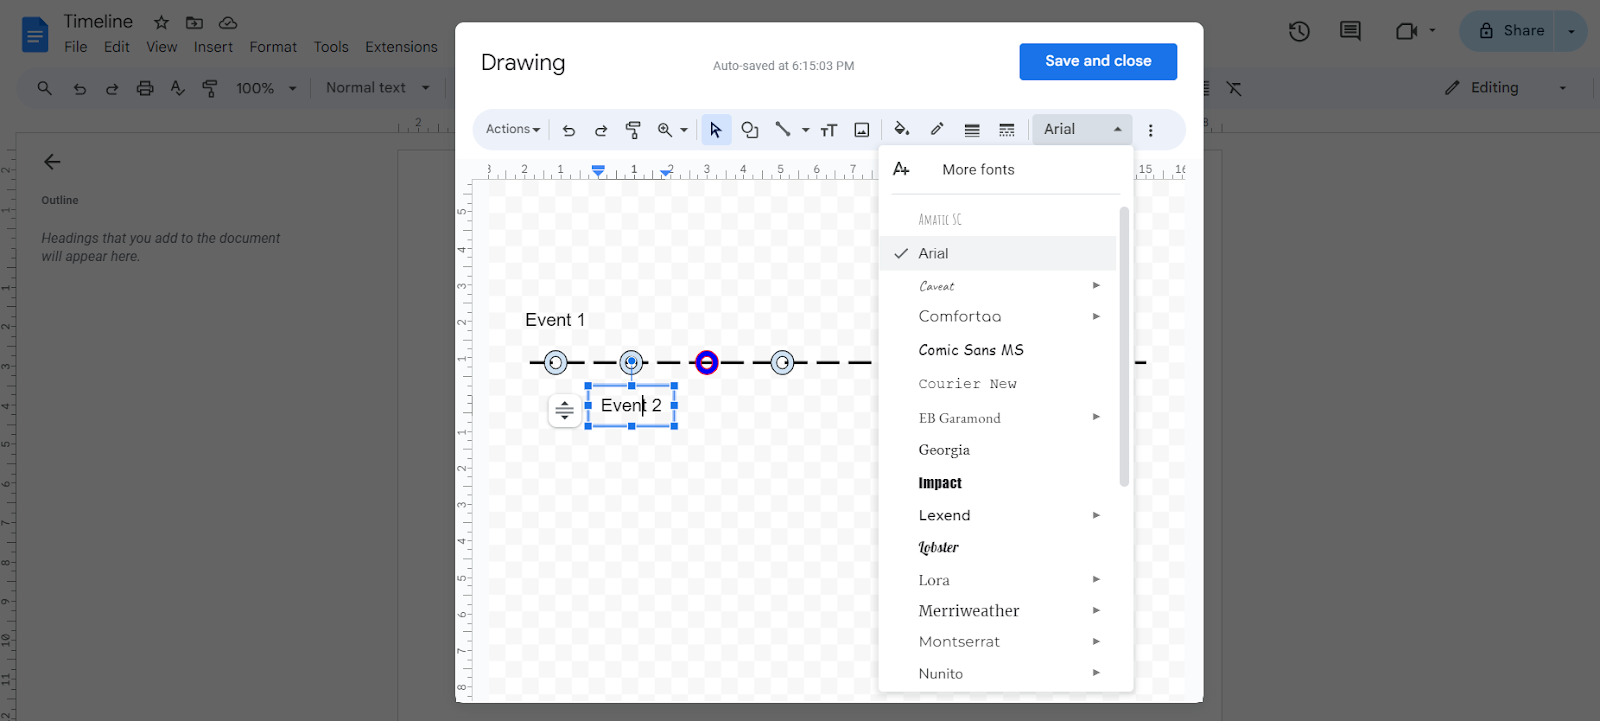
- Adjust the font sizes and styles in the text boxes to enhance readability. (Tip: Don’t use too many different sizes; try to keep this consistent.)
2. Add additional elements:
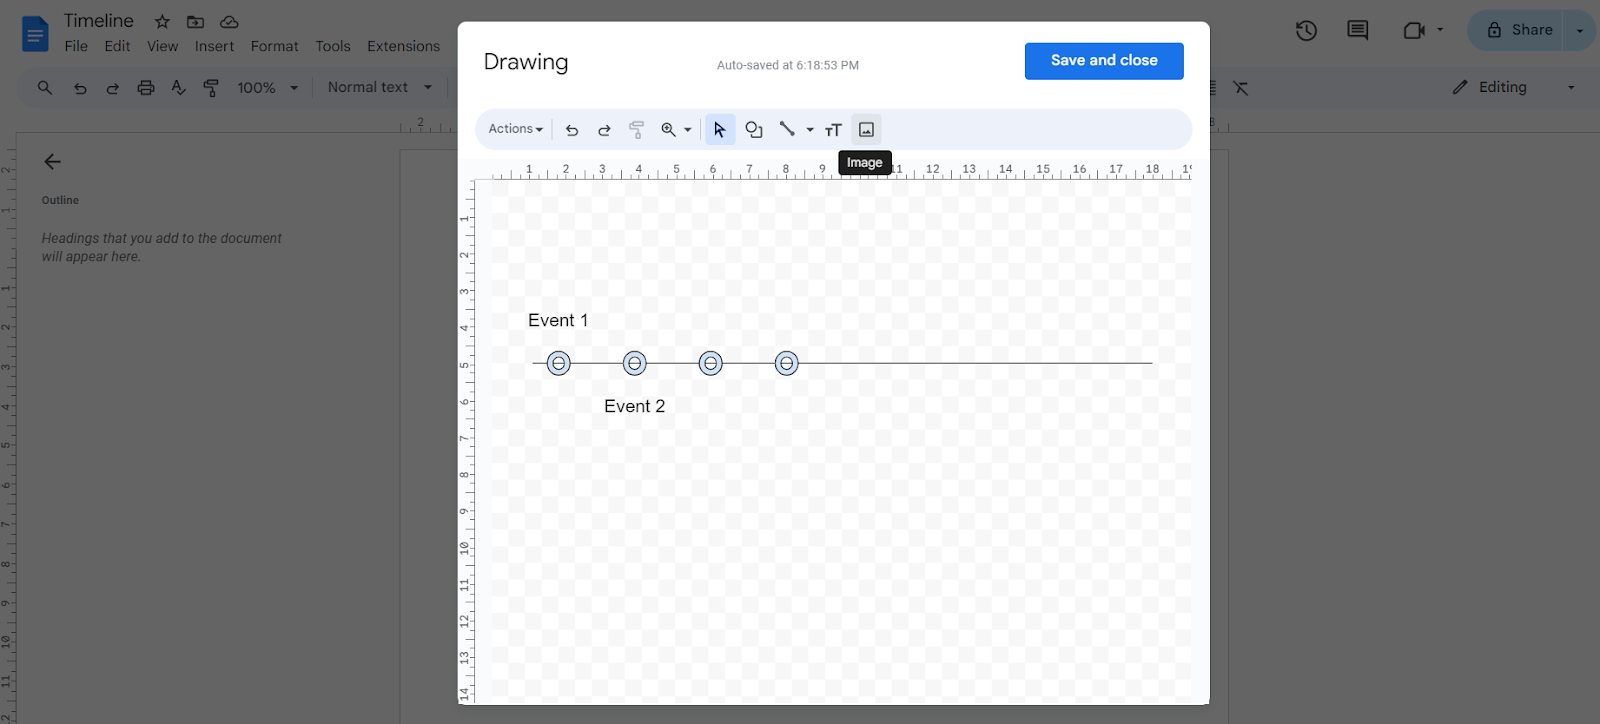
- If needed, insert images to make your timeline more engaging by using the Image tool in the drawing toolbar.
- For example, you can add different images to each marker to make your timeline more visually appealing and engaging.
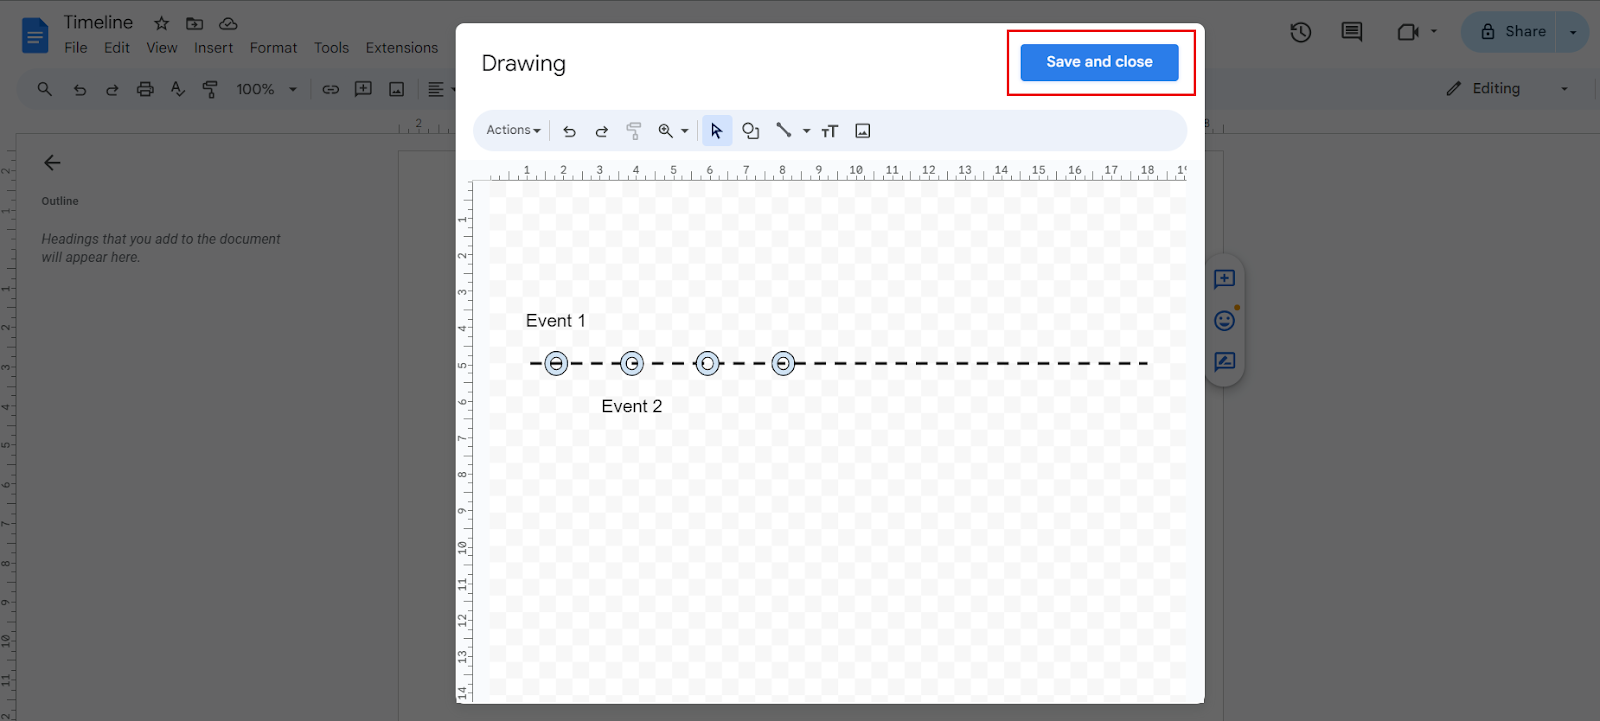
Step 6: Edit the timeline
Sometimes, your project will have changes along the way. Maybe some dates need to be shifted around, and you will find yourself needing to make changes to your timeline. Don’t worry about this because you can always edit your timeline.
1. Reopen for editing:
- To make further changes or edit your timeline, click on the drawing in your Google Docs document.
- Click on the Edit button that appears to reopen Google Drawings.
- Make your adjustments and then click ‘Save and Close’ again to update the drawing in your document.
- Your edits will now be reflected in your timeline.
Step 7: Save and insert the timeline
Now that your timeline is ready to go, it’s time to save it and integrate it into your Google Document.
1. Finalize and insert:
- Once your timeline is complete and customized, click Save and Close in the top right corner of the Google Drawings window.
- The drawing will be automatically inserted into your Google Docs document at the location of your cursor.
- Your timeline is now ready to be saved, printed, or utilized however you like.


And there you have it! A timeline in your Google Docs that you can now view at any time, edit, or even print.
Want more design inspiration? Explore these timeline examples to see what’s possible beyond a basic Google Doc layout.
Tips for creating effective timelines
Timelines give you a chronological and visual overview of your project. It points out when each important task must be carried out. This is why it is important for your timeline to be designed effectively.
A key to a good and effective timeline is to make sure that your timeline is kept simple. While specific numbers may vary, experts recommend keeping timelines simple and concise to enhance clarity and effectiveness.
Make sure to also keep things consistent by using the same shapes, fonts, and sizes, and try to use contrasting colors to differentiate between various events. This will help give your timeline a clean look, and also make it easy to read and understand.
Last but not least, make sure all shapes and text boxes in your timeline are properly aligned for a clean, professional look. Poor alignment can make your timeline harder to read — and even lead to misinterpretation.
As time management expert Alan Lakein once said, “Failing to plan is planning to fail.”
How do you make a timeline in Venngage?
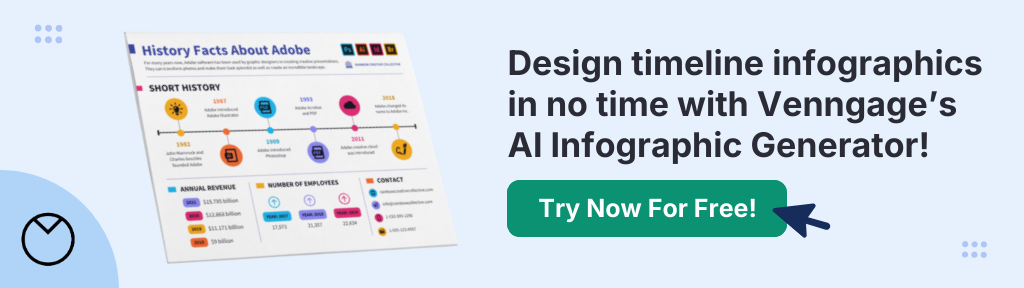
Creating a timeline on Google Docs can be a little tedious, and long winded. If you’re looking for customization, appealing designs, and speed, you may want to consider using tools like Venggage that have free, easy to edit infographic timeline templates.
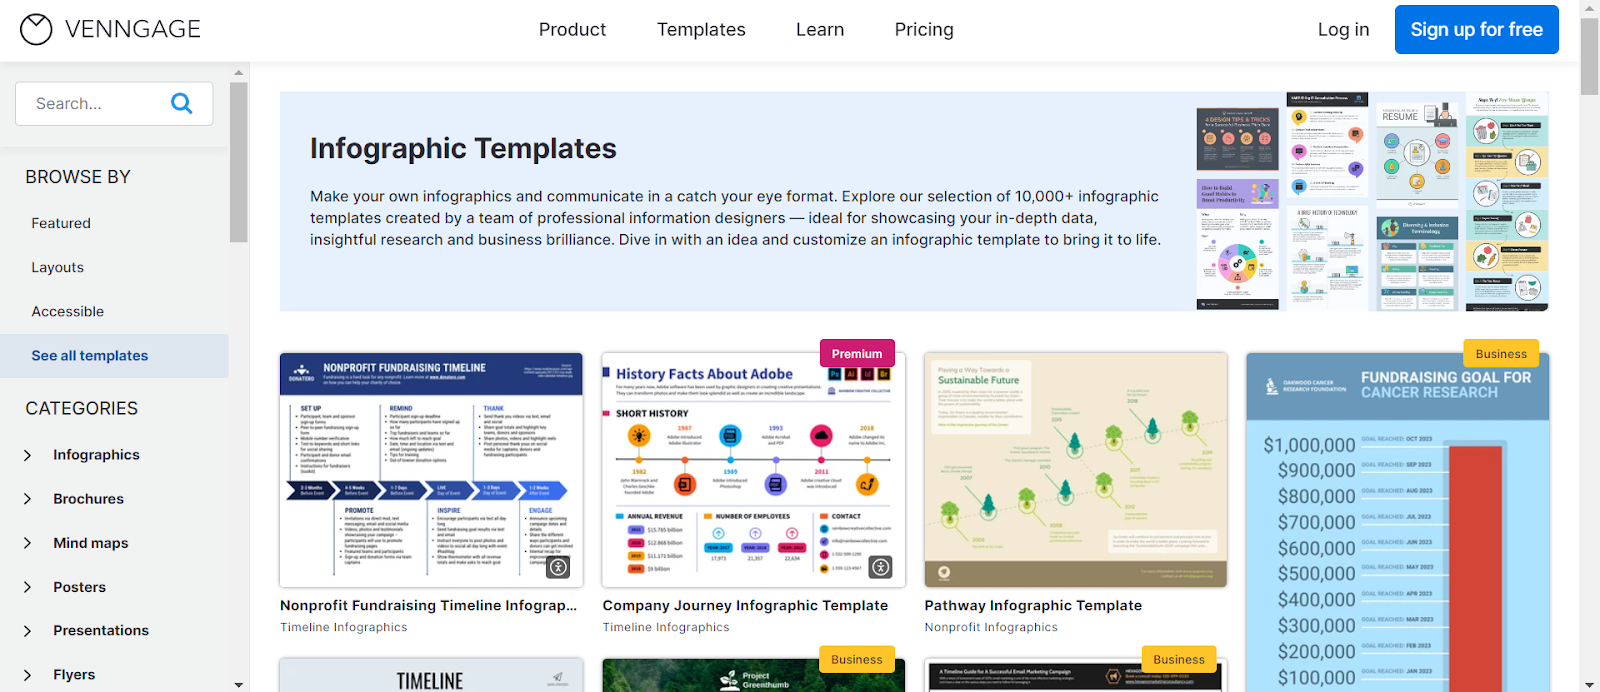
Creating an infographic timeline template in Venggage is really easy. The first step is to head to your browser, and then search for Venggage. At Venggage’s homepage, hover over the templates tab, and then click ‘See All Templates’.

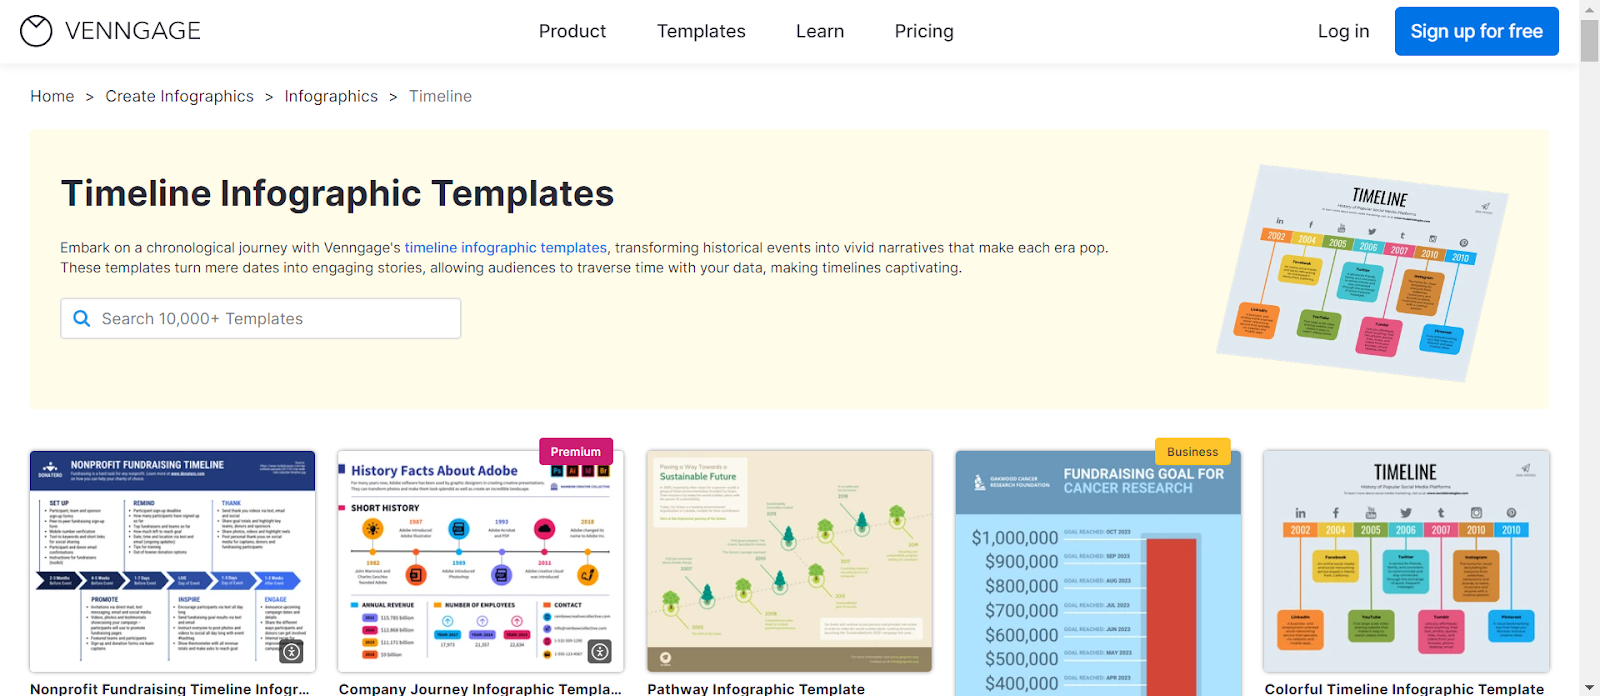
Now, simply type in ‘timeline’ or ‘infographic timeline’ in the search bar (located on the left of the page) to view the timeline templates.
Alternatively, you can click this link directly. Then, you just need to pick a template that best suits you.
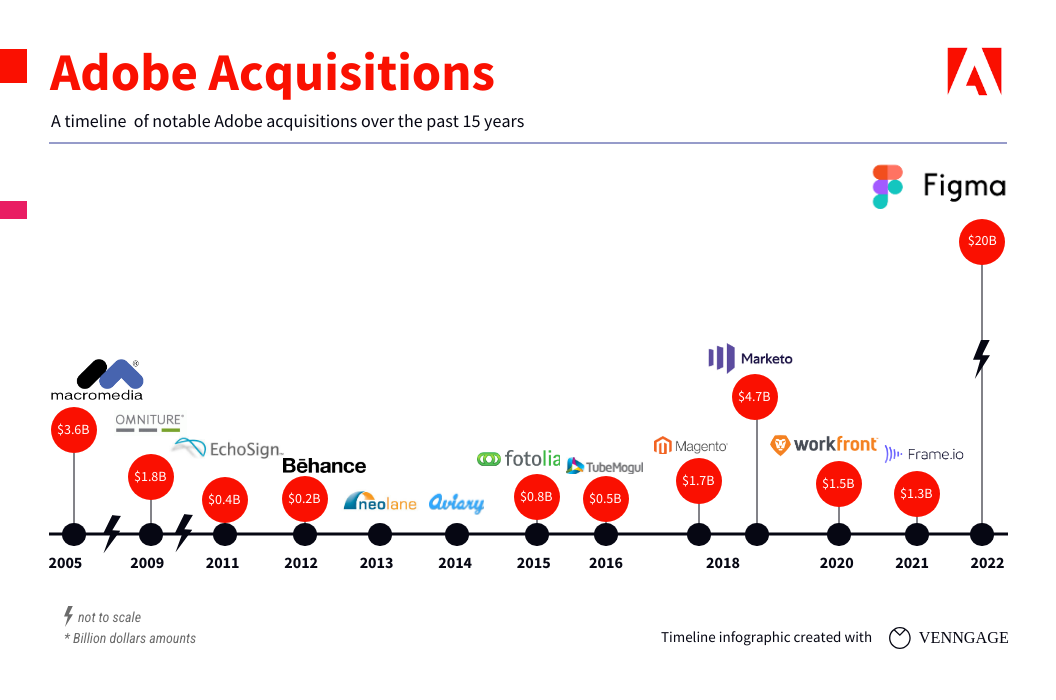
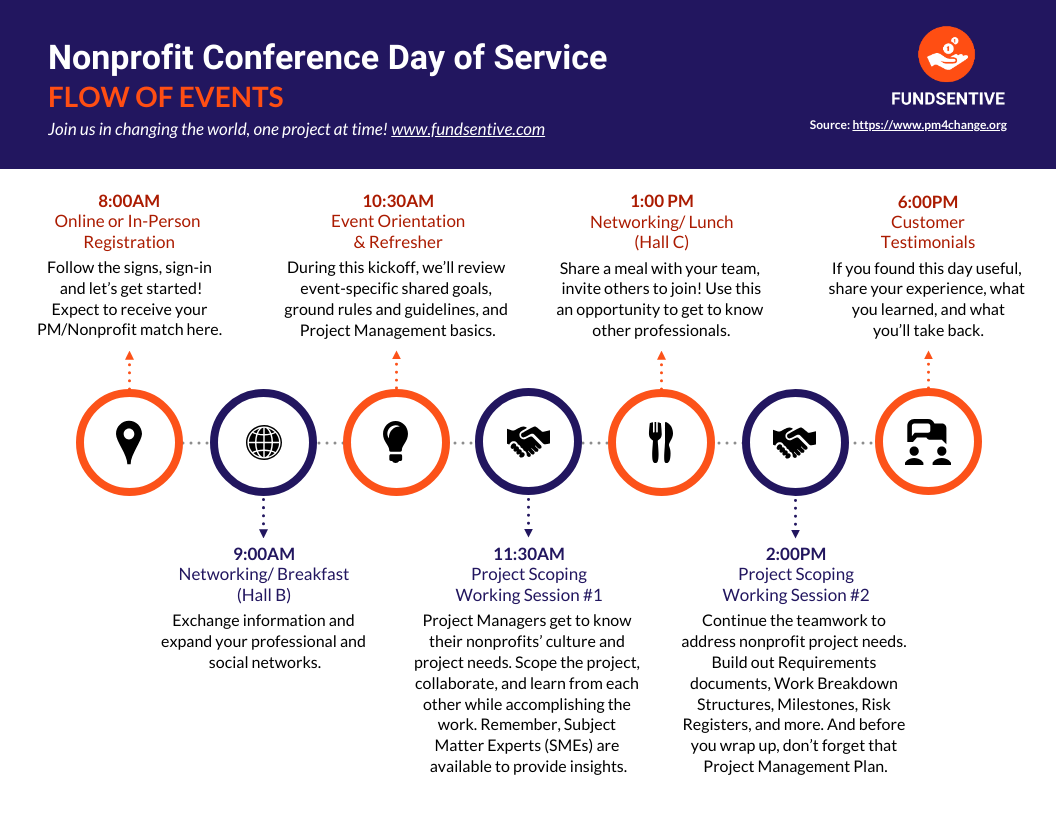
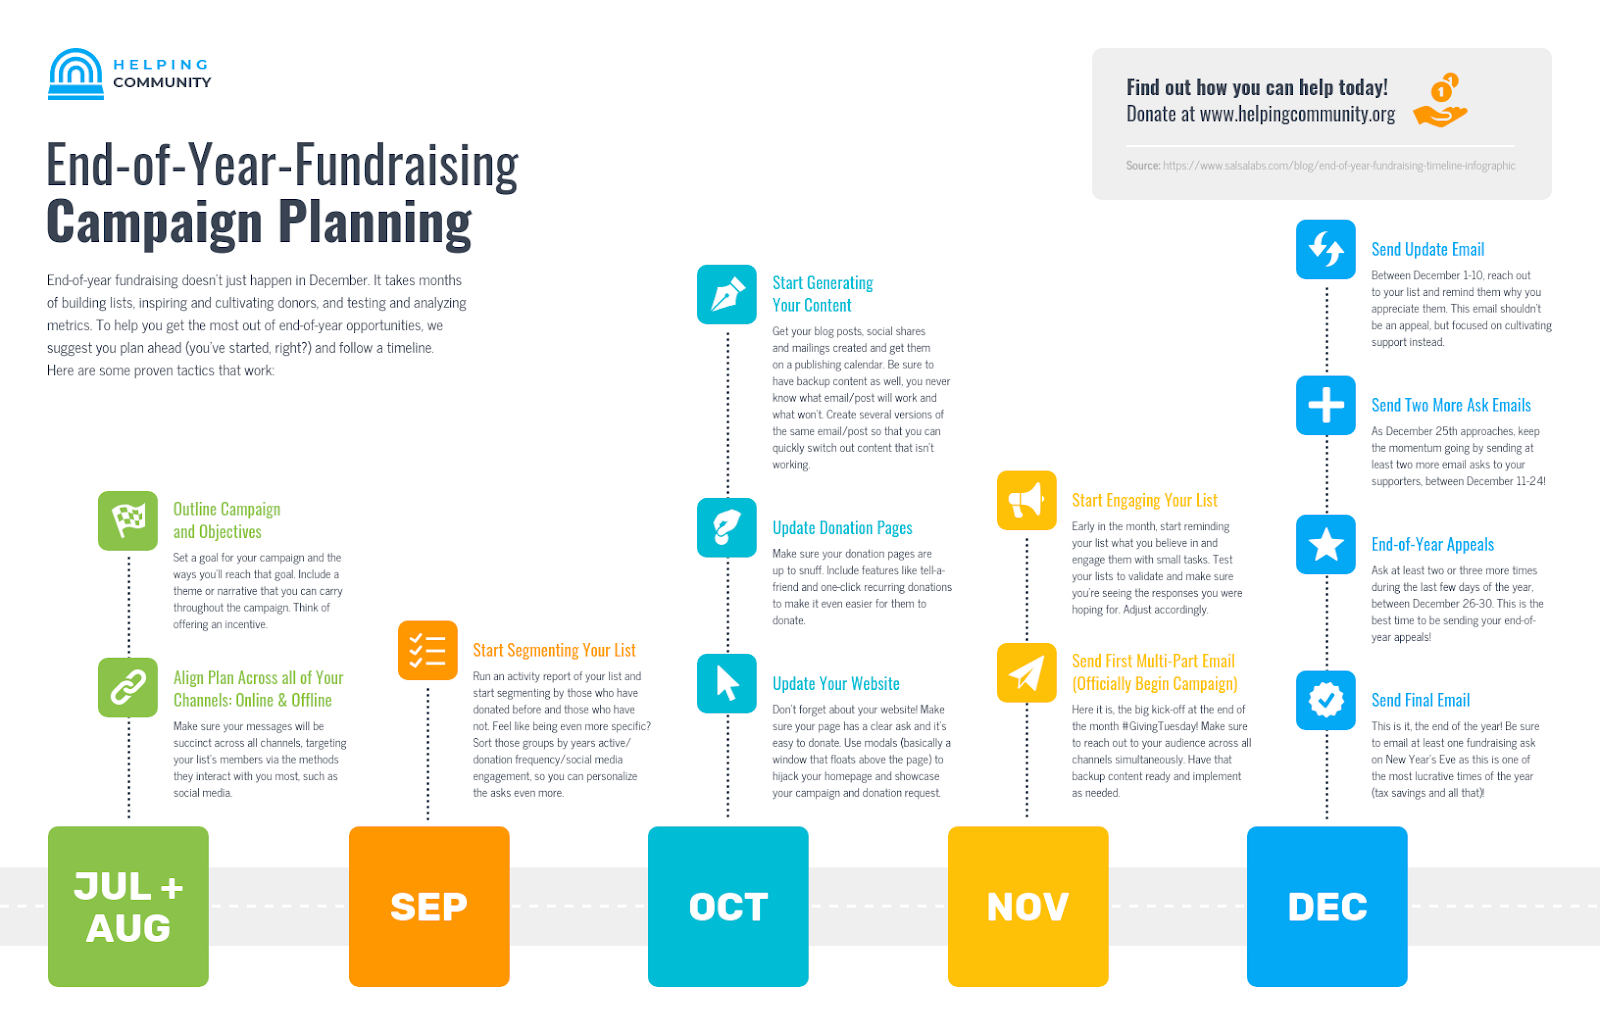
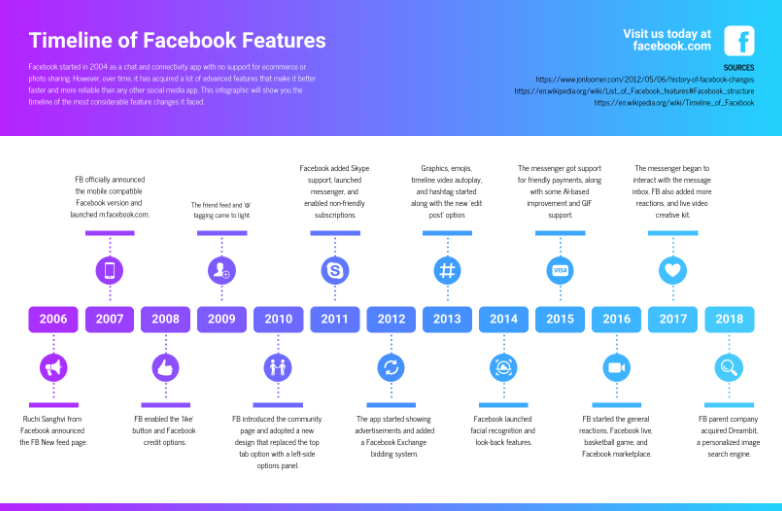
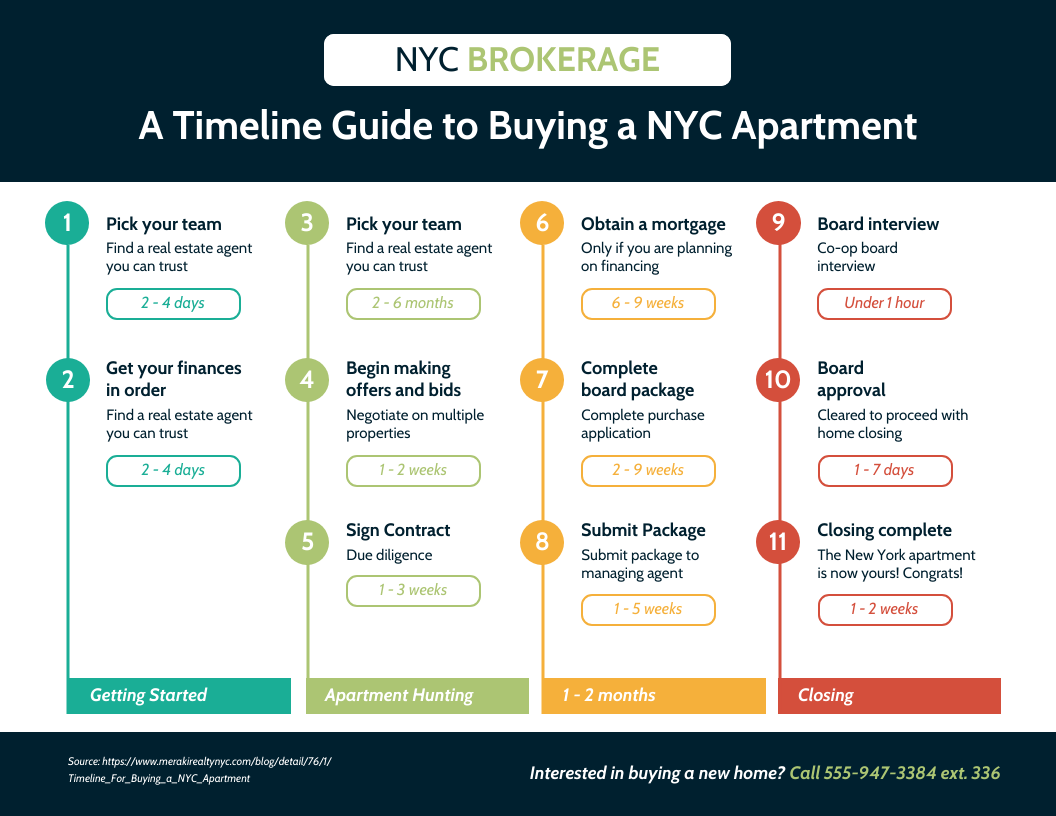
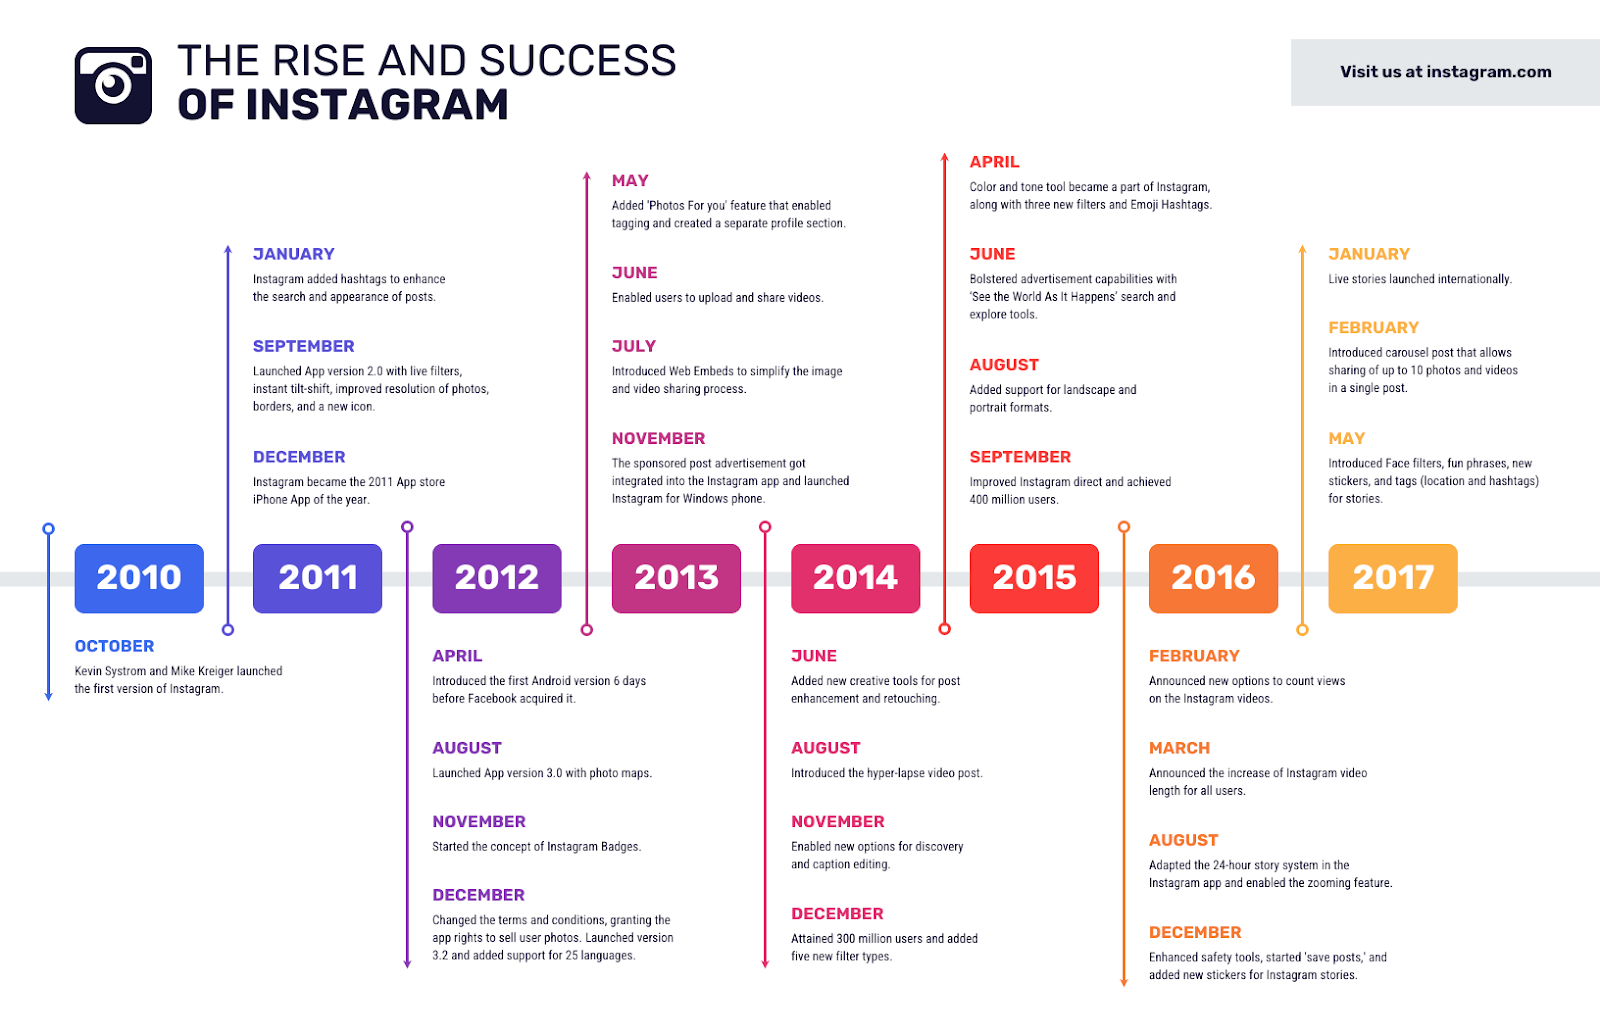
Once you have picked your infographic timeline template, click on it to start editing and creating your timeline. The templates are 100% customizable, appealing, and easy to edit. Here are a few amazing infographic timeline templates you can consider choosing:


Last but not least, don’t forget to log in or sign up for Venggage in order to save and export your timeline! Your timeline is now ready for you to view, print, and use however you like.
Final thoughts: Simplifying your timeline creation
Timelines are an essential part of any project, whether it’s for business or personal goals. They provide a clear overview, spotlight critical milestones and help you track both progress and pace. In short, they keep your work on schedule and on target.
As project management expert Gregory D. Githens put it, “Project management is like juggling three balls — time, cost and quality.”
There are many tools available online that you can use to create your timeline, and one of them is by using Google Docs. From our guide above, you can see that creating a timeline on Google Docs can come with too many steps and with clear design restrictions.
If you need a timeline that needs more customization and better design options, then you will need to use other tools, like Venggage’s infographic timeline tool, in order to create a more engaging and visually appealing timeline.
Timeline templates on Venggage are free, customizable, and easy to edit. All you have to do is just follow our steps above, and you will have your very own timeline in no time. Good luck!


