


Have you ever struggled to explain a series of events or a project in a clear and concise way?
If so, timelines are the solution to your headaches. They not only clarify the order of events but also focus your audience’s attention on key moments, improving understanding and retention.
Timelines are commonly used in business for project management, historical breakdowns, product roadmaps, and more. According to Zippia, 77% of high-performing projects utilize project management software.
In this blog, I’ll show you step-by-step how to make a timeline in PowerPoint.
Hint: If you want an alternative (and more effective) method to create timelines, use our free timeline maker or edit free timeline templates from our library.
Click to jump ahead:
- Step-by-step guide for creating a timeline in PowerPoint
- How to make a timeline in Venngage?
- Conclusion
Step-by-step guide for creating a timeline in PowerPoint
To create a timeline in PowerPoint, you can follow these steps:
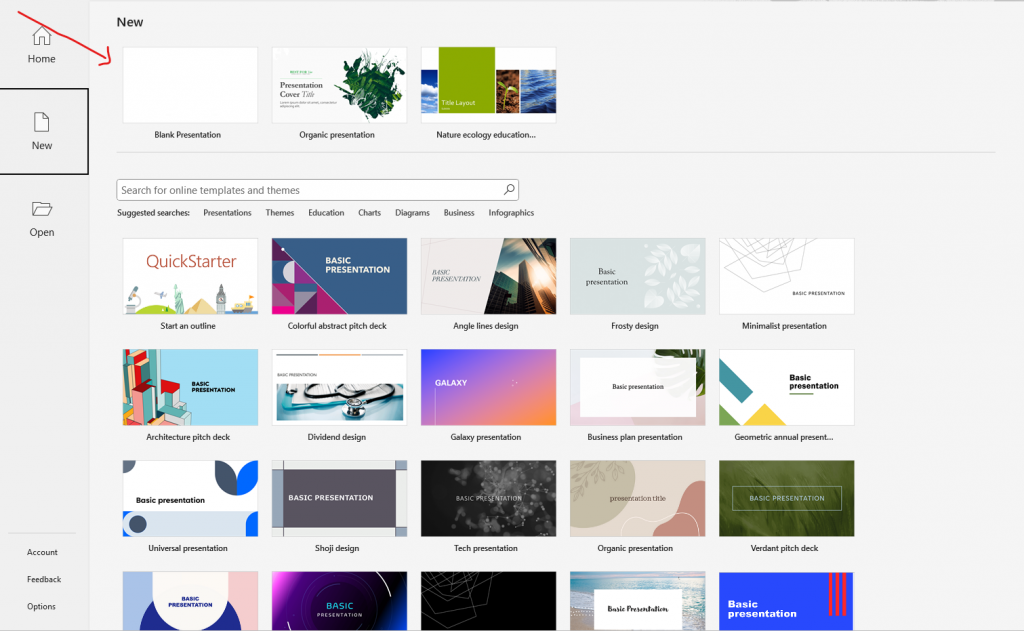
Step 1: Open PowerPoint and create a blank presentation
Step 2: Insert SmartArt
Step 3: Choose a timeline layout
Step 4: Add text and enter your data
Step 5: Add more dates
Step 6: Customize the timeline
Step 7: Move dates
Step 8: Save and present
Let’s dive deeper with a step-by-step explanation to help you create a timeline in PowerPoint.
Step 1: Open PowerPoint
This is the first step to creating your timeline. PowerPoint allows you to design and format your timeline visually.
Launch PowerPoint:
- Open PowerPoint on your computer.
- If you need a new presentation, go to File > New > Blank Presentation.
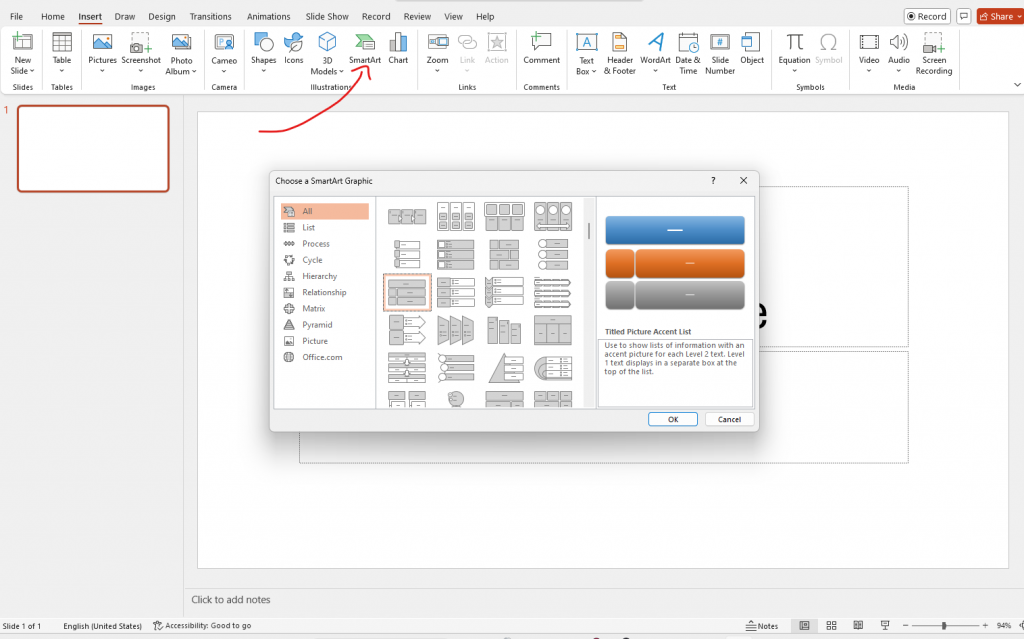
Step 2: Insert SmartArt
SmartArt is a built-in tool in PowerPoint that offers pre-designed templates for various visuals, including timelines. Using SmartArt saves time and ensures a professional layout.
Navigate to the Insert tab:
- Go to the Insert tab on the ribbon at the top of the screen.
Select SmartArt:
- In the Illustrations group, click on SmartArt.
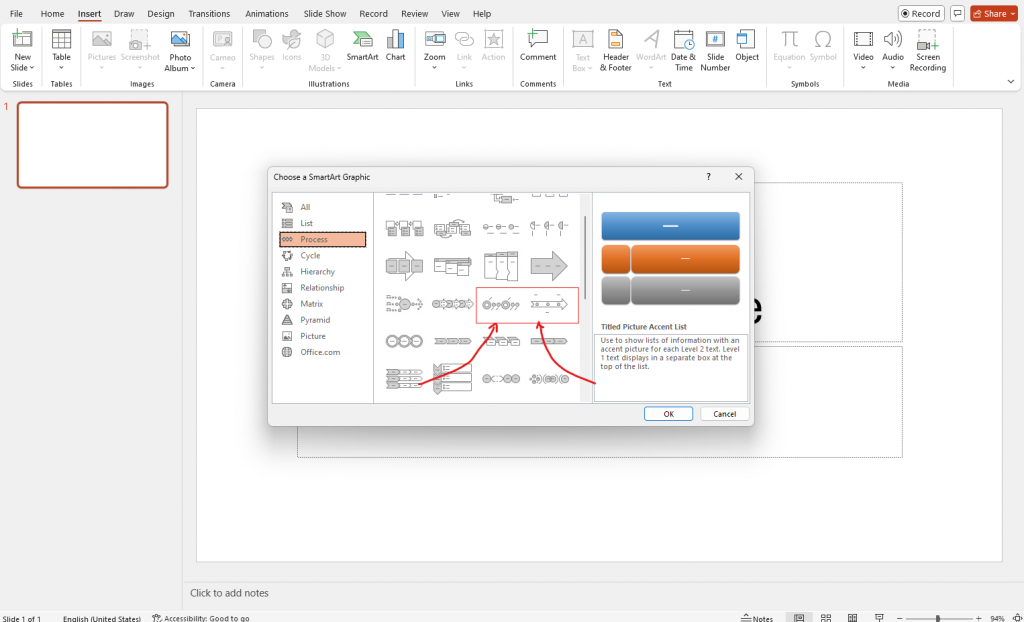
Step 3: Choose a timeline layout
Selecting timeline layouts in SmartArt provides a strong starting point for your design. You can also choose from several various pre-formatted styles to suit your needs.
Open the choose a SmartArt Graphic dialog box:
- The Choose a SmartArt Graphic dialog box will open.
- On the left side, click on Process.
Select a timeline layout:
- Scroll through the options and select a timeline layout. Common options include:
- Basic timeline
- Circle accent timeline
- Click OK to insert the selected layout into your slide.
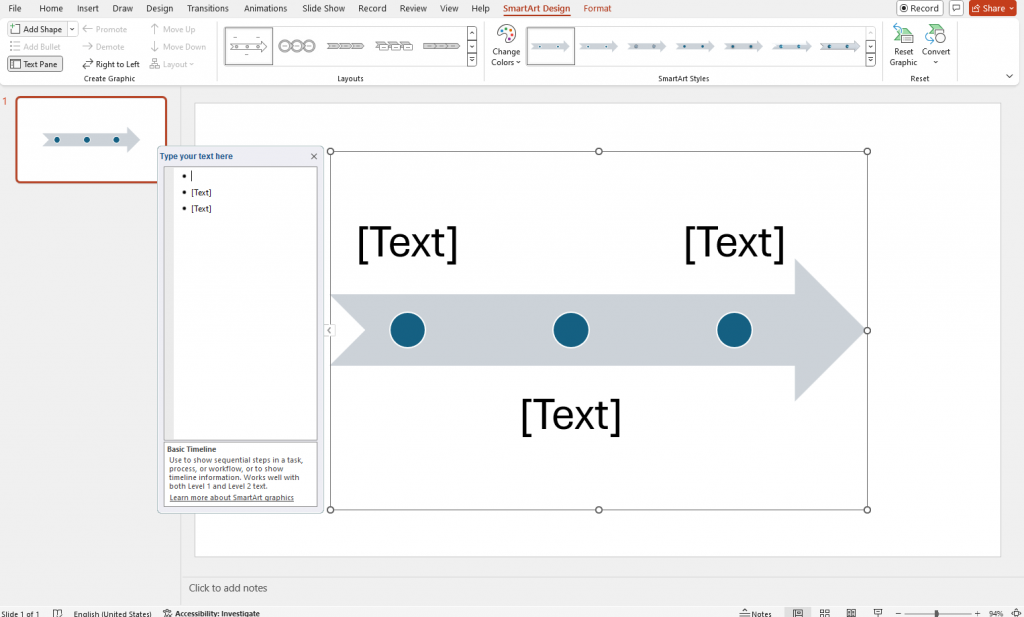
Step 4: Add text
In this step, the goal is to enter the content for your timeline, including event descriptions and dates.
Enter your data:
- Click on the [Text] placeholder within SmartArt graphic to type in your events or dates.
- Alternatively, you can open the Text Pane by clicking the small arrow on the left side of the SmartArt graphic. This allows you to enter text more easily.
Step 5: Add more dates
If the PowerPoint template doesn’t include enough events, you can add (or remove) additional events or dates to your timeline if needed.
Select a shape in the timeline:
- Click on an existing shape in the timeline where you want to add another date or event.
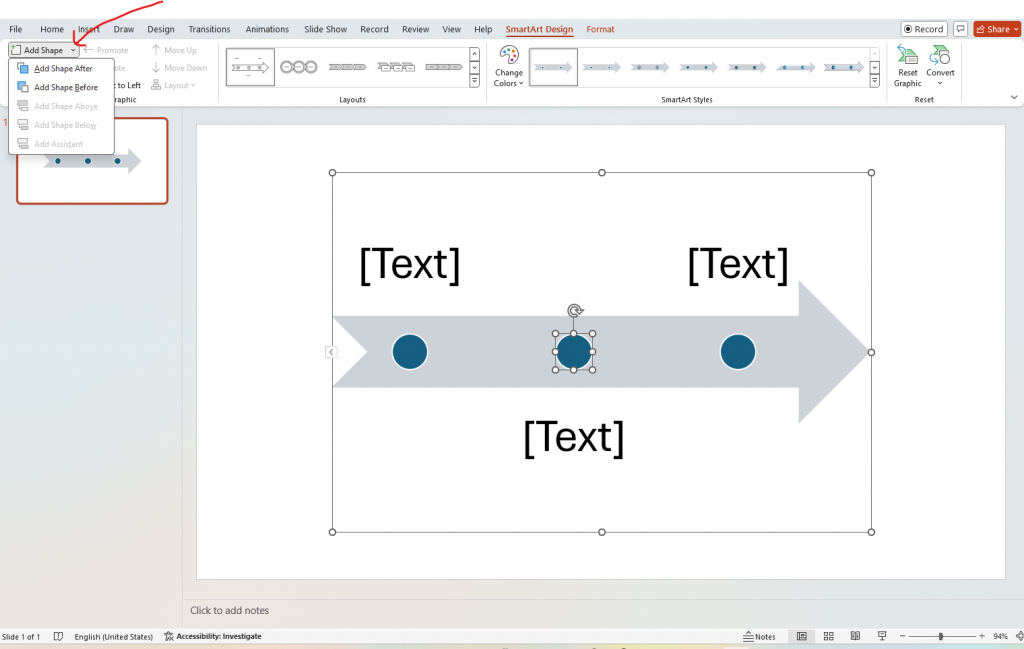
Add a shape:
- Go to the SmartArt Design tab.
- In the Create Graphic group, click on Add Shape.
- Choose either Add Shape After or Add Shape Before depending on where you want the new shape to appear.
Customize the timeline
With all the nuts and bolts ready, now comes the fun and creative part — personalizing the visual appearance of your timeline to match your preferences.
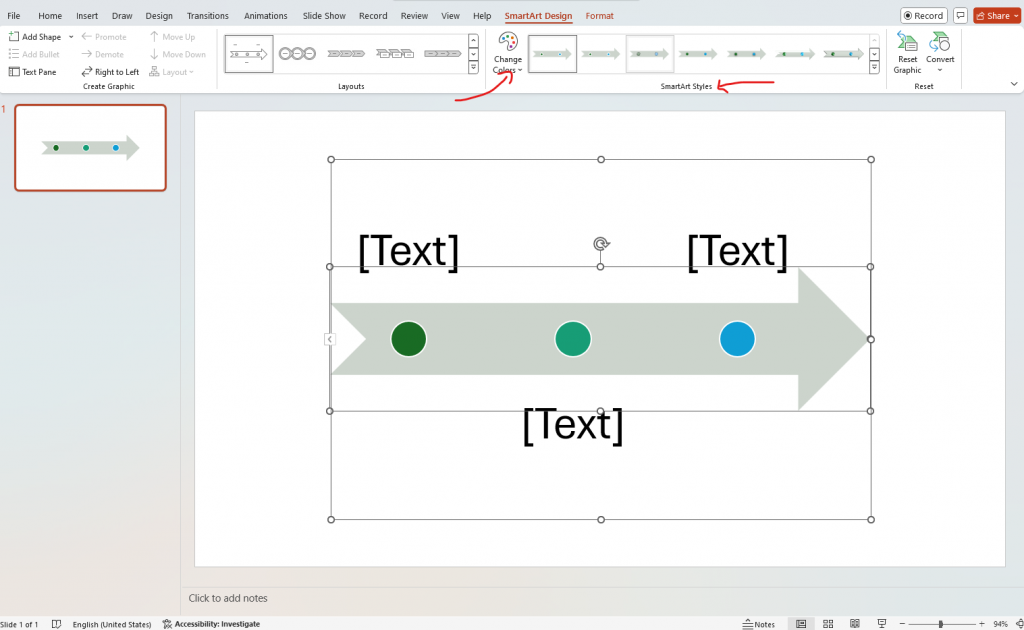
Change colors:
- Click on the timeline to select it.
- Go to the SmartArt Design tab.
- Click on Change Colors and select the color combination you prefer.
Apply a SmartArt Style:
- While still in the SmartArt Design tab, browse through the SmartArt Styles group.
- Click on the style you want to apply to your timeline.
Step 7: Move dates
If you’ve already designed your timeline but need to make last minute adjustments to the dates or data, it’s quite easy to do so in PowerPoint. Here’s how you can do it.
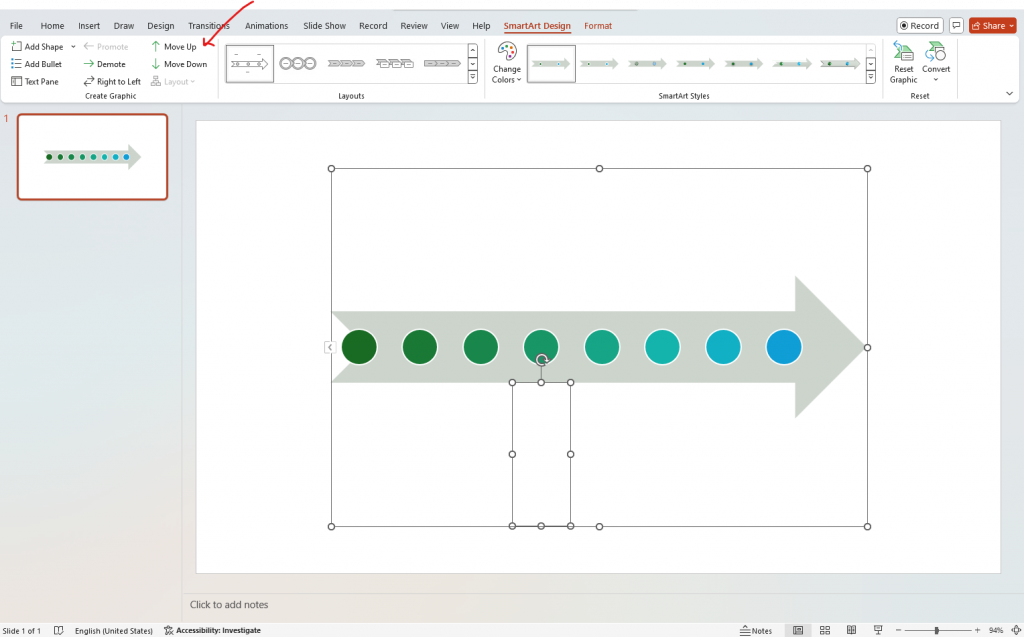
Reorder events:
- Click on the date or event you want to move.
- In the SmartArt Design tab, use the Move Up or Move Down buttons in the Create Graphic group to change the position of the selected event.
Step 8: Save and present
This final step ensures your work is saved and allows you to present your timeline.
Save your timeline:
- Go to File > Save As and choose the location where you want to save your presentation.
- Give your presentation a name and click Save.
How to make a timeline in Venngage?
Although you can create timelines in PowerPoint, the process is time-consuming and you have little design flexibility since Office Suite isn’t meant for creating visuals like timelines.
A much better option is to use Venngage’s free timeline maker or customize visually appealing timeline templates that’ll actually make an impact during meetings or in your presentations. In fact, 85% of businesses believe that using pre-designed PowerPoint templates makes the presentation drafting process more efficient.
Here’s how you can make a timeline in Venngage:
- Pick a template from our library of hundreds of easy-to-customize timeline templates.
- Create a free Venngage account using your email, Gmail, or Facebook account.
- Use our drag-and-drop editor to add text and/or change visual elements like colors or fonts.
- Make the timeline visually engaging with some of our free 40,000+ diverse icons and illustrations.
- Download your timeline or share it directly with your team using a private link.
Check out some of these timelines templates you can make your own in minutes. Venngage offers templates for vertical timelines, horizontal timelines, chronological timelines, historical timelines, and more.
This timeline template presents fundraising information in a thermometer-style design and cleverly uses color, particularly the red fill to indicate amount raised so that viewers can understand fundraising progress at a glance.

This timeline template helps users easily visualize the sequence of tasks and the timeframes involved in a nonprofit fundraising campaign.

Related: 40+ Timeline Examples, Templates and Design Tips
Conclusion: Create visually appealing timelines in minutes with Venngage
PowerPoint works well for creating a simple timeline with basic visuals. But if you want a design that’s both visually striking and easy to interpret, you’ll need a more robust tool.
As Fynd Academy notes, “A timeline is an essential tool for efficient resource management, ensuring that personnel, materials and budgets are optimally utilized throughout the project.” And as Dwight D. Eisenhower famously said, “Plans are nothing; planning is everything.”
That’s where Venngage comes in — a simple yet powerful tool for business communications and timeline creation. With its intuitive interface, even non-designers can create timelines that are clear, visually appealing, and tailored to different use cases. Explore our timeline templates today and start building yours.


