


Ever walked through a mall or passed a street and had someone hand you a brochure?
Whether you wanted it or not, you would definitely read the brochure after receiving it, even if briefly. A brochure is a great marketing tool and is highly informative, regardless if it is distributed physically, or digitally.
It is also an inexpensive marketing method, and designing a brochure is no rocket science.
Anyone can design a brochure, as there are many methods for you to do so now. One can choose from an array of online tools and softwares, like Google Slides or Microsoft PowerPoint.
In this comprehensive guide, we’ll show you how to make a brochure on Microsoft PowerPoint, and how online designing tools can help you make a brochure in a simple and easy way by using free editable templates.
Click to jump ahead
- Step-by-step guide to creating a brochure in Microsoft PowerPoint
- How to make a brochure in Venngage?
- The bottom line: Creating a brochure using Microsoft PowerPoint vs Venggage
Step-by-step guide to creating a brochure in Microsoft PowerPoint
To create a Brochure in Microsoft PowerPoint”, you can do the following steps:
- Step 1: Open Microsoft PowerPoint
- Step 2: Set up the slide size
- Step 3: Design the layout
- Step 4: Insert text boxes and images
- Step 5: Customize the design
- Step 6: Add content
- Step 7: Review and adjust
- Step 8: Save and print
- Step 9: Final touches
Let’s dive deeper with a step-by-step explanation to help you create a brochure easily by using Microsoft PowerPoint.
Step 1: Open Microsoft PowerPoint
To start creating your brochure, you will need to open and launch Microsoft PowerPoint. Here’s how you can do so:
1. Launch PowerPoint:
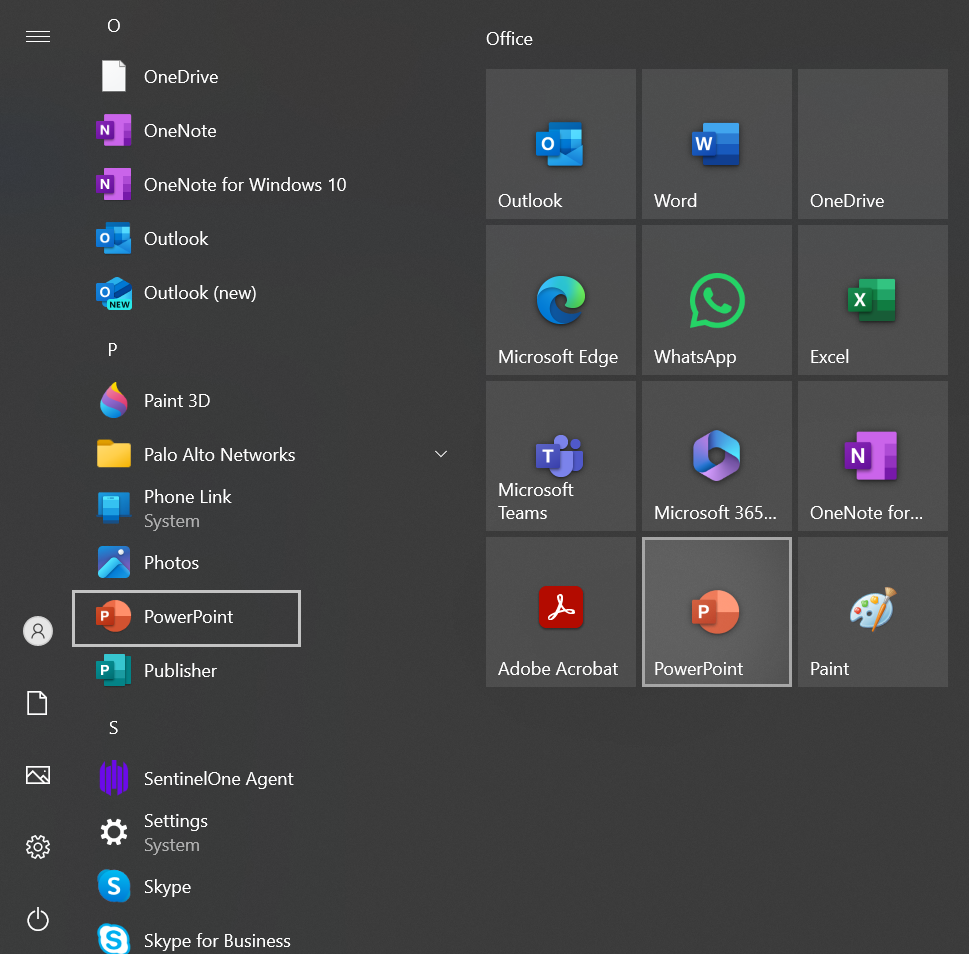
- On your computer, go to ‘Start’ if you are using Windows, or ‘Launchpad’ if you are using a Mac.
- Next, search for the Microsoft PowerPoint app, and click on it.
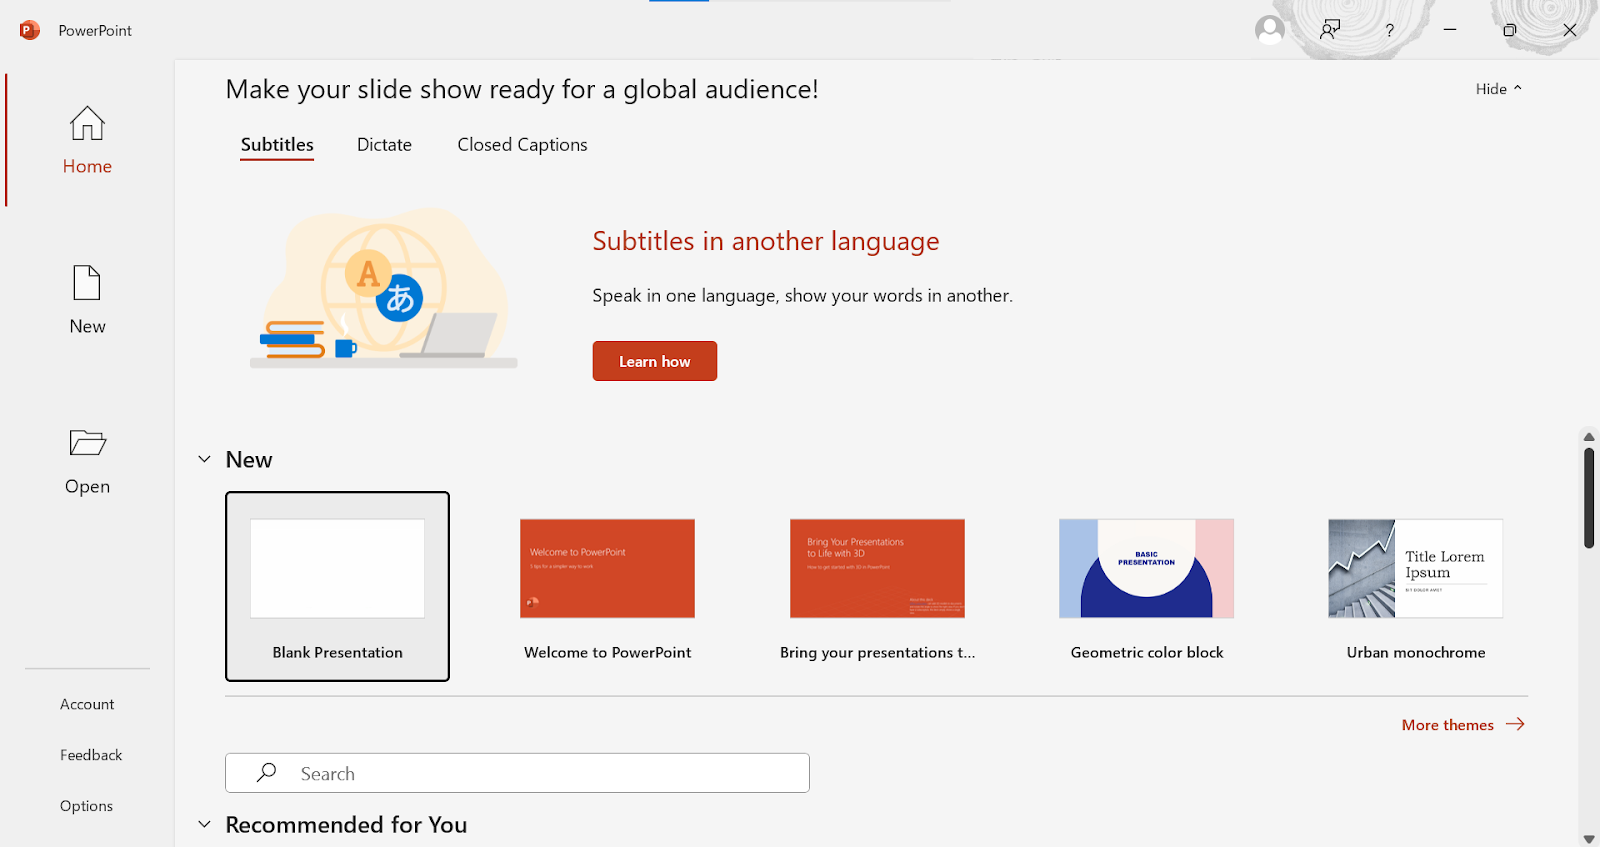
2. New Presentation:
- Once the application opens, click on ‘Blank Presentation’
- This will open up a new presentation for you.
Step 2: Set up the slide size
Now that you have opened a new presentation, your next step is to select a slide size. A slide size is essentially your brochure’s size.
This is an important step, because you will need to select a brochure size that will fit your business or purpose well. For example, are you handing out your brochures, or placing it on a table tent? Each of these options will require a different brochure size.
So, selecting the correct dimensions will ensure that your final print will be right. Some common brochure sizes are:
- 8.5” x 11”
- 8.5” x 14”
- 5.5” x 8.5”
- 9” x 12”
- 11” x 17”
- 11” x 25.5”
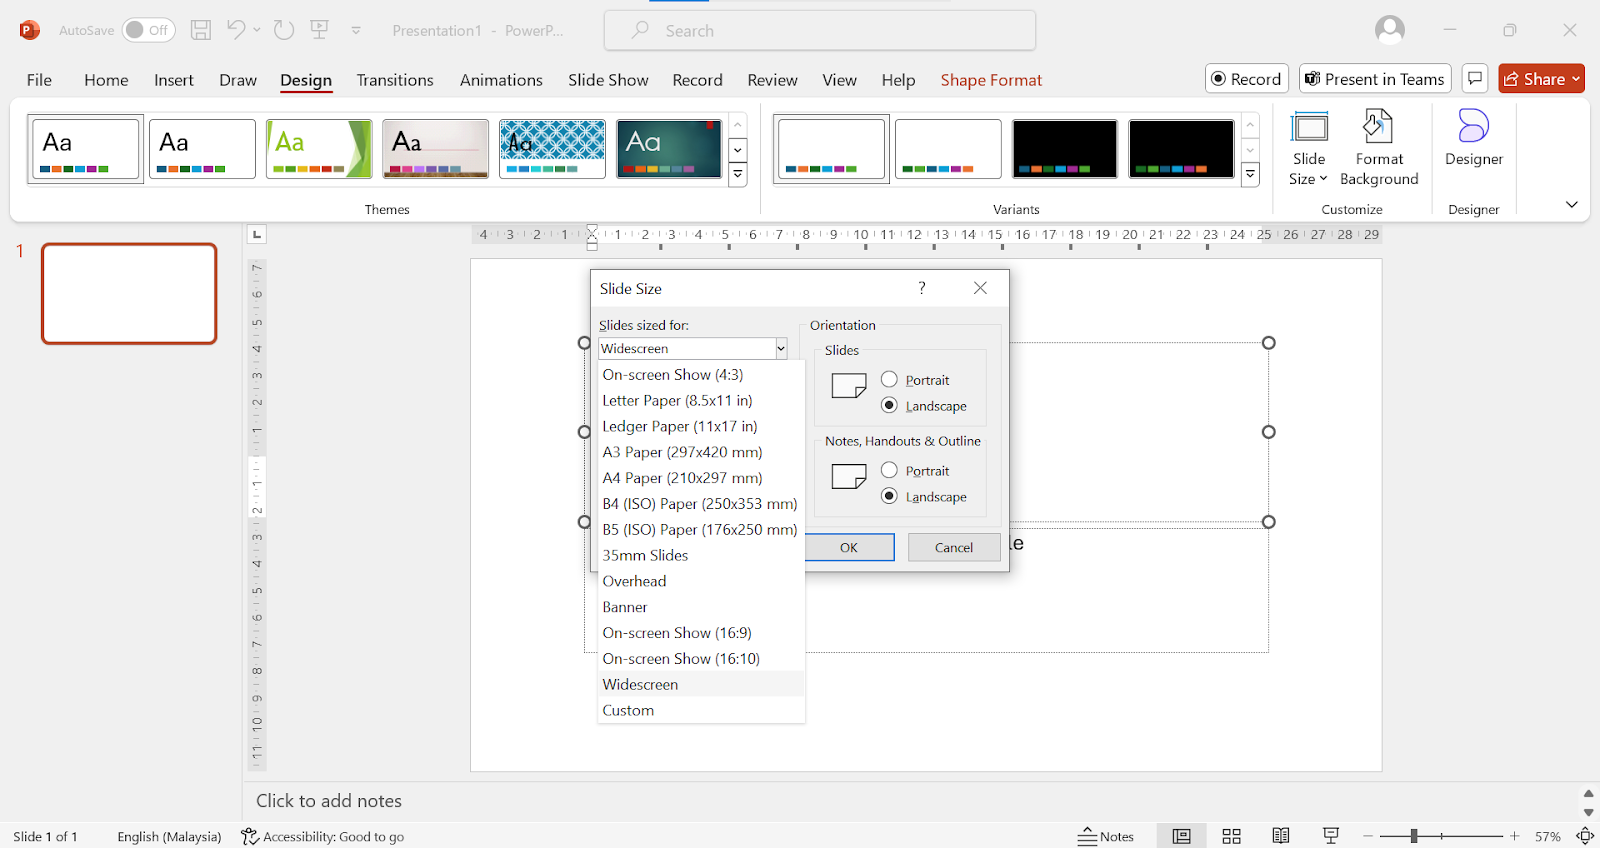
1. Access slide size options:
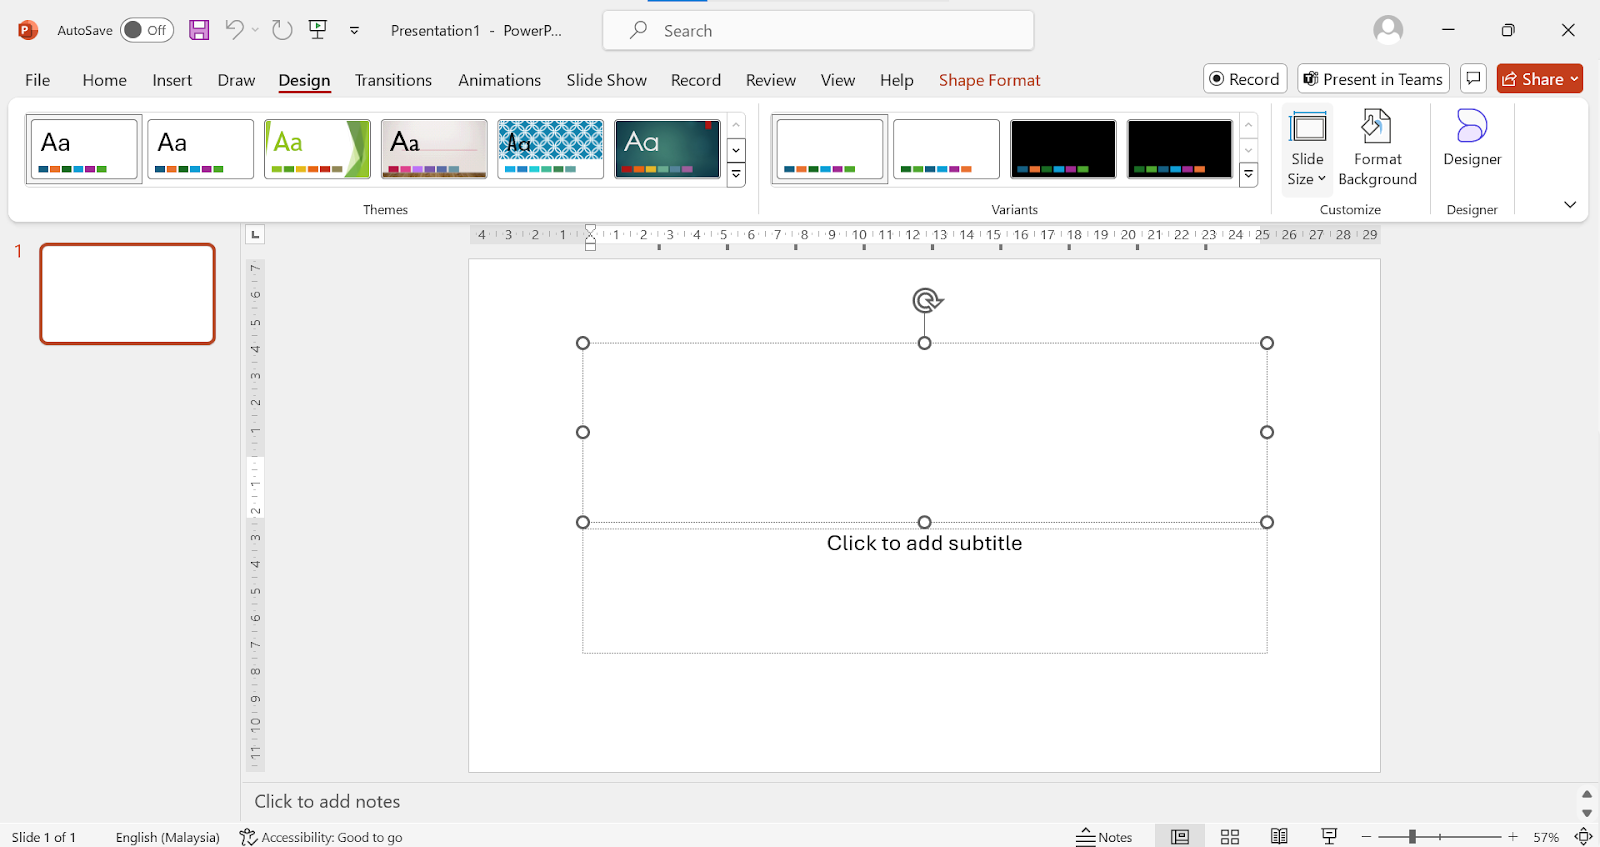
- In your presentation, go to the ‘Design’ tab located at the top of your screen.
- Choose ‘Slide Size’
2. Custom slide size:
- Here is where you will opt for ‘Custom Slide Size’, which is crucial for your brochure dimension setup.
- Select ‘Custom Size’ to input your desired brochure dimension.

3. Set dimensions:
- Once you have selected ‘Custom Slide Size’, choose your preferred brochure size or input your dimensions manually.
- Choose your orientation.
- Click ‘OK’ to apply.
Step 3: Design the layout
After setting your brochure dimensions, it’s time to design its layout. When designing the layout of your brochure, it is important to have sections and gridlines to help you arrange your elements, especially for a trifold brochure.
This step is important in making sure that your brochure’s design looks professional and neat.
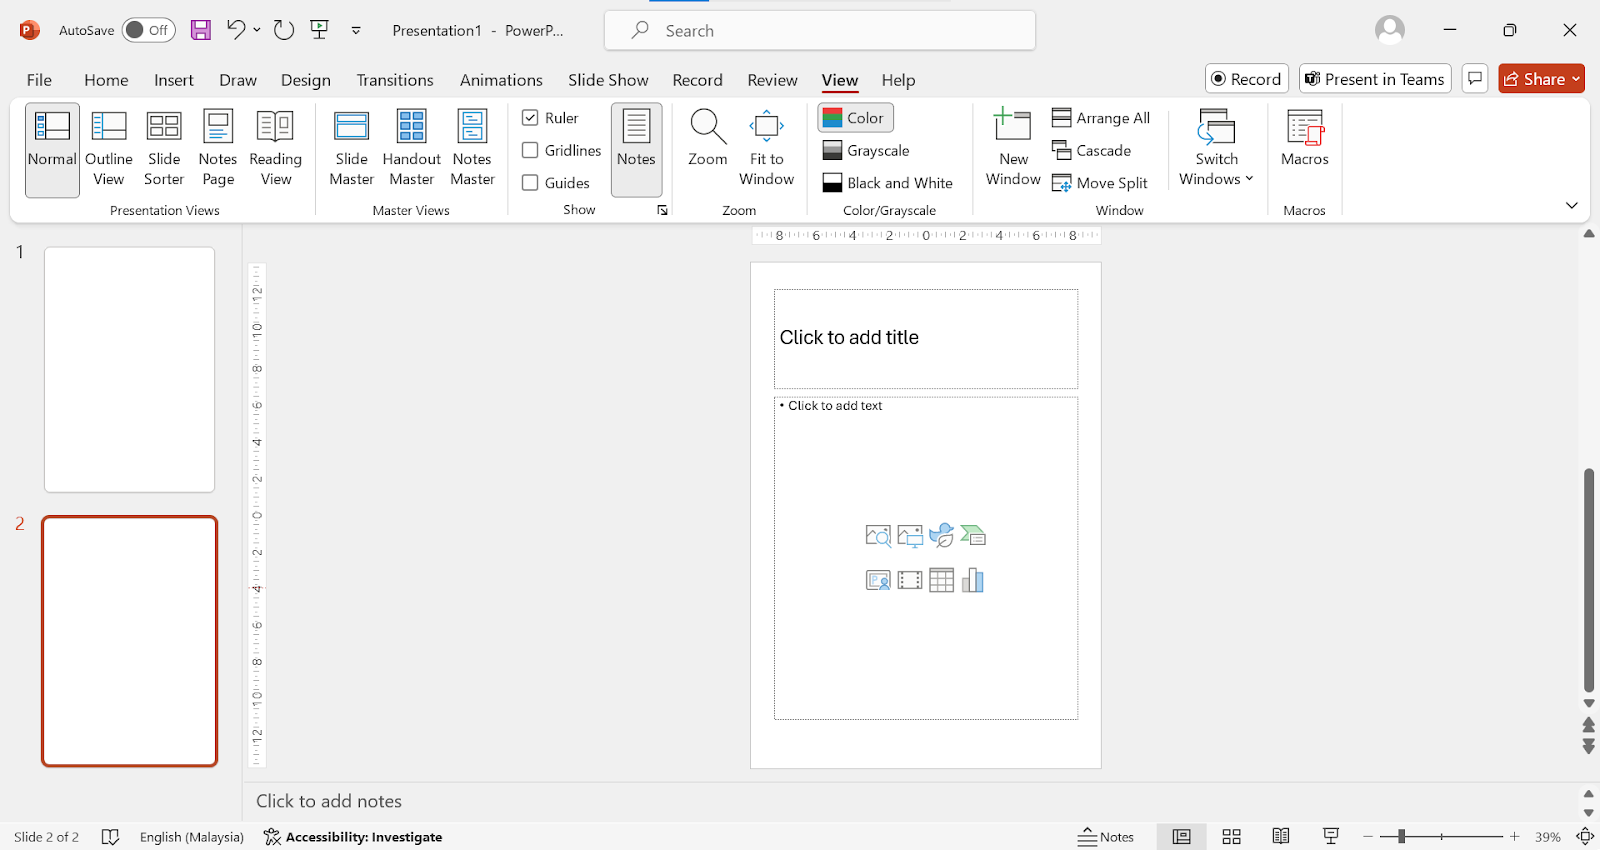
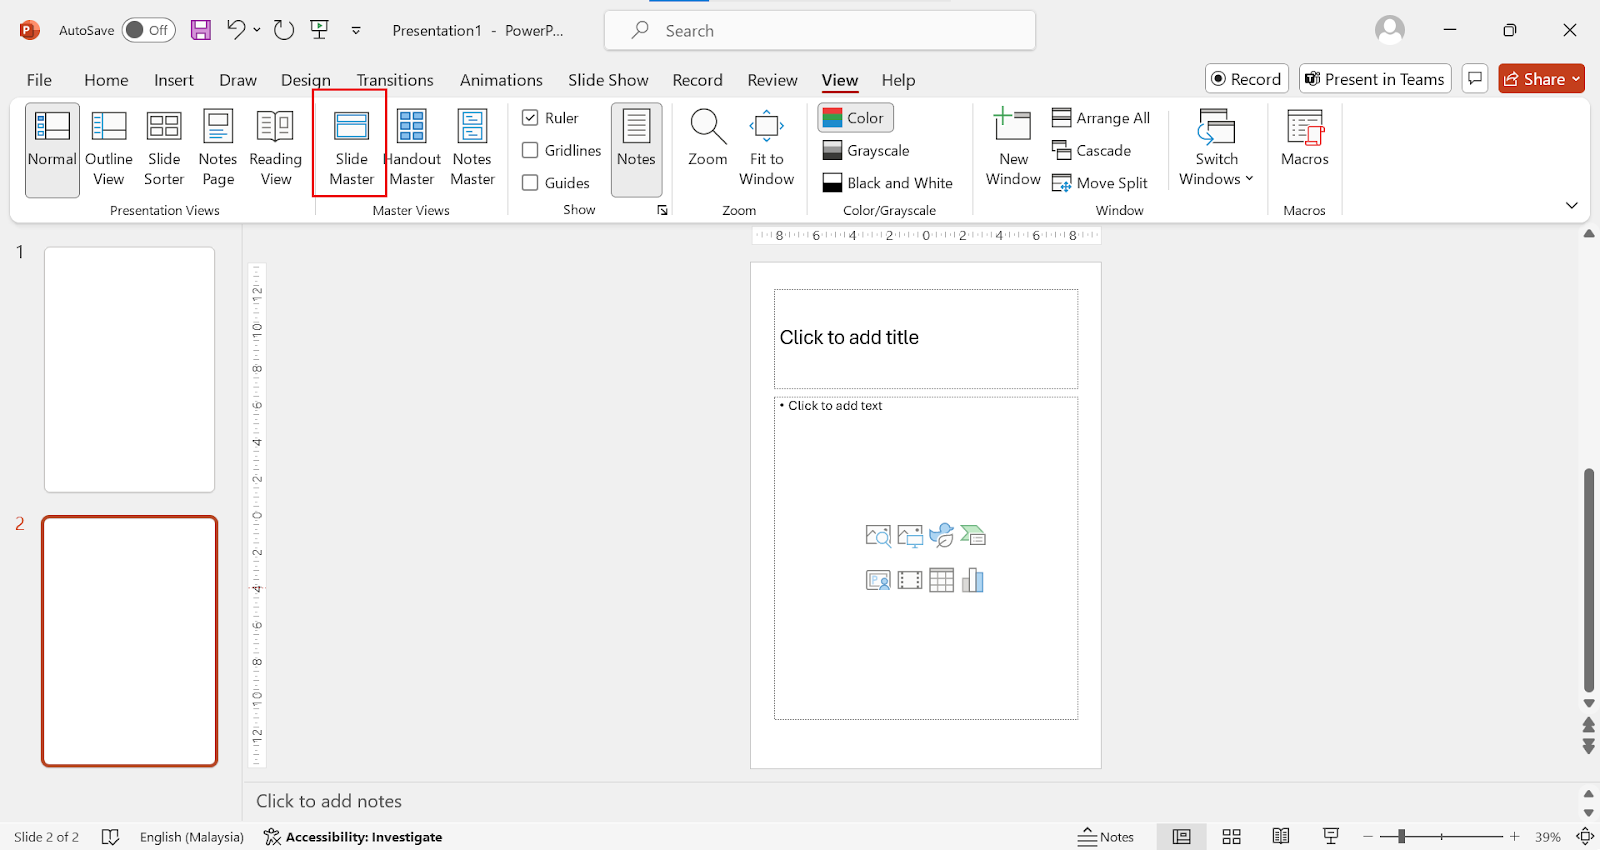
1. Divide the page:
- At the top, go to ‘View’
- Check the box next to ‘Guides’ to divide your brochure into sections.
- This is especially important for trifold brochures.
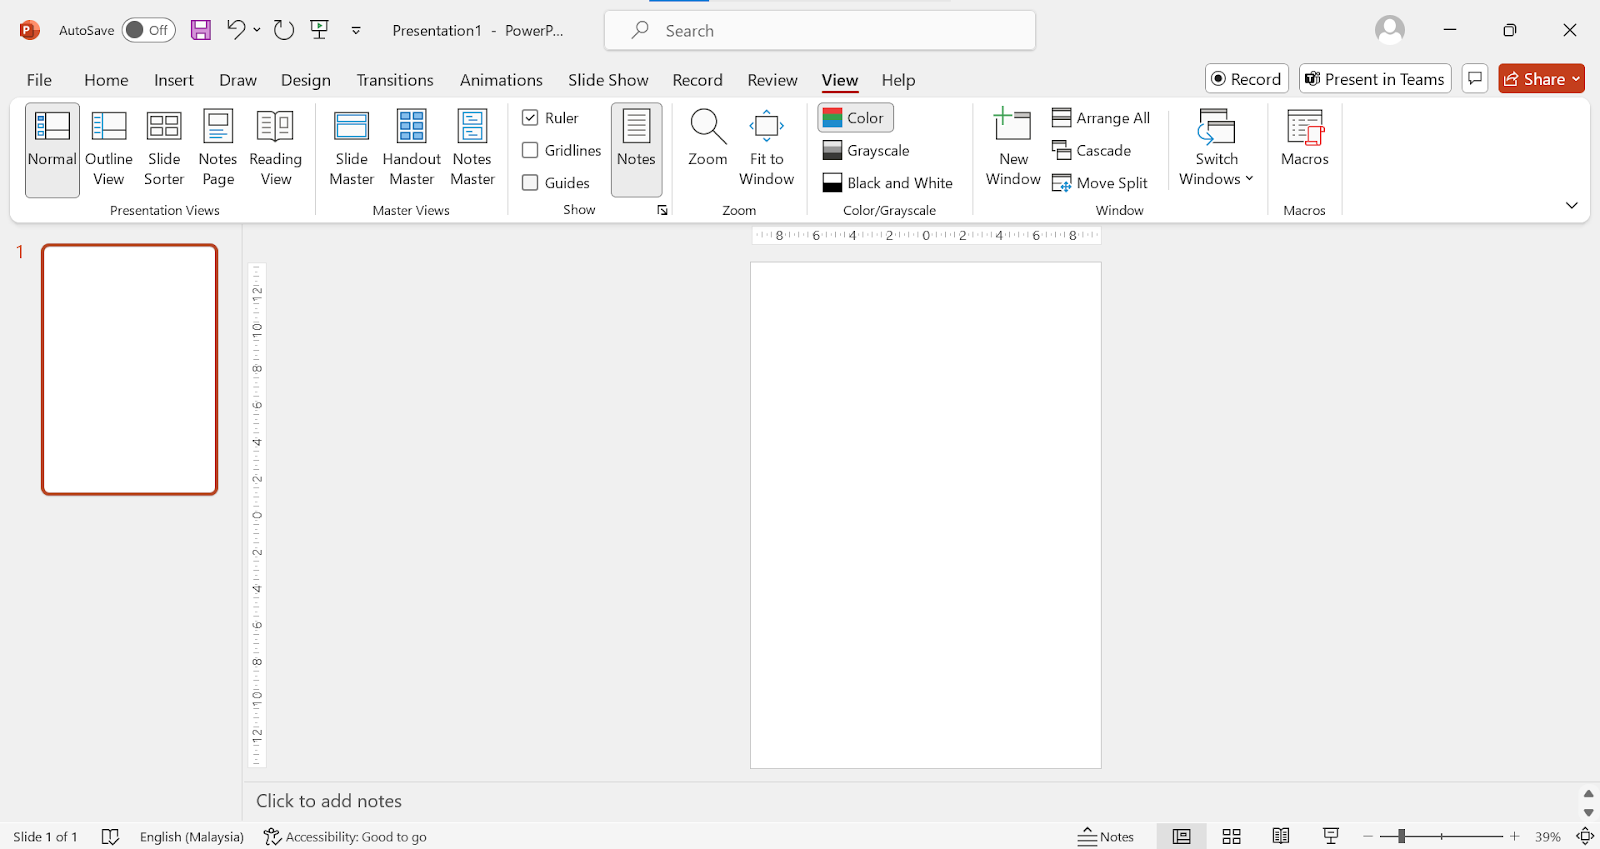
- Once the lines appear, move it however you need to create your sections.

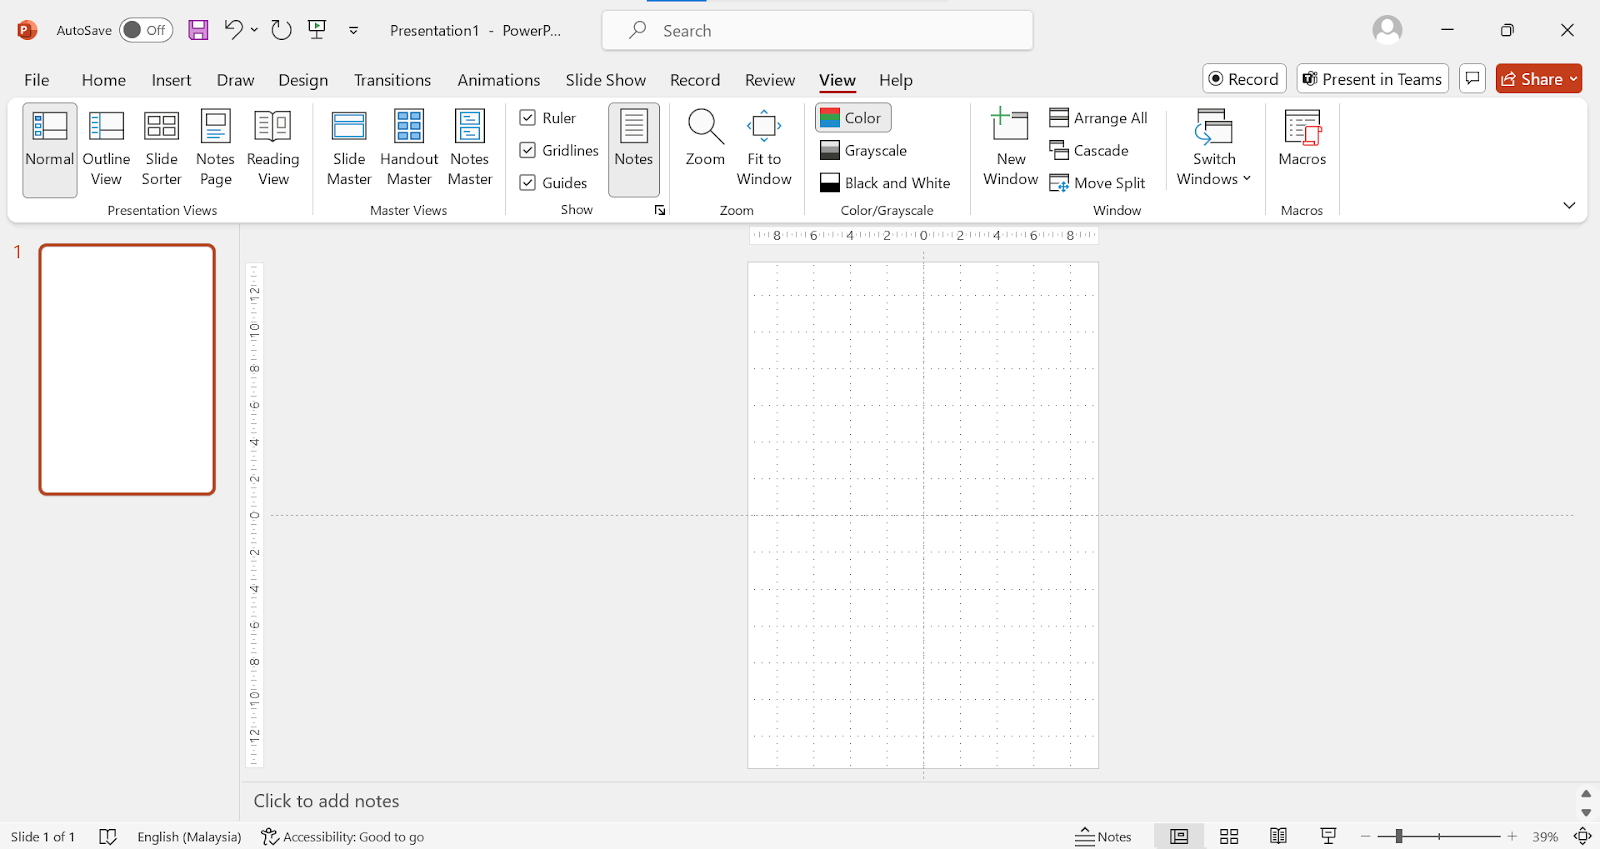
2. Add gridlines:
- Apart from enabling ‘Guides’ and “Ruler’, you can also use ‘Gridlines’ for better alignment and layout precision.
Step 4: Insert text boxes and images
To start designing your brochure, you will need to add text boxes and images. Place them within your sections and align them using the gridlines.
1. Add text boxes:
- Go to ‘Insert’ > ‘Text Box’.
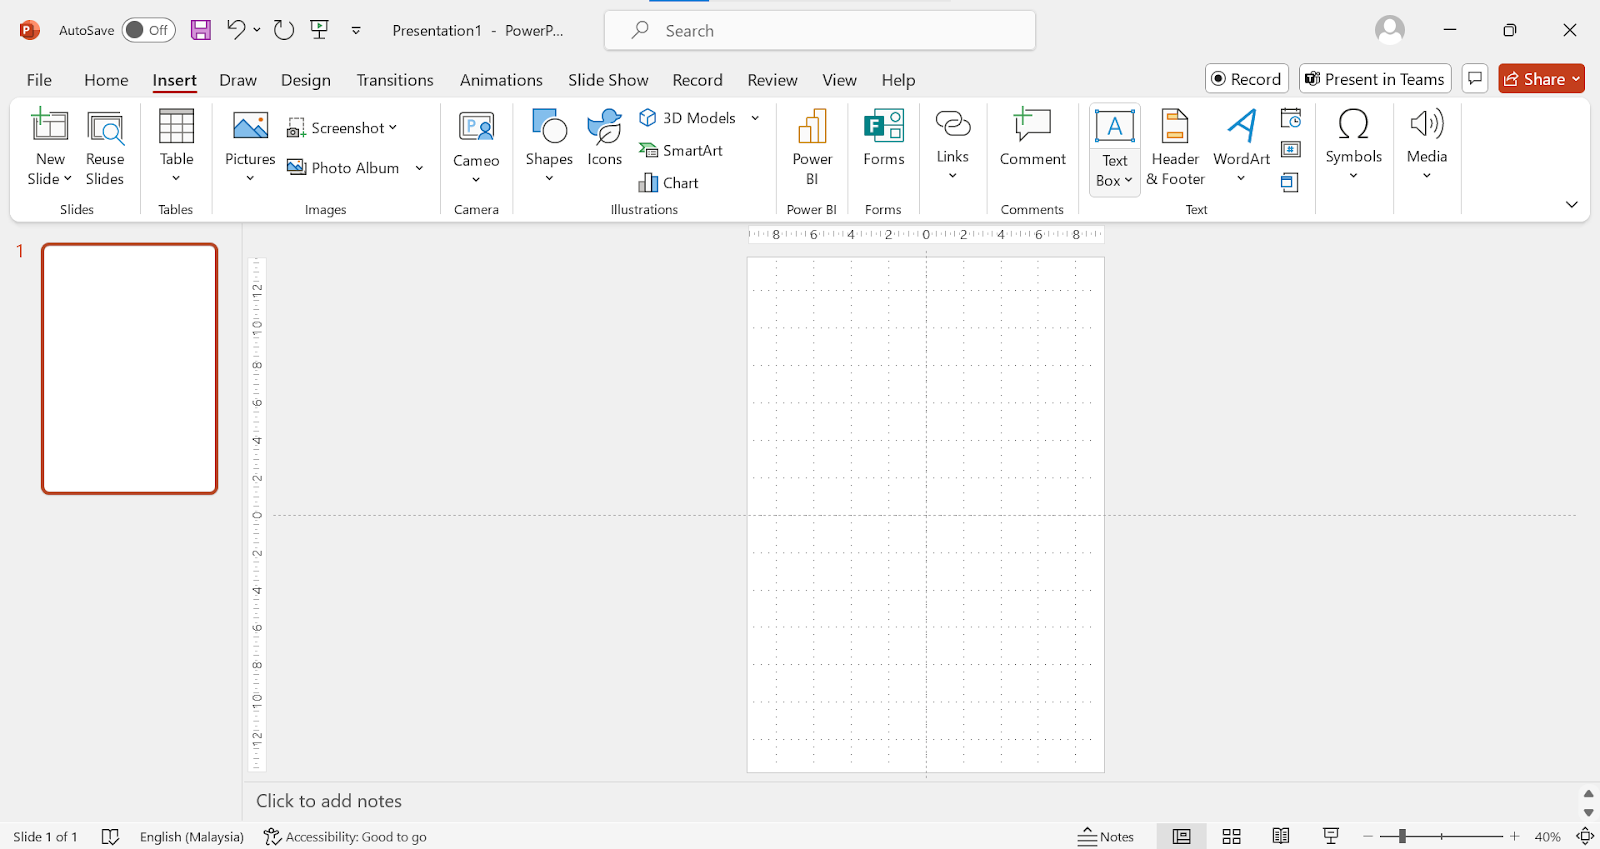
- Choose between a horizontal or vertical text box.
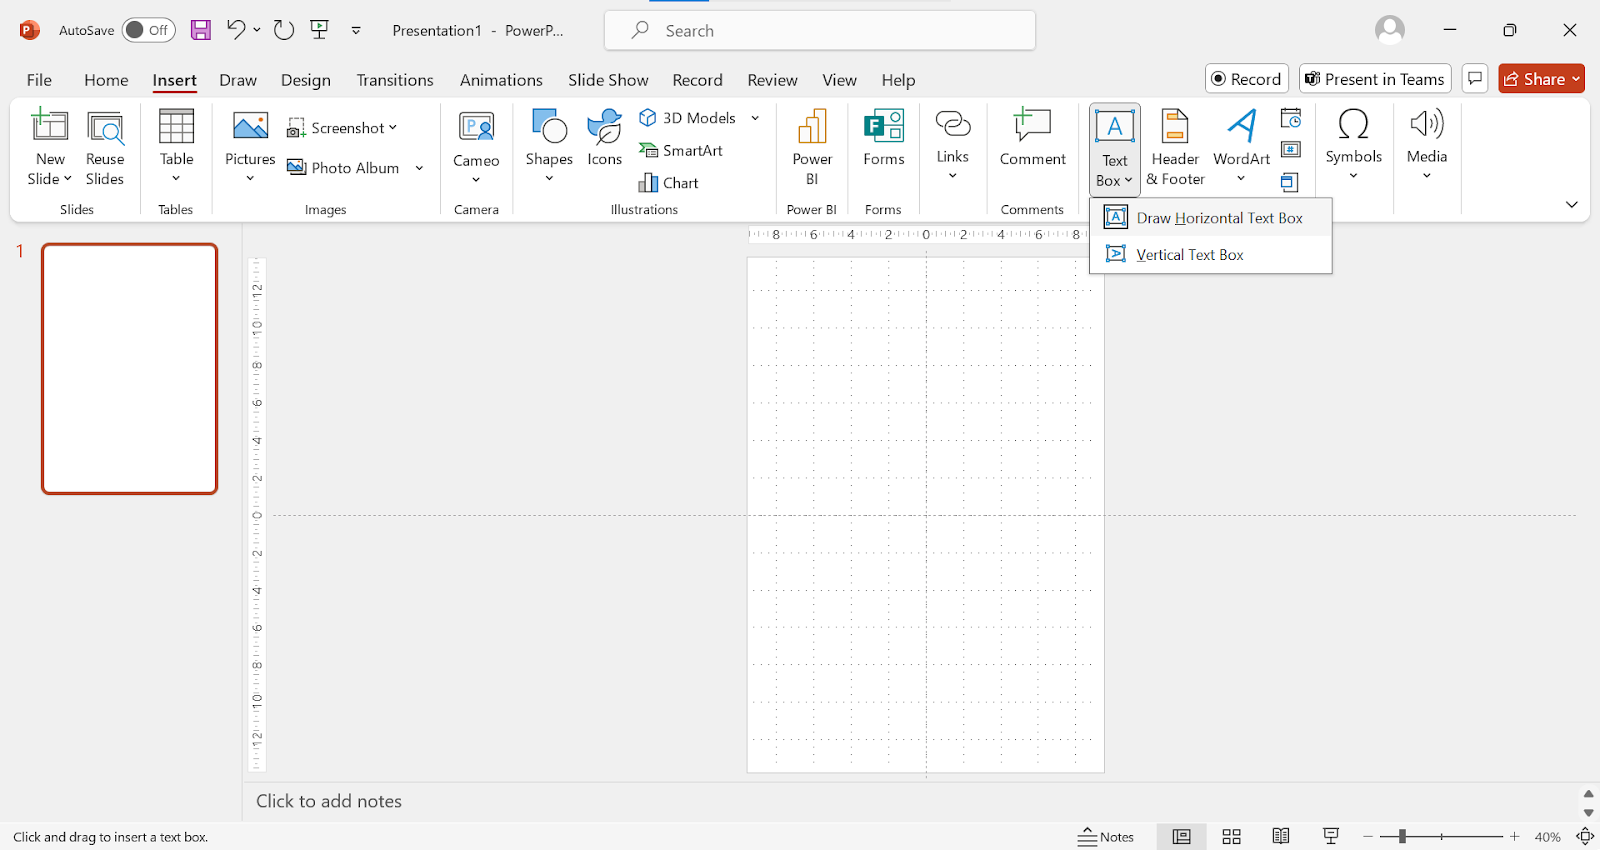
- Choose between a horizontal or vertical text box.
- Draw your text box using the gridlines to guide you.
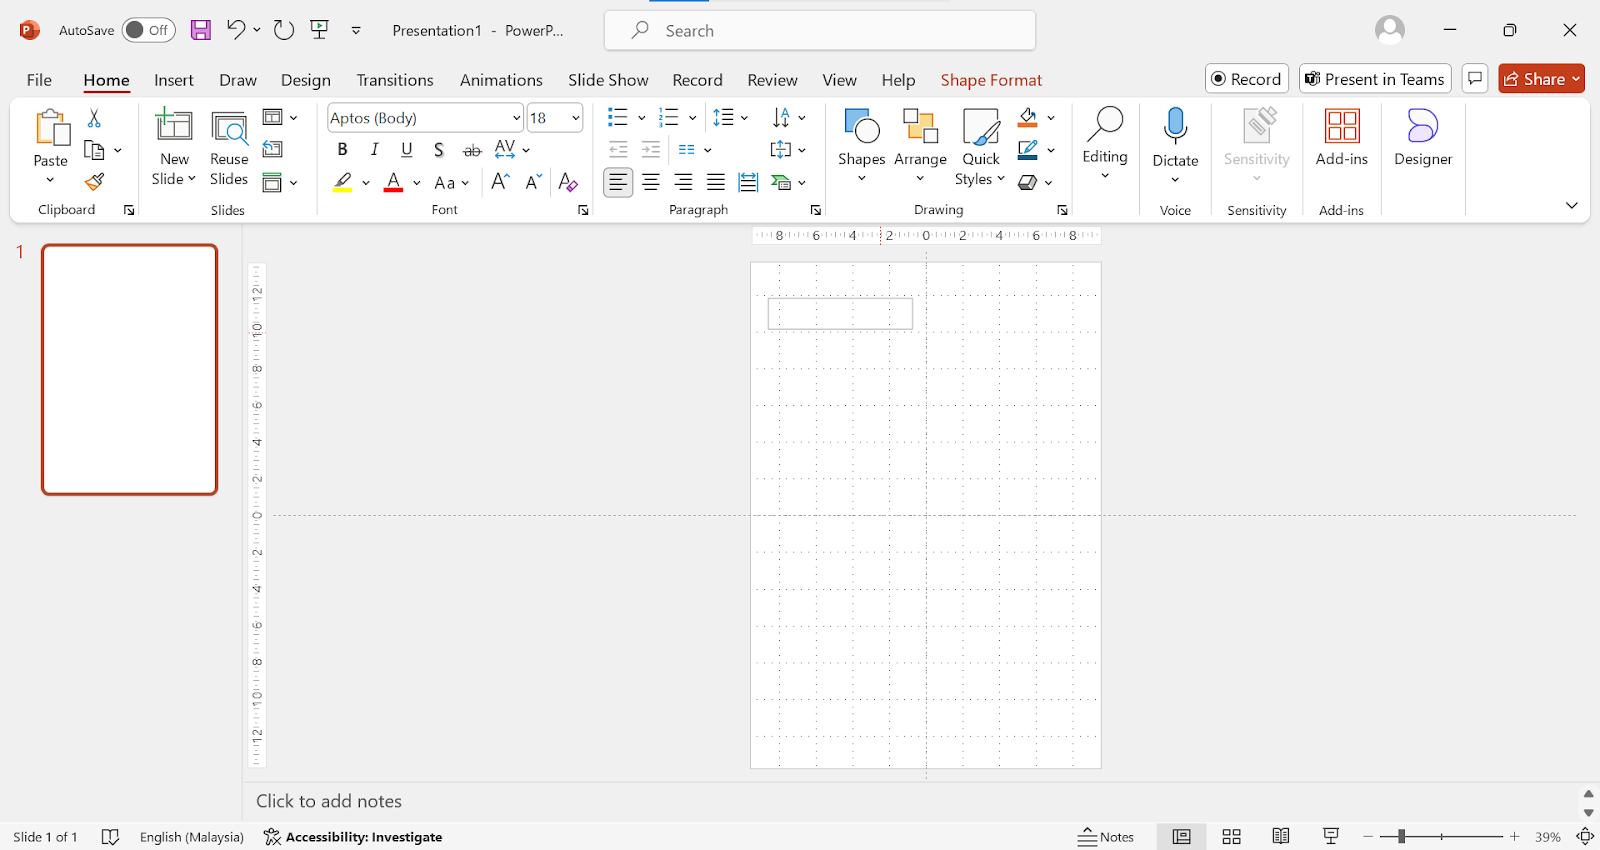
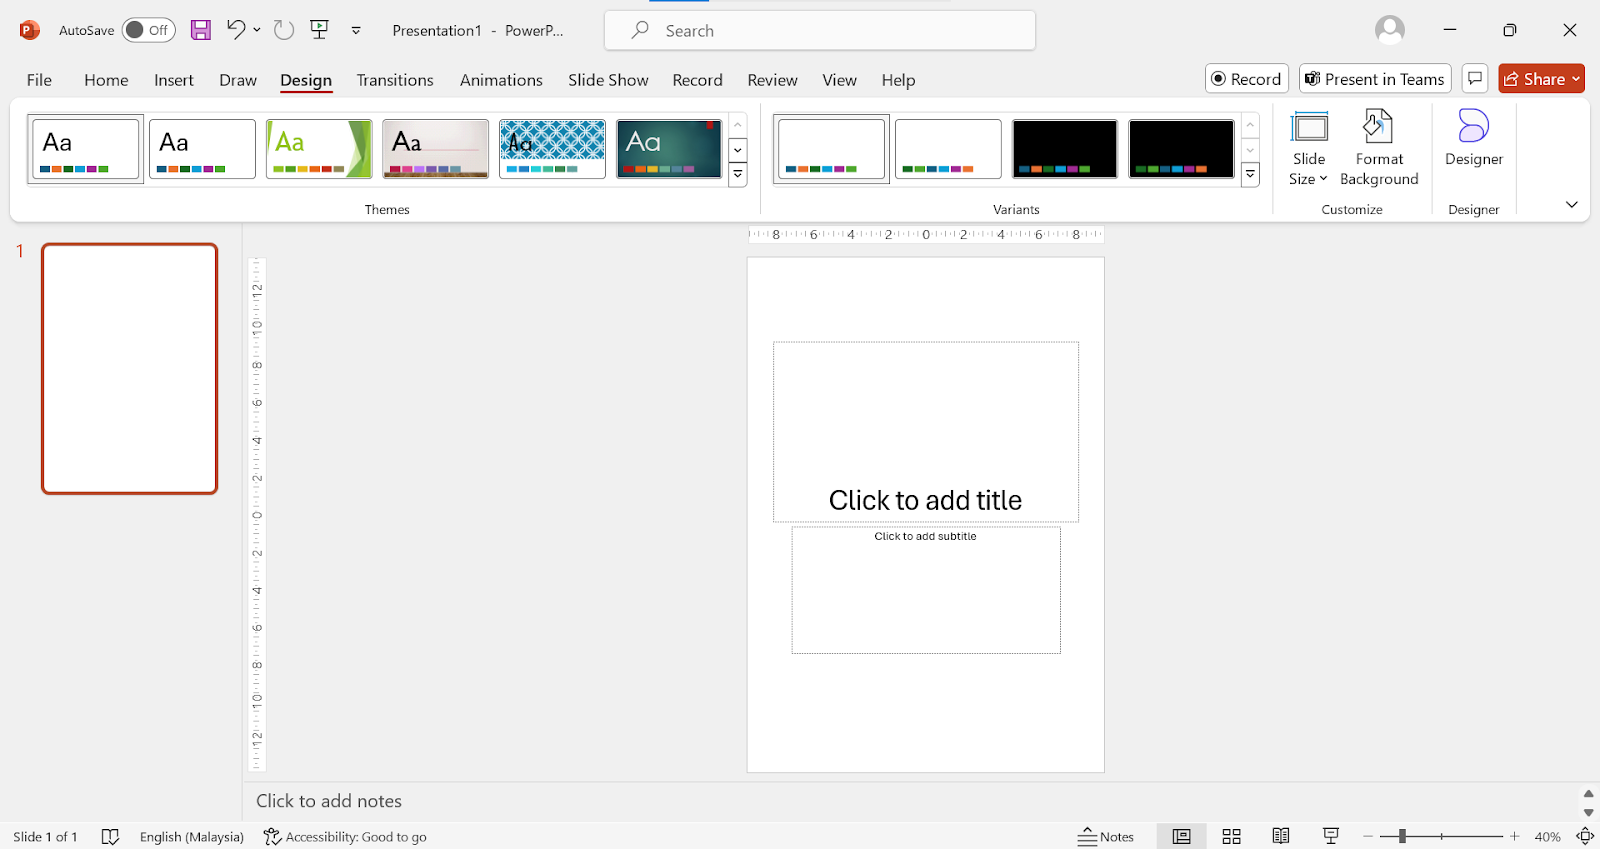
2. Placeholders:
- A placeholder in PowerPoint is a pre-arranged box on a slide meant for adding content like text, images, or videos.
- This standardized formatting helps in ensuring uniformity across your brochure.
- If needed, you can edit a placeholder in the ‘Slide Master’ view.
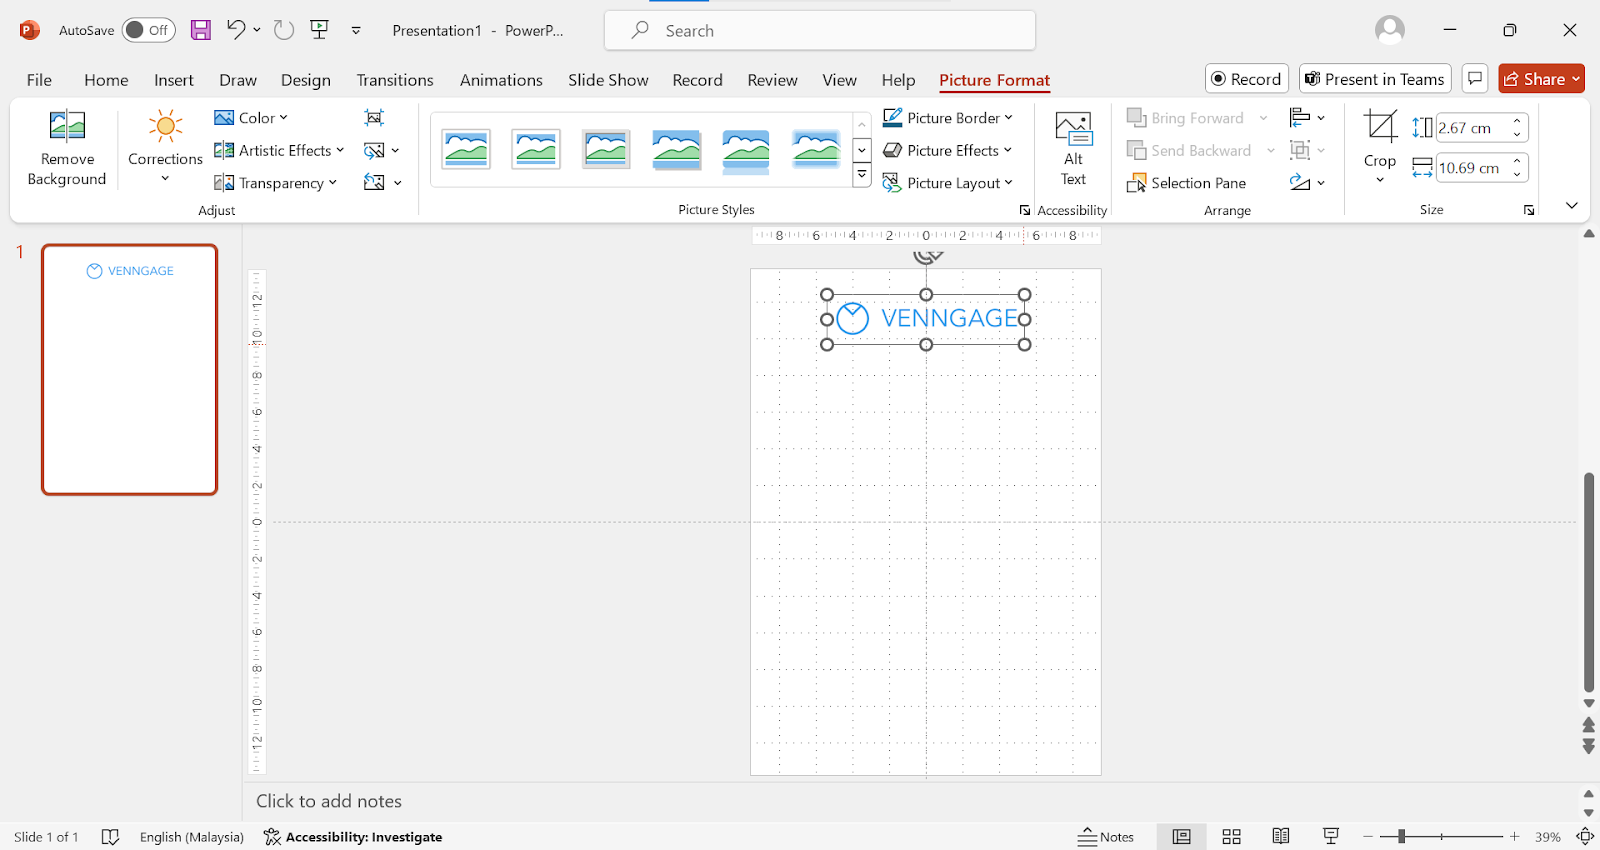
3. Insert images:
- Go to ‘Insert’ > ‘Pictures’.
- Select the source of your picture.
- Select your image and insert.
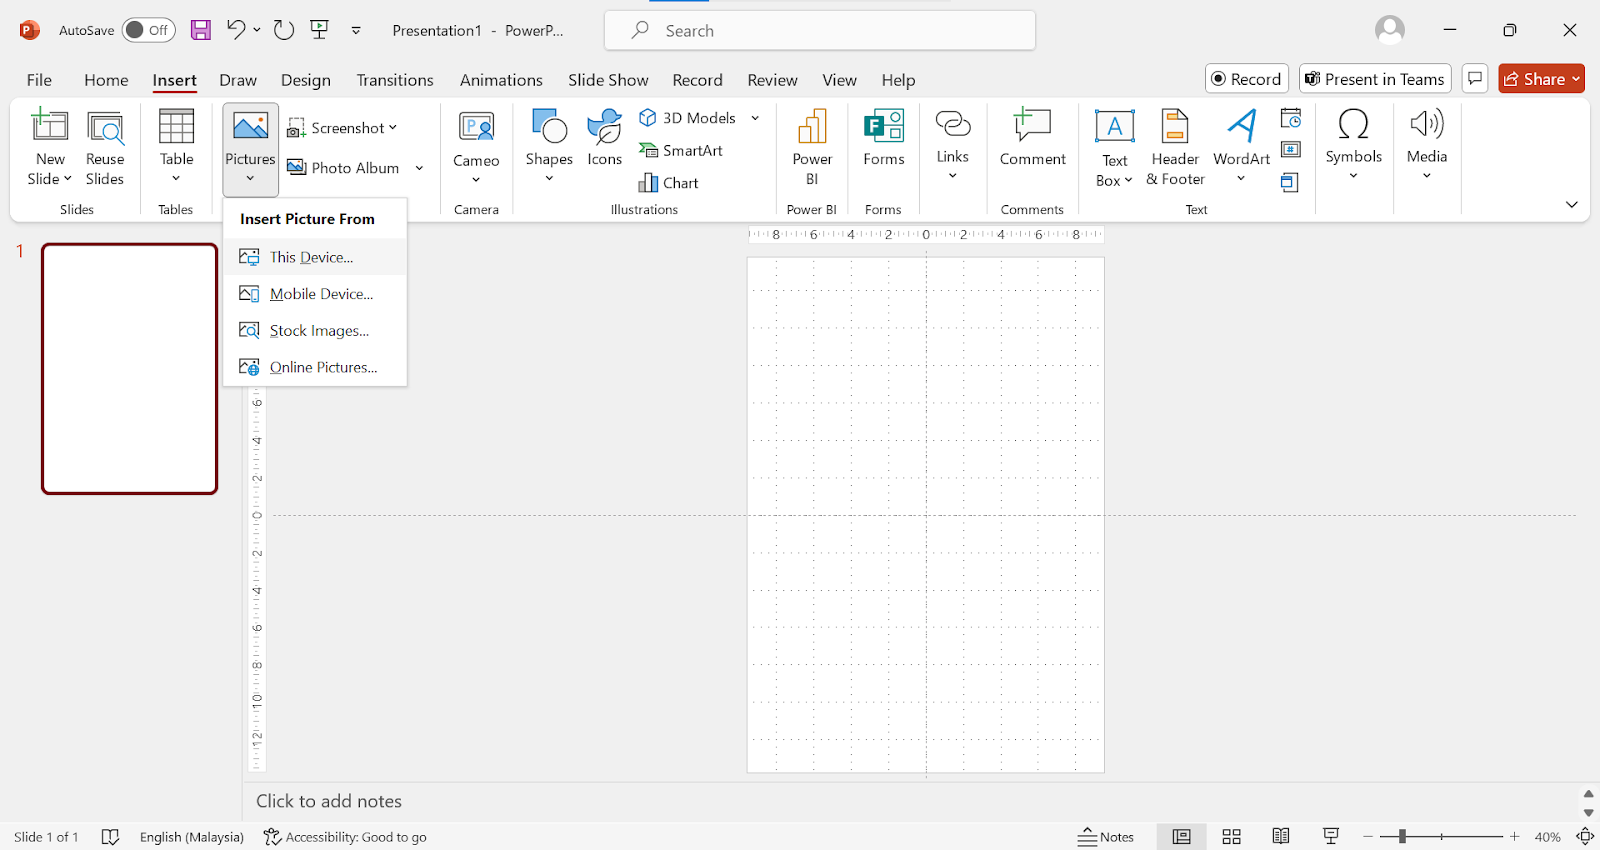
- Just like your textbox, rearrange and position your image on your brochure as needed.
- Click on the image to resize it if needed.
- Use the gridlines to guide you.
Step 5: Customize the design
Microsoft PowerPoint offers a few customization options that can help you design your brochure better.
1. Select themes:
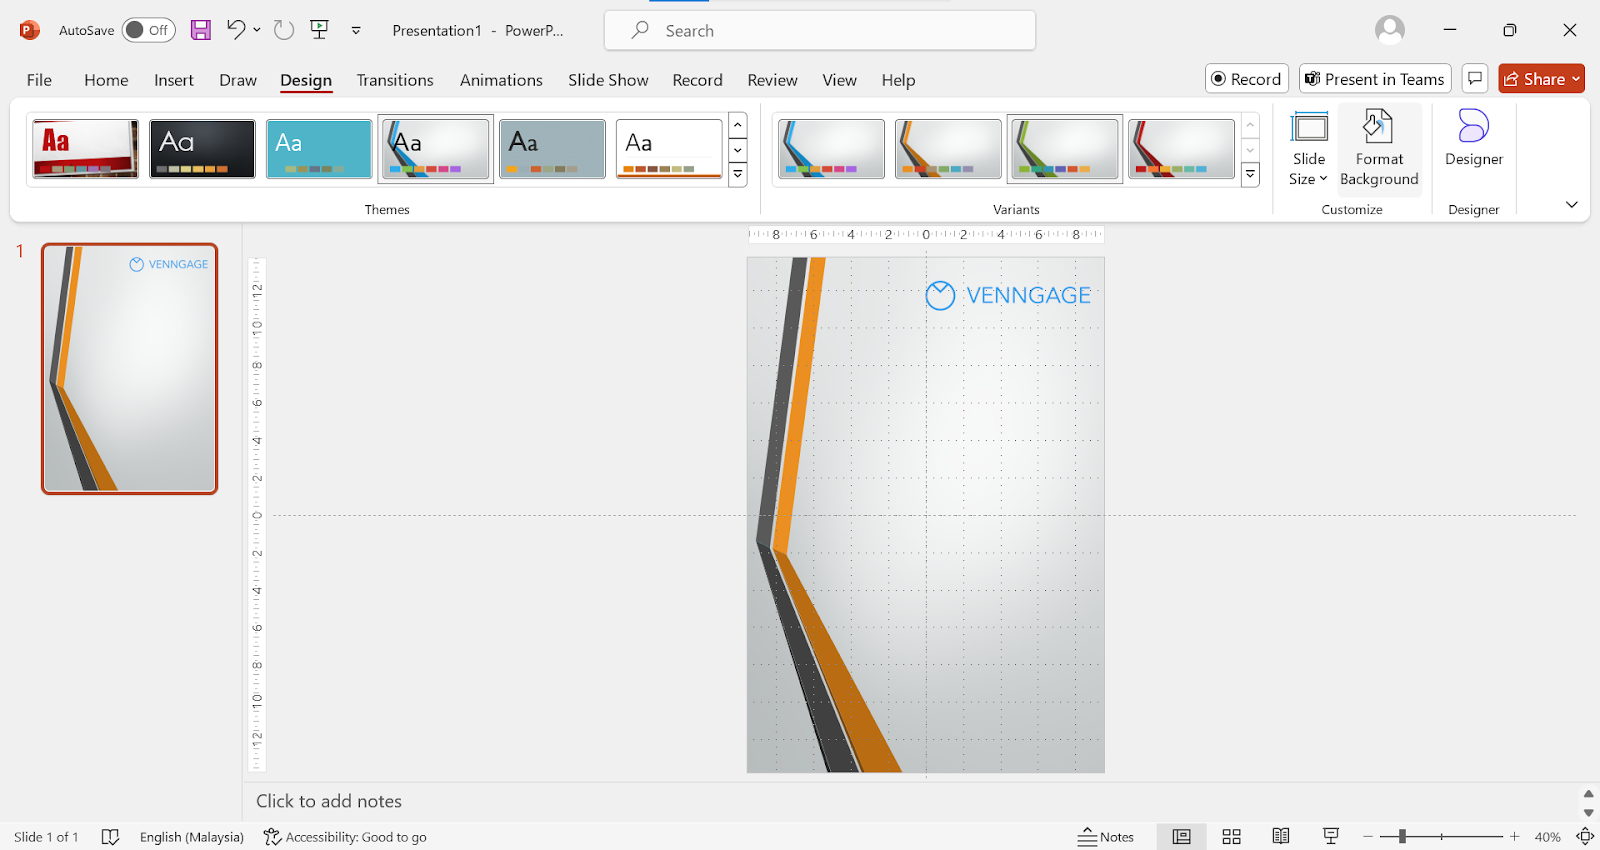
- Under the ‘Design’ tab, choose a theme that will fit your brochure best.
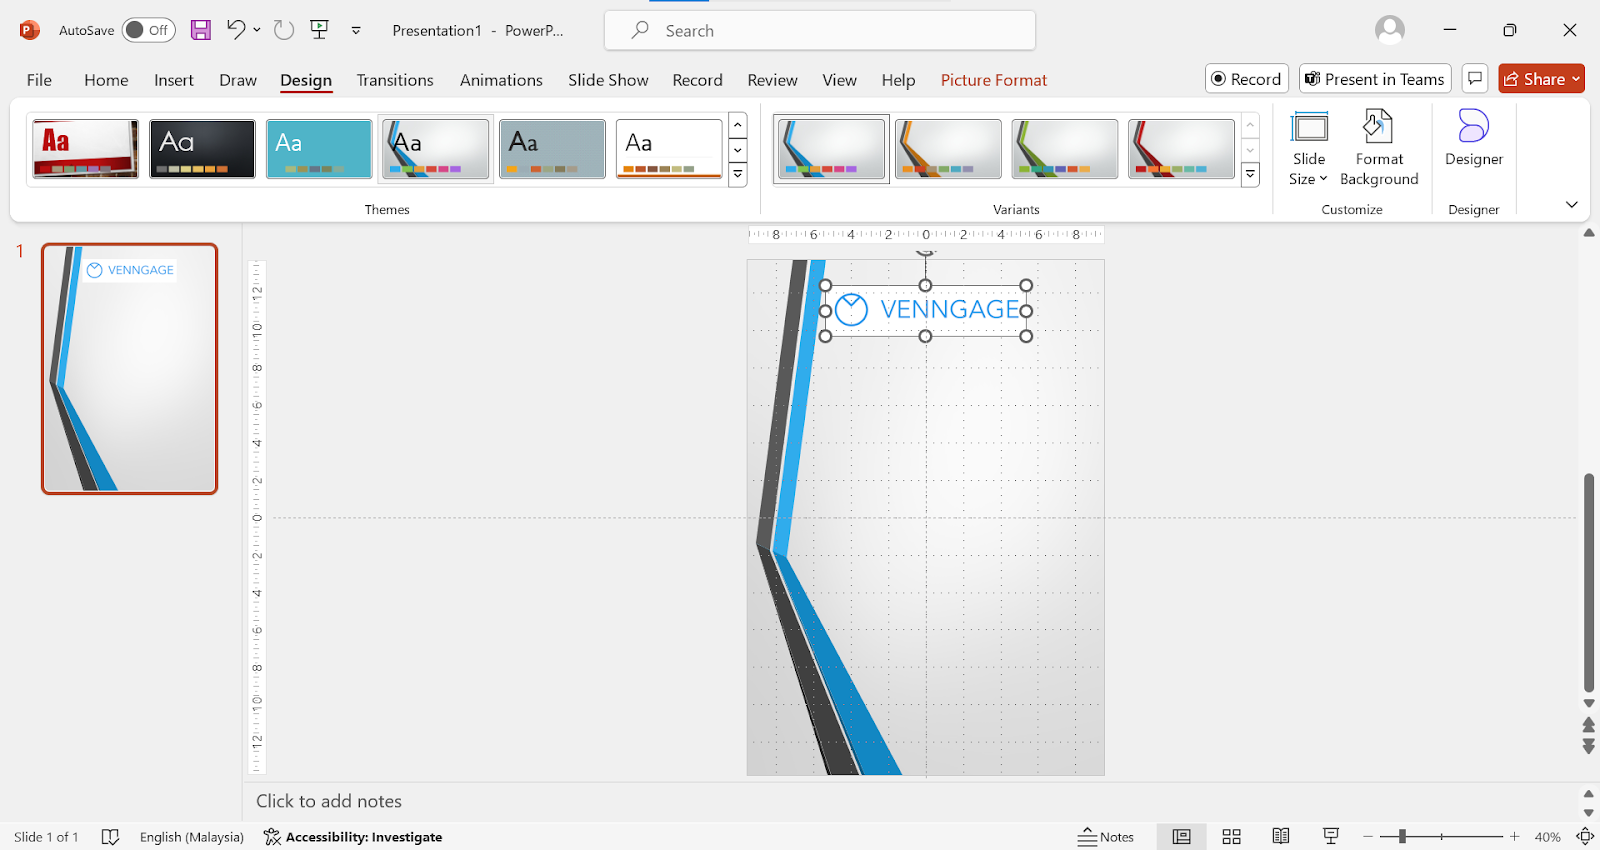
- Under ‘Variants’, you can choose different color schemes for your theme.

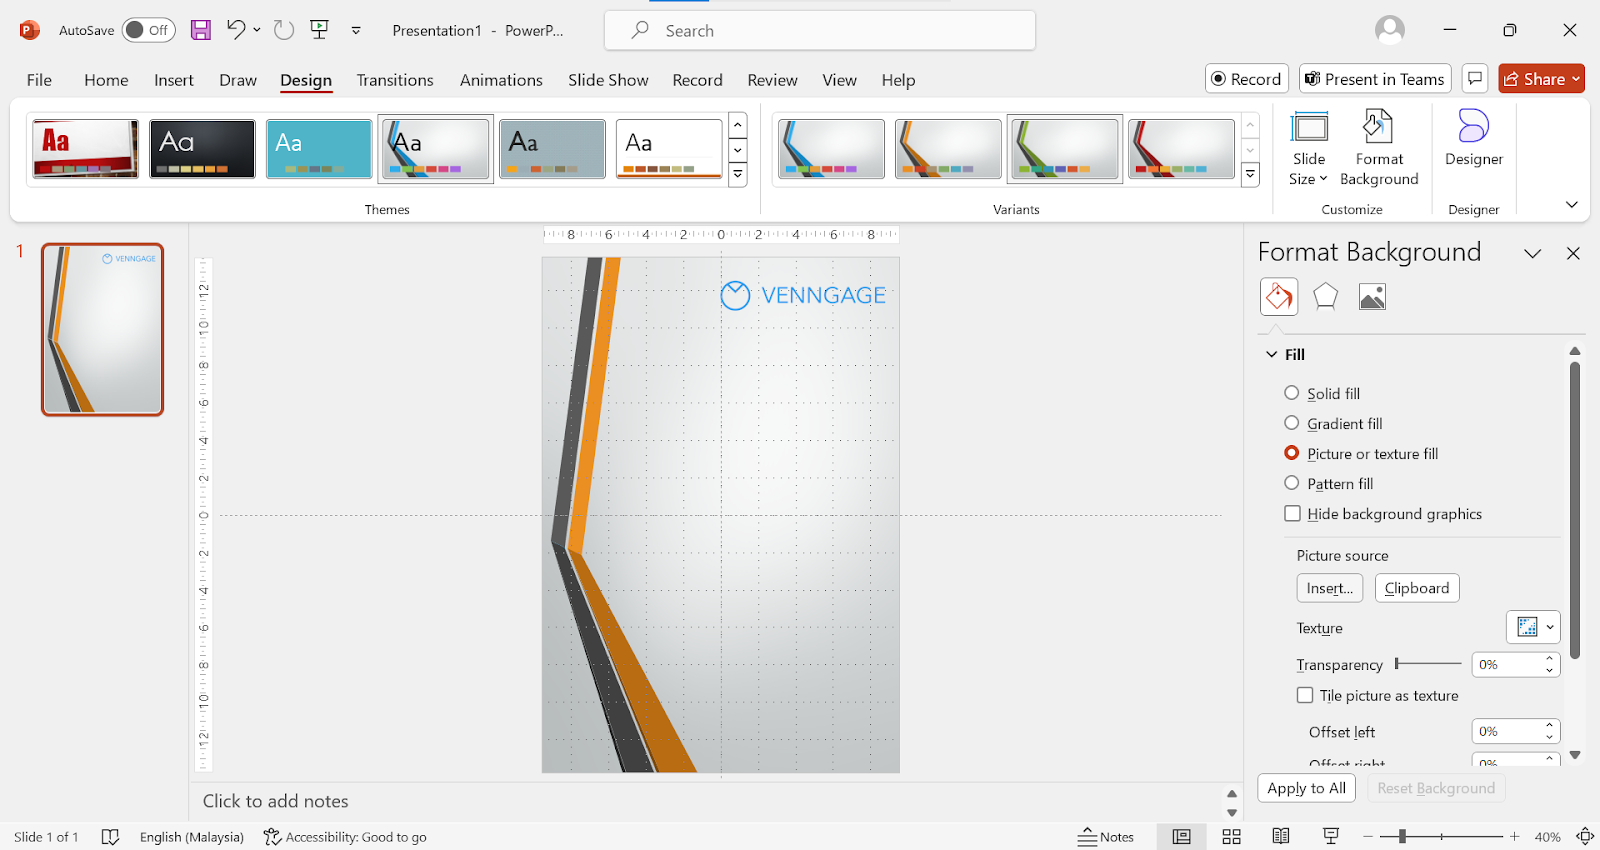
2. Backgrounds and colors:
- It is important for your brochure to have consistency and branding that matches its purpose.
- You can achieve this by customizing the color and background of your brochure.
- Under ‘Design’, select ‘Format Background’
- Choose a color or insert image, then apply to your design.
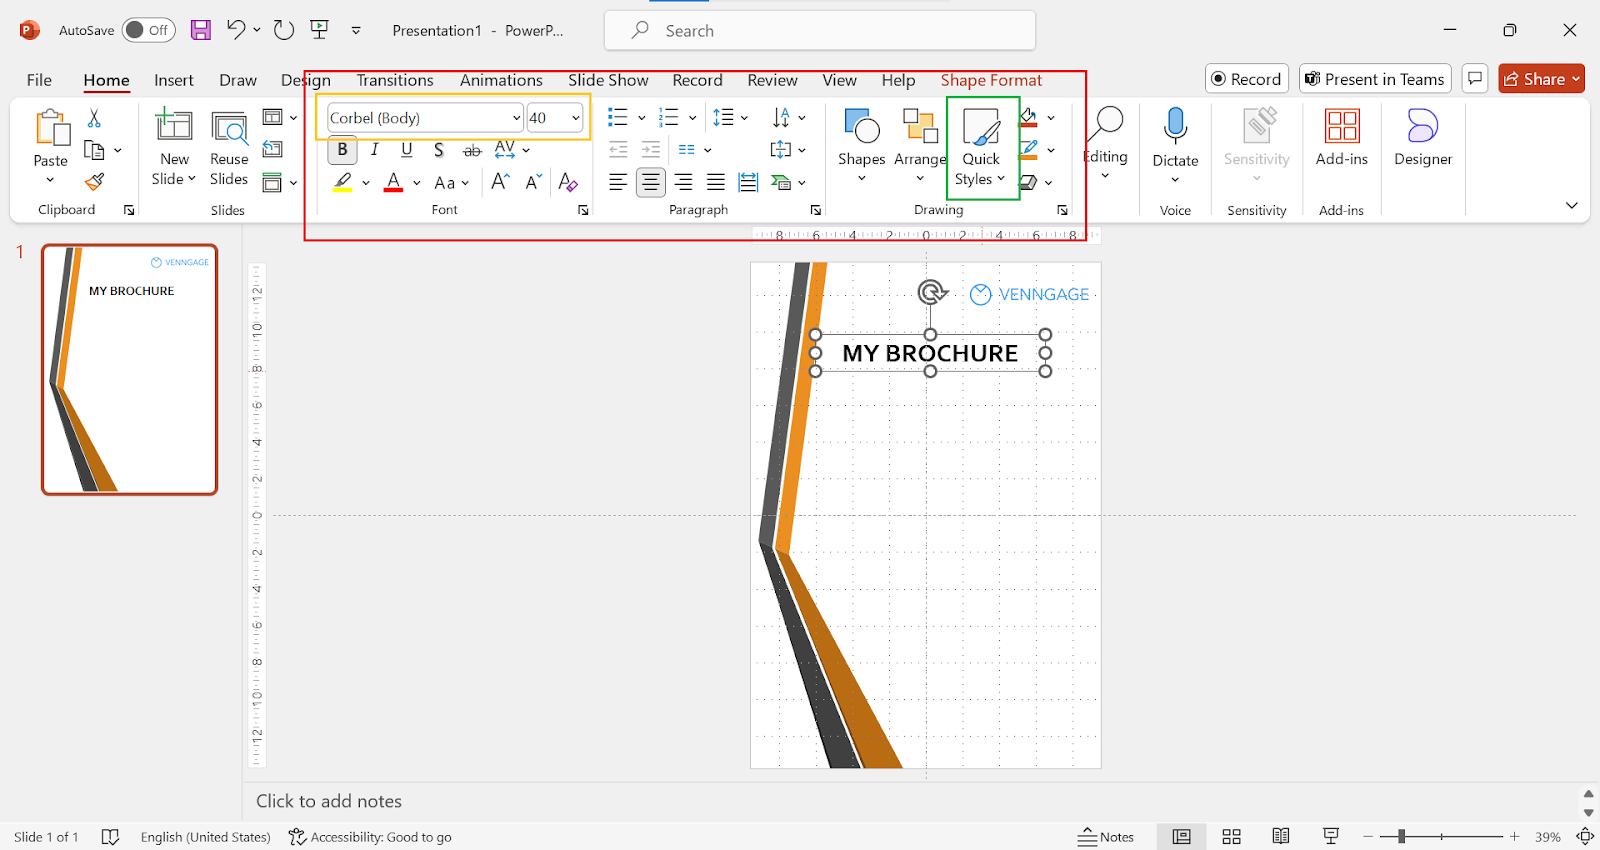
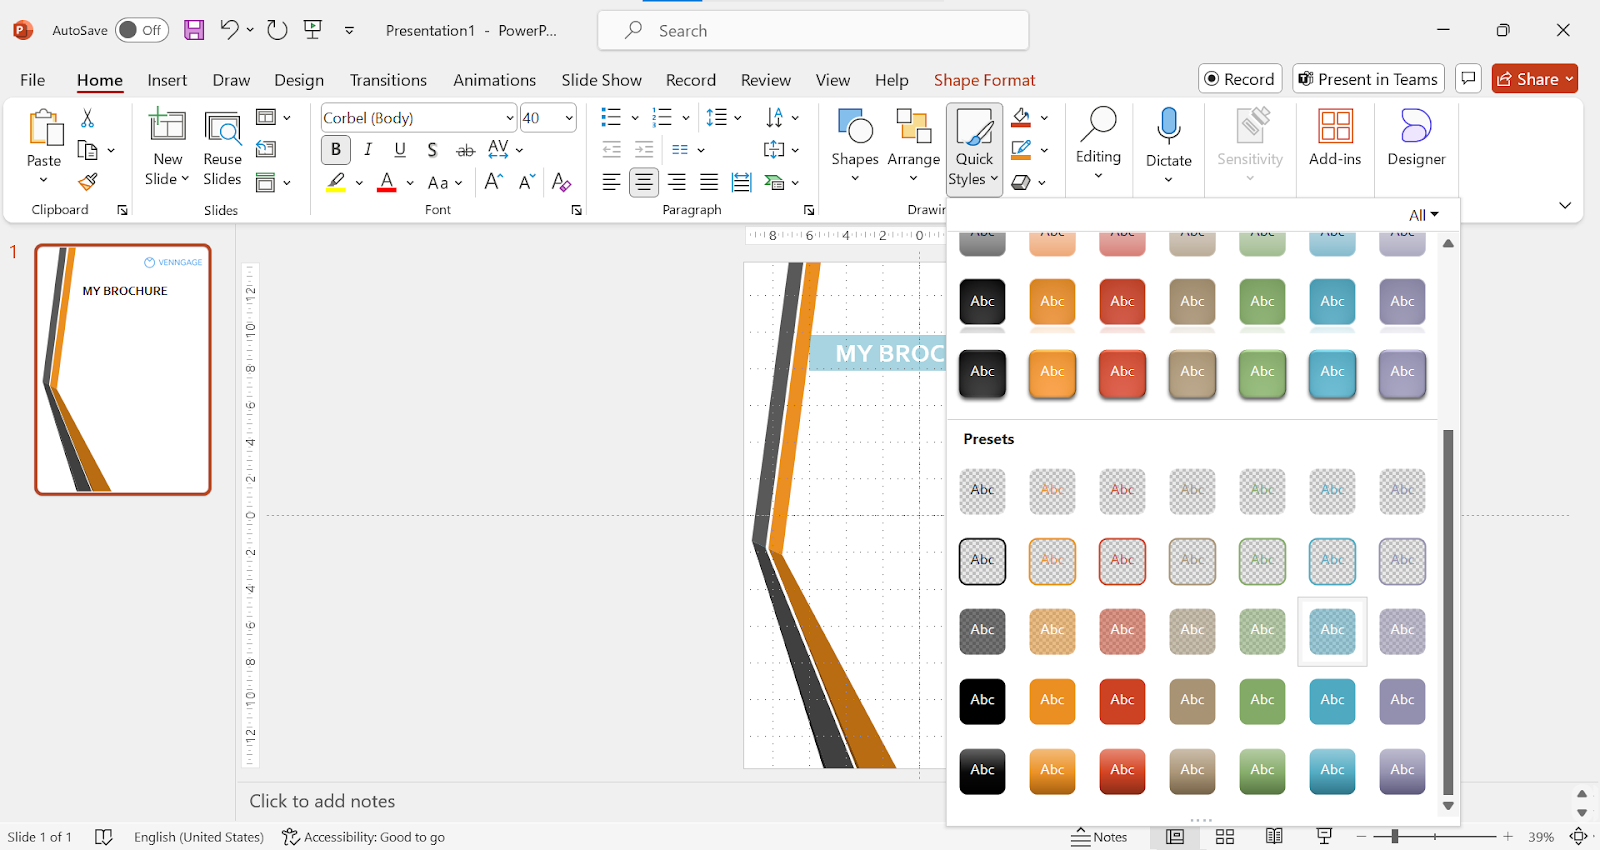
3. Fonts and styles:
- Customize your fonts and text styles to better match the design of your brochure.
- Choose a font that fits your branding.
- Change the size.
- Format it as it fits (Example: Bold, Italics, Underline).
- Change the style if needed.
Step 6: Add content
To create an effective brochure, you have to add the right content. For this, you will need to ensure concise and relevant texts that will effectively communicate your intended message.
1. Write text:
- Depending on the topic and theme of your brochure, make sure that your texts are concise and relevant.
- Only include points that are relevant.
- Omit unnecessary details.
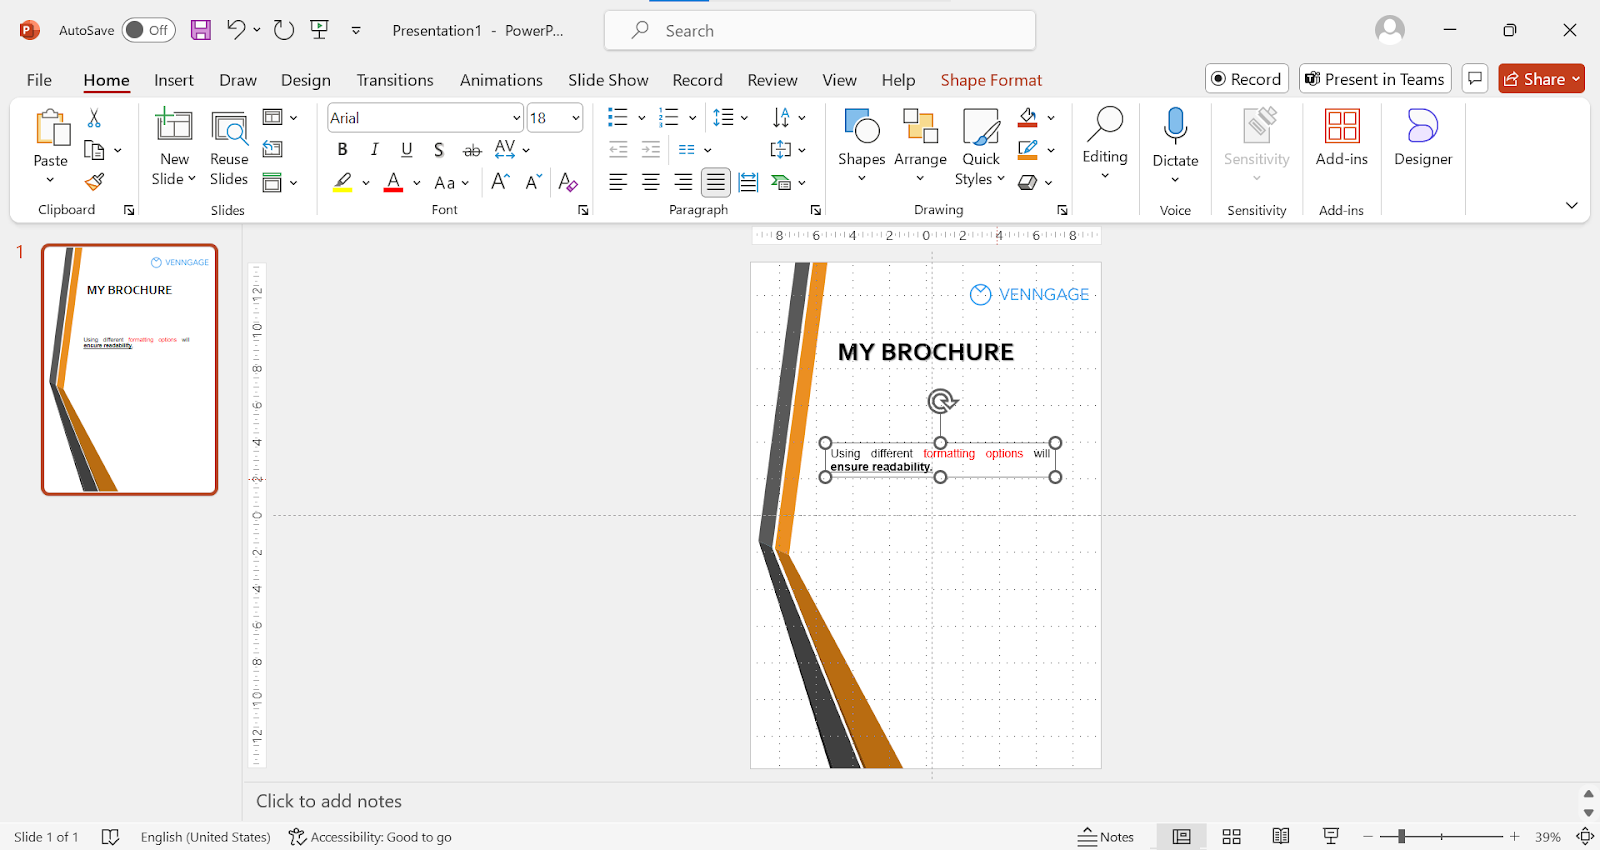
2. Format text:
- Highlight important points using different colors or ‘bold’.
- Using different formatting options will ensure readability.
Step 7: Review and adjust
You’re almost done with your brochure. But not just yet, you need to make sure to review your brochure and adjust your final layout.
1. Proofread:
- Read through your brochure to ensure that there are no spelling and grammatical errors.
- A brochure without errors in spelling or grammar reflects professionalism.
2. Adjust layout:
- Take a step back to look at your brochure.
- Are all your elements in place? Does the layout look right?
- Make sure that they are well aligned and are placed appropriately.
- Move your elements around if needed, or even change your background, until your brochure looks visually appealing.
Step 8: Save and print
After you’ve proofread and finalized the layout of your brochure, your next step is to save, and print.
1. Save your brochure:
- Go to File > Save As
- Choose your destination folder > Save.
- Optional: You can choose to save your brochure in a PDF format if it is intended for digital distribution.
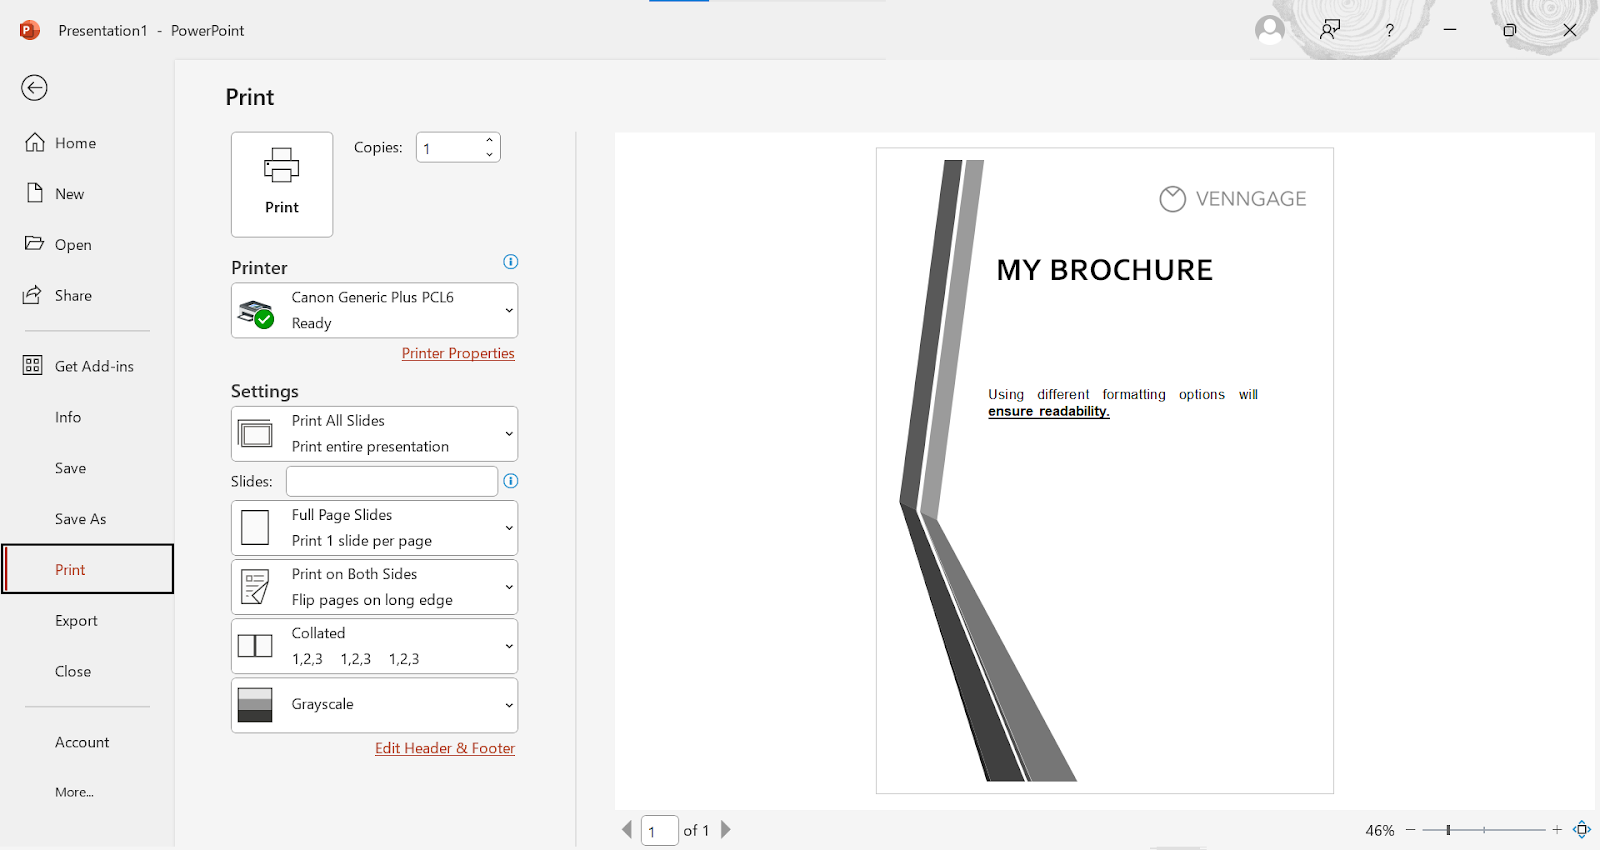
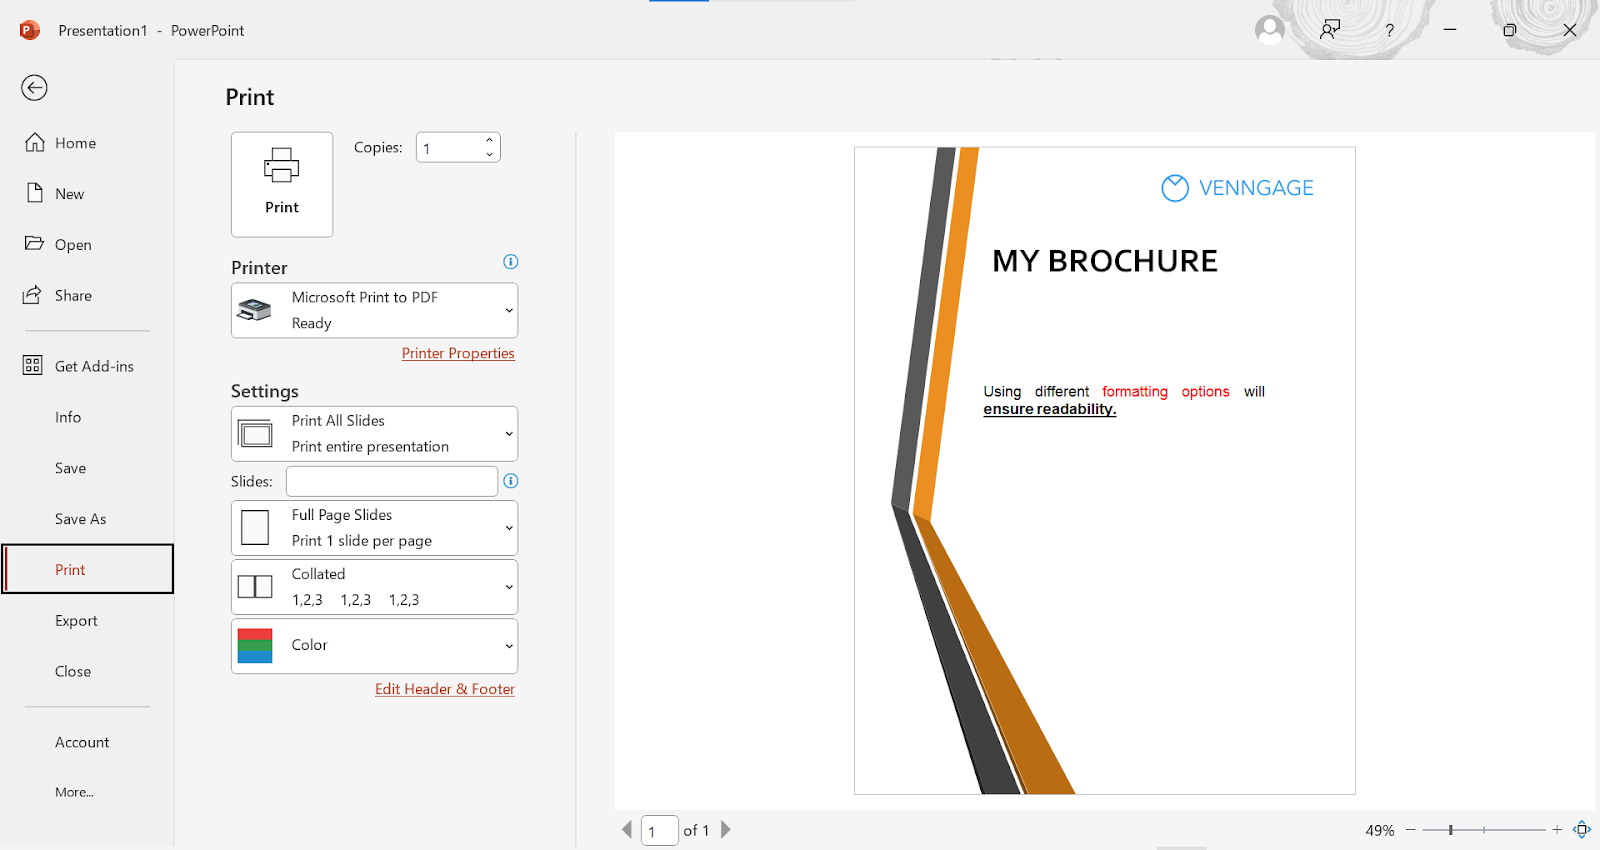
2. Print:
- Go to File > Print.
- Choose your printer.
- Choose ‘Color’ and your desired number of copies.
- Print.
Step 9: Final touches
Before you print your brochure, it is important to preview the brochure to spot any last-minute errors or make adjustments.
1. Preview:
- Under ‘Print’, you can preview what your brochure would look like.
- This can help you spot any last-minute errors, like alignment mishaps.
- Previewing your brochure before printing will help you avoid a costly wastage.
2. Print test page:
- Consider printing a test page to preview how your brochure would look like before proceeding to print in a higher quantity.
- If there are any errors, for example, elements going out of alignment, you can edit and review before going for a final print run.
How to make a brochure in Venngage?
While Microsoft PowerPoint is definitely an option to create brochures, it has some drawbacks. Using Microsoft PowerPoint comes with limitations in designing, and includes a long process that can be avoided by using different designing tools.
Take Venngage, for an example. Using Venngage to design a brochure is a simple and straightforward process. With many easy to edit templates, creating your brochure will be a breeze.
First, go to Venngage, or go to our free brochure maker page. Next, log-in if you already have an account, or sign up for a free account to save and edit your brochure at any time.
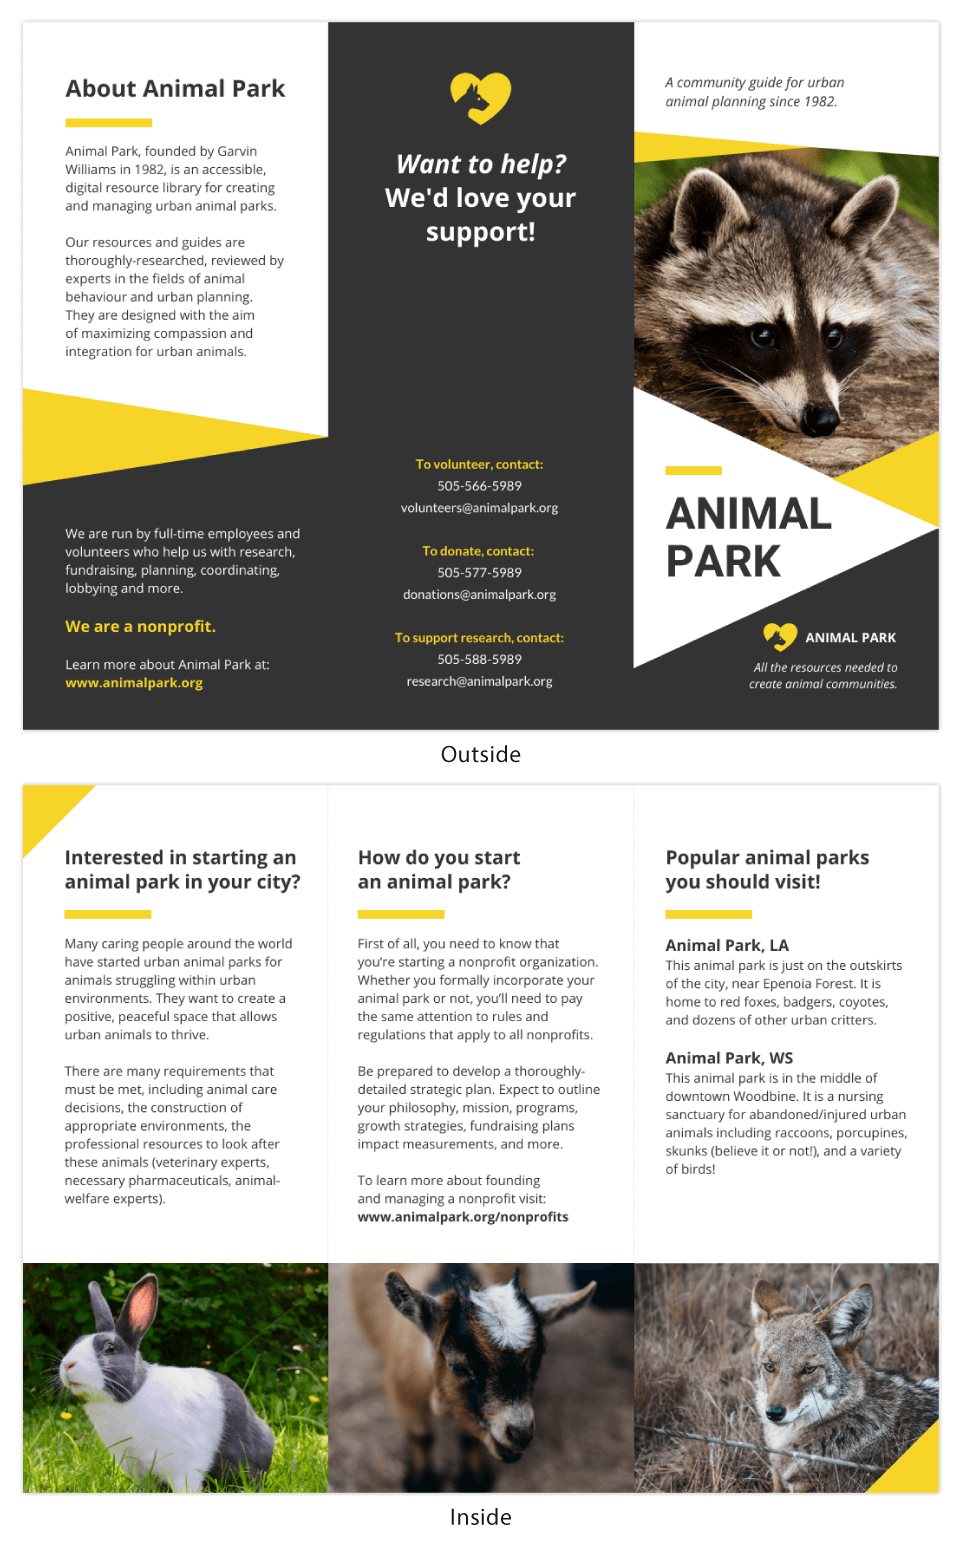
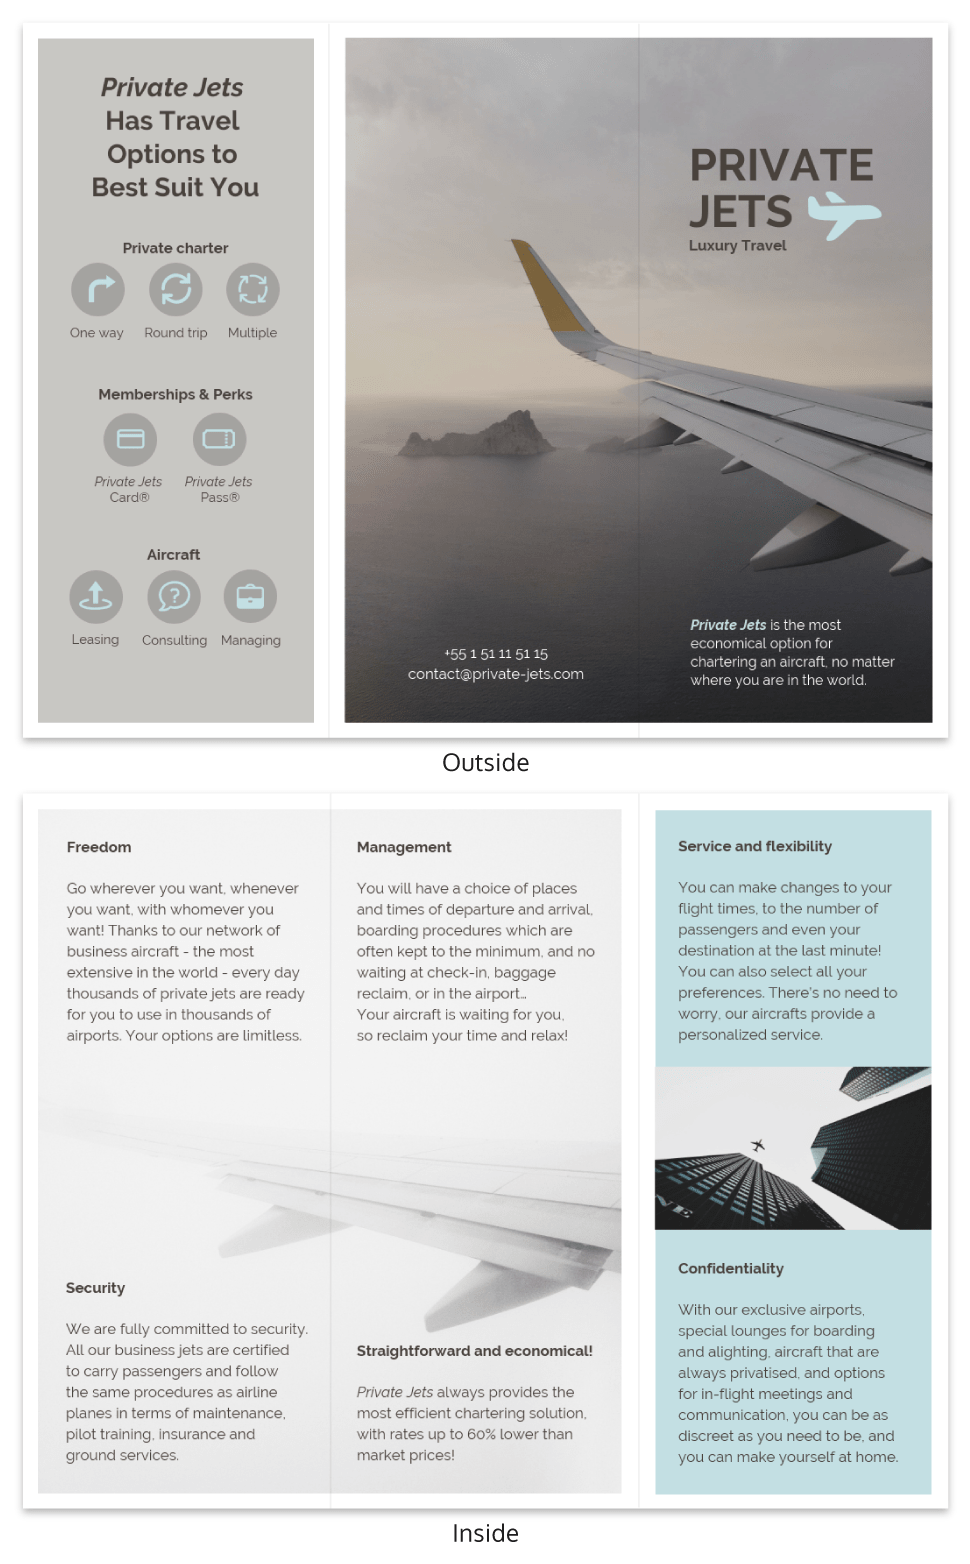
Next, choose from our list of personalized brochure templates, and begin editing! Here are some templates you can consider using to design your brochure:
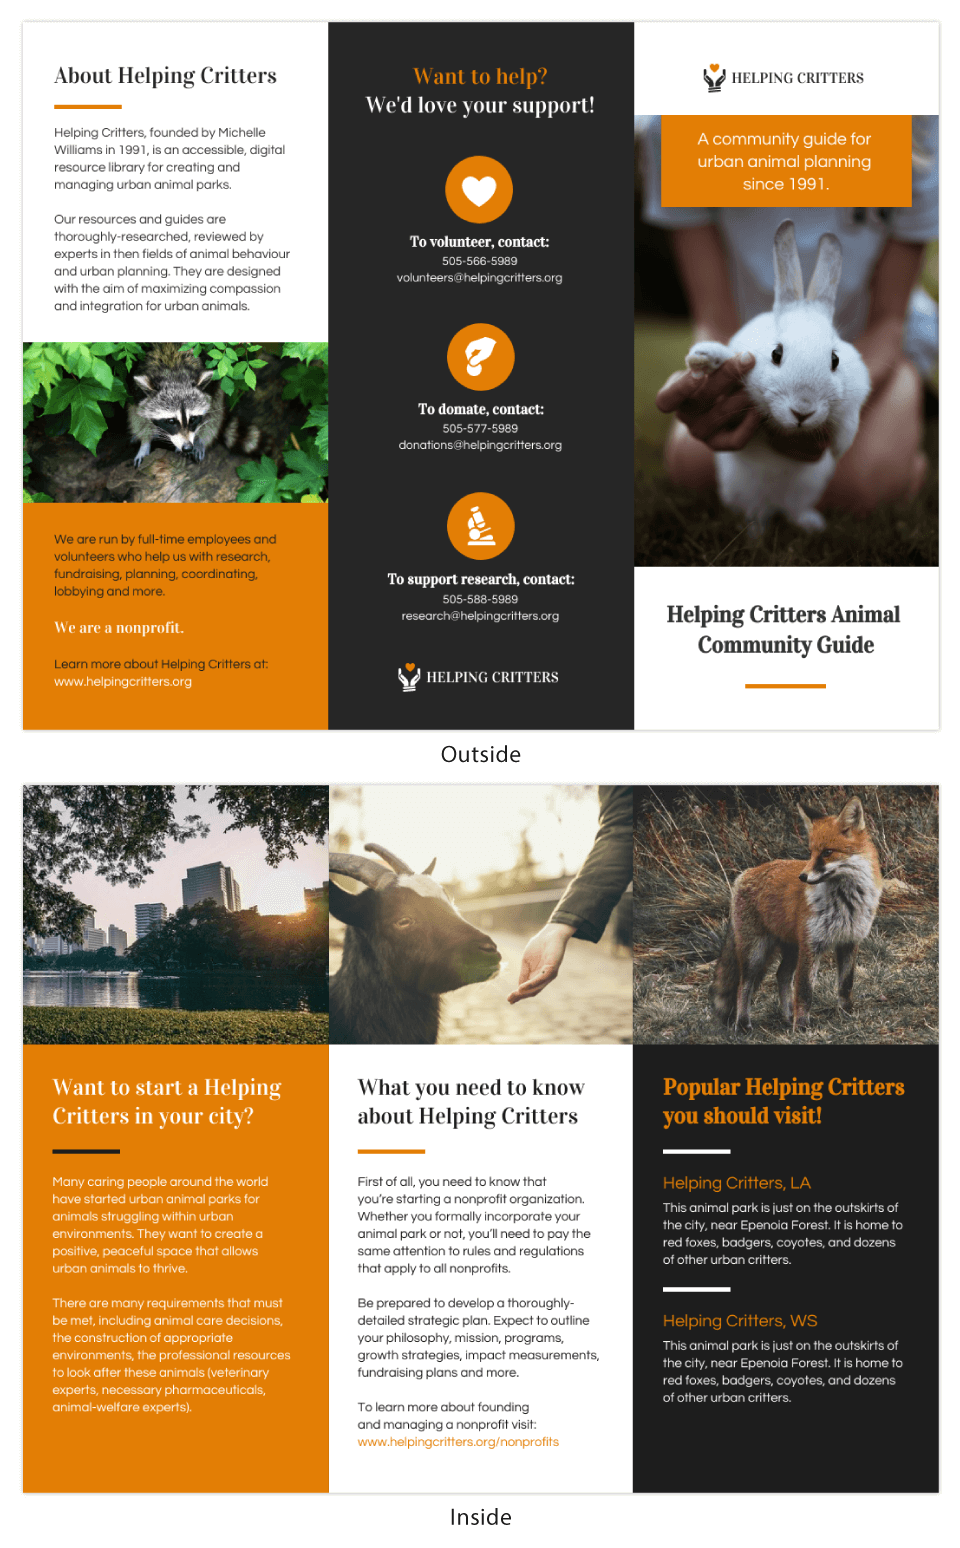


After editing your brochure, review and proofread, before saving and printing. You can revisit your design at any time to make changes or update your brochure for future uses.
The bottom line: Creating a brochure using Microsoft PowerPoint vs Venggage
Brochures are important to any cause or business. They are informative and are a great, inexpensive marketing tool.
Designing a brochure, especially a trifold brochure using Microsoft PowerPoint can be a challenge and comes with design limitations.
Using an online brochure maker can make a huge difference, and save you time while ensuring a brochure that is visually appealing and easy to edit, since you would not have to worry about choosing a size, or even creating sections.


