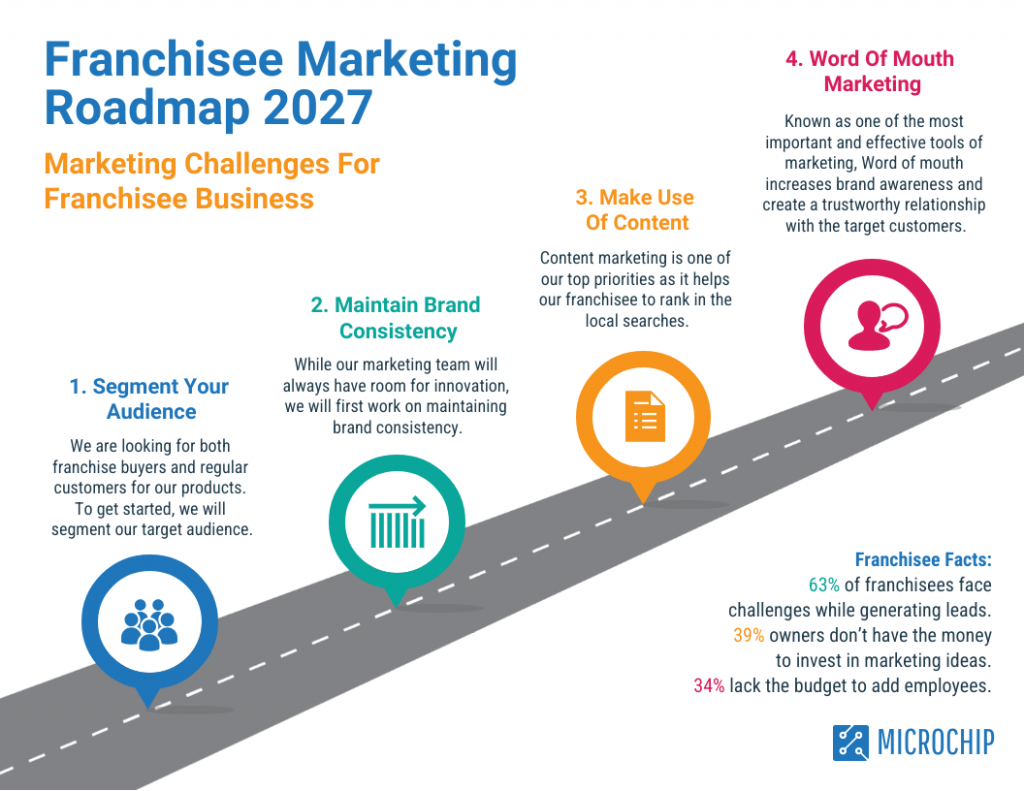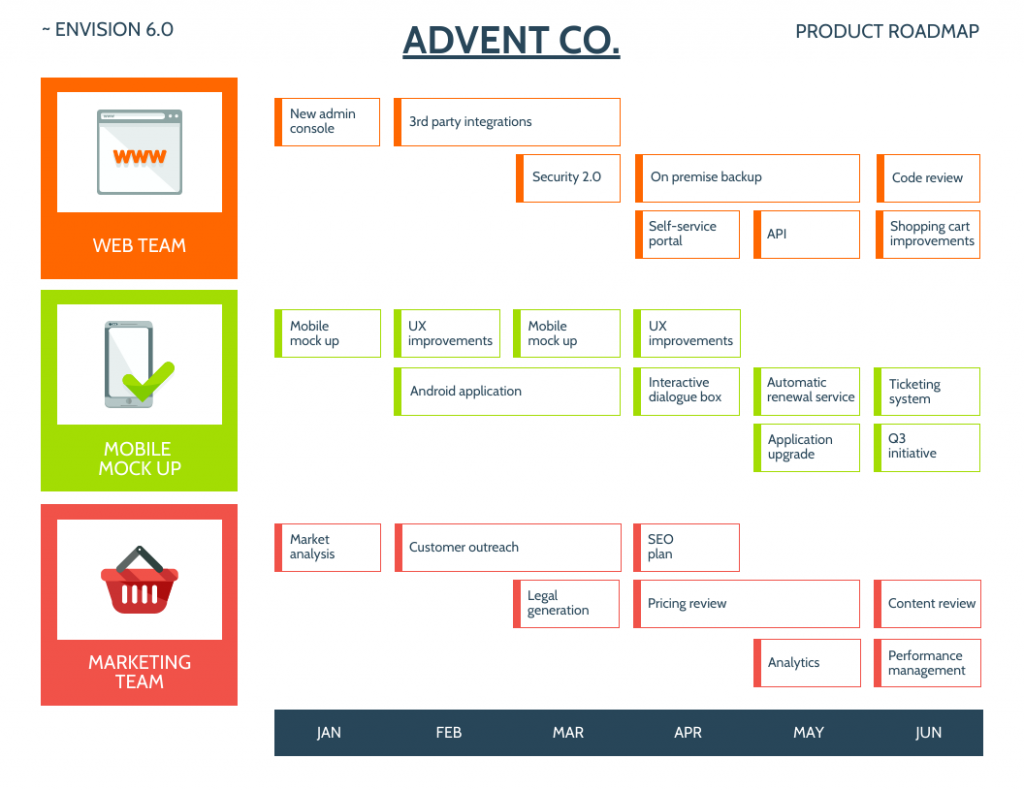
Have a project coming up? Then you’re definitely going to need a project roadmap.
A project roadmap is a visual overview of your project and usually contains a timeline, deliverables, milestones, project goals, potential risks, and resources.
Having a project roadmap is important for you to keep track of your timelines, goals, and activities. It gives you a bird’s-eye view of your project, without having too many details. If you’re in need of a project roadmap but you’re unsure on how to create one, then you’re at the right place.
To create a project roadmap, you can use many tools, like Microsoft Excel and Google Sheets, or by using a free online roadmap maker. In this guide, we’ll show you how to create a roadmap on Microsoft Excel, and also how to use customisable roadmap templates to create your next project roadmap.
Click to jump ahead
- Step by step guide for creating a roadmap on Microsoft Excel
- How to make a project roadmap in Venngage?
- Final thoughts: creating a project roadmap in Microsoft Excel
Step by step guide for creating a roadmap on Microsoft Excel
To create a project roadmap in Microsoft Excel, you can do the following steps:
Step 1: Open Microsoft Excel
Step 2: Set up your worksheet
Step 3: Enter project data
Step 4: Format the roadmap
Step 5: Create a Gantt Chart
Step 6: Add milestones
Step 7: Finalize and save
Step 8: Share and update
Let’s dive deeper with a step-by-step explanation to help you create a project roadmap easily by using Microsoft Excel.
Step 1: Open Microsoft Excel
To start creating your roadmap, you will need to first locate and open your Microsoft Excel. Once you do this, you will then need to open a new, blank workbook. Opening a fresh, blank workbook, and not one that is already used is crucial to organize the project roadmap efficiently.
1. Open Excel:
- Launch Microsoft Excel on your computer.
- On Windows, go to start and search for Excel.
- On MacOS, go to your launchpad to search and open Excel.

2. Create a new workbook:
- Go to File > New to create a new workbook.
- Or, click on ‘Blank Workbook’.


Step 2: Set up your worksheet
Now that you have your worksheet open, it’s time to set your worksheet up to start creating your project roadmap. Setting up your worksheet is an important process, to ensure that you get the format for your roadmap down.
1. Rename the sheet:
- Double-click on the sheet tab at the bottom and rename it to “Project Roadmap”.

2. Create headers:
- In the first row, create headers for your roadmap. Common headers include:
- Task Name
- Start Date
- End Date
- Duration
- Status
- Assigned To
- Dependencies

Step 3: Enter project data
After you’ve created your headers, your next step is to build your project roadmap by entering your project data. Here, you will list all relevant tasks and set their respective deadlines and calculate the duration of each task.
You will also fill in the status, and person responsible for the tasks, and list any dependencies. Dependencies are tasks that depend on the completion of another task, or has prerequisites.
1. List tasks:
- Under the “Task Name” column, list all the tasks involved in your project.

2. Fill in dates:
- Enter the start and end dates for each task.

3. Calculate duration:
- Use the formula =DATEDIF(Start_Date, End_Date, “D”) to calculate the duration of each task.

4. Status and assignment:
- Fill in the status (e.g., Not Started, In Progress, Completed) and the person responsible for each task.


5. Dependencies:
- List any dependencies or prerequisites for each task.

Step 4: Format the roadmap
Your next step is to now format the roadmap in order to make it more visually appealing and for better readability. You will need to use different colors to highlight different tasks, and adjust column width to give your roadmap a clean and professional look.
1. Format cells:
- Adjust the formatting of the cells to make the roadmap easier to read. Use different colors to highlight different statuses or task types.

2. AutoFit columns:
- Select all columns and use AutoFit to adjust the column widths to fit the content.


Step 5: Create a Gantt Chart
A Gantt Chart is a project management tool that helps you visualize a project better by using bar charts. It typically shows you the schedule of your project. Here’s how you can create a Gantt Chart for your project roadmap.
1. Select data:
- Highlight the task names and their corresponding start dates and durations.

2. Insert chart:
- Go to the Insert tab, select Bar Chart, and choose the Stacked Bar option.


3. Adjust the chart:
- Format the Gantt chart by reversing the axis order, adjusting the colors and adding labels as needed.

3. Customize:
- Use the Chart Tools to customize the appearance of the Gantt chart to match your project’s branding or preferred style.

Step 6: Add milestones
Every project has milestones. It is important to identify this and highlight these milestones in your project to track major progress points.
1. Identify milestones:
- Determine the key milestones in your project.
2. Mark milestones:
- Highlight these milestones on your roadmap by using symbols or different colors in your chart.


Step 7: Finalize and save
Now, it’s time for you to review your project roadmap. It is crucial to ensure that all the data that has been input is correct, and that your formatting and chart elements are in place for accuracy. Once this is done, you can proceed to save your project.
1. Review:
- Double-check all data entries, formatting, and chart elements.
2. Save your workbook:
- Save your Excel workbook to ensure all your work is preserved.
- Go to File > Save.
- Save your workbook to your desired destination.

And there you have it, your completed and saved project roadmap that can be shared, reviewed and updated whenever needed.

Step 8: Share and update
Once you have saved your project roadmap, you will be able to review, update, and share it with your team at any time. Regularly update your roadmap in order to reflect any changes to your project and to keep the team aligned and informed about the project’s progress.
1. Share with team:
- Share the Excel file with your project team or stakeholders.

2. Regular updates:
- Regularly update the roadmap as the project progresses to reflect changes in task status, dates, and milestones.
How to make a project roadmap in Venngage?
Creating a project roadmap on Microsoft Excel using the step by step guide above is a straightforward process, but it comes with restrictions and design limitations. It could also prove to be a challenge for you to customize it to fully reflect your branding.
Using an online designing tool, like Venngage, can help you create and design a project roadmap easily by using a versatile project roadmap maker. To do this, first, open your browser and go to Venngage. On the top right corner, click on ‘Sign up for free’ to create a free account with Venngage.

When you create a free account, this makes sure that any project you create with Venngage will be saved, and allows you to revisit your work at any time to edit and save any changes or progress. You will also be able to export and share your roadmap easily.
After creating an account, you can head straight to Venngage’s free project roadmap maker to start creating your project roadmap. As an alternative, you can choose to start creating by using one of Venngage’s free editable project roadmap templates.
Here are a few templates you can choose to start with:


Key takeaways: Creating a project roadmap in Microsoft Excel
When handling or managing a project, it is key for one to have a project roadmap in order to be able to have a visual overview of everything. This helps keep everyone on the team updated about their progress, and makes managing the overall timeline of the project easier.
A project roadmap can be created using different tools. For example, you can create a project roadmap using Microsoft Excel, Google Sheets. When you are creating a project roadmap using Microsoft Excel, remember to format it by using different colors, and mark milestones with symbols for better readability.
You can also use an online designing tool, like Venngage, to create or design a project roadmap by using an user-friendly project maker. Online tools are easier to use and offer more design customization, especially since you will also have the option of starting by choosing an existing, customizable project roadmap template.
To wrap it all up, if you are looking to customize your project roadmap and add more branding, then using an online tool would definitely give you the freedom that you need to create a roadmap that will fit you best.


