


Storyboards are vital for visual storytelling, acting as blueprints for the narrative, aiding organization and clarifying crucial visual elements.
They’re indispensable in film, animation, advertising, gaming and more, enabling creators to anticipate issues and streamline the process. Producers create storyboards to help visualize the finished result by outlining scenes and sequences, making it simpler to identify potential problems or plot holes early in the creative process.
To streamline the process of creating storyboards, let me walk you through the steps on how to create an effective storyboard. You can also always make use of the user-friendly storyboard templates and tools offered by Venngage for efficient storyboarding. Ready? Let’s get started!
Click to jump ahead:
- Understanding the basics of storyboarding
- 7 steps to create an effective storyboard
- 11 Key elements you should include in your storyboard frame
- What are some common mistakes to avoid when creating a storyboard?
- How to choose the right storyboarding format for different projects
- FAQs on how to make a storyboard
- 7 Steps on how to create a storyboard with Venngage
Understanding the basics of storyboarding
A storyboard is a graphic depiction or series of sketches, drawings or photographs that lists the major events, shots and actions in a narrative, frequently in chronological order. Normally, it also includes comments or explanations to give more context and information about each frame.
You can also think of it as a visual communication tool, as it acts as a blueprint for visual storytelling, enabling creators to plan and envision a project such as a movie, animation, YouTube video or even a graphic novel.
Storyboards are used primarily in the creative professions to improve planning and communication. They aid in the conversion of written scripts or ideas into visual formats, ensuring that the story flows smoothly and that all participants have the same understanding.
Storyboards reduce the possibility of expensive and time-consuming changes by facilitating team cooperation and serving as a reference point during production.
Overall, storyboards are a crucial tool for preserving creative direction, effectiveness and clarity while diverse visual storytelling projects are being developed.
7 steps to create an effective storyboard
Creating an effective storyboard is a fundamental step in bringing your creative visions to life, whether in film, animation, explainer video production or any visual storytelling medium.
A well-crafted storyboard serves as a roadmap, helping you plan, visualize and communicate your narrative with precision. In this guide, I will touch base on seven essential steps to craft a compelling and impactful storyboard. Let’s explore:
Step 1: Define your project and objectives
The first step in creating an effective storyboard is to define your project’s purpose and objectives. It’s crucial to define the project in detail before getting into the specifics of a storyboard.
Decide if you’re making a short film, a commercial, a feature-length film or something else entirely such as a novel or designing a website. Understand the story you want to tell and identify the main message or goals you intend to achieve through your project.
Step 2: Develop your script or narrative
If your project involves storytelling or a scripted sequence of events, the next step is to develop your script or narrative. Write a detailed script that outlines the dialogue, action and sequence of events.
Then, break down your script into key scenes, actions and transitions that are essential to conveying your story effectively.

Step 3: Storyboard structure and format
Choose a suitable storyboard format that aligns with your project’s needs. You can opt for traditional, digital, vertical, horizontal or animatic formats depending on your project’s requirements. Determine the number of frames or panels you’ll need to represent each scene, shot or sequence effectively.

Step 4: Sketch the frames
With your script or narrative as a reference, start sketching each frame. Visualize and draw the scenes, characters, objects and backgrounds in each frame. Pay attention to composition, framing and camera angles to convey the mood and emotion of each scene accurately.
Step 5: Add annotations and details
Alongside each frame, include clear and concise annotations or notes that describe the action, dialogue, camera movements and any other relevant details. Specify how scenes transition from one to another, including cuts, fades or other visual effects to ensure a smooth flow of the narrative.
Step 6: Review and revise
Seek feedback from team members, collaborators or stakeholders to ensure that your storyboard aligns with the project’s goals and effectively communicates your vision. Be open to making revisions based on feedback, focusing on improving clarity, storytelling and visual composition.
Step 7: Finalize and share
Once you’ve gathered feedback and made necessary revisions, create a polished version of your storyboard with clean, legible drawings and annotations.
Share the finalized storyboard with all relevant team members, including directors, animators, designers or anyone involved in the project’s production. Effective communication and collaboration are essential to bringing your creative vision to life.
Last but not least, a great tip for creating an effective storyboard is to incorporate the design thinking principles into your storyboarding process. This would help you create narratives that are not only visually appealing but also deeply resonant with your audience. It encourages a holistic approach to storytelling that takes into account both the creative and user-centric aspects of visual communication.
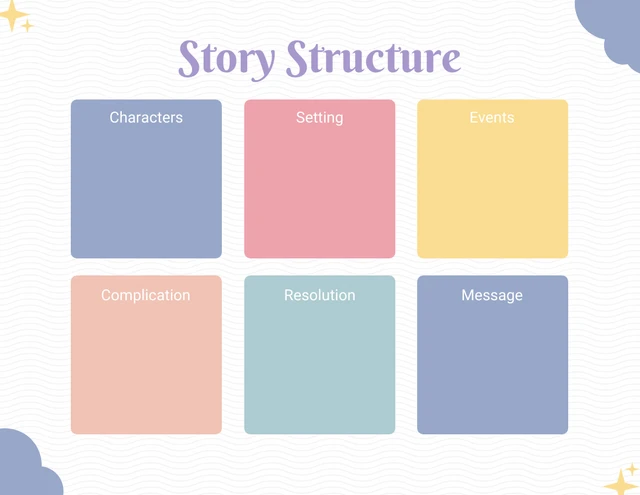
11 Key elements you should include in your storyboard frame
Whether they are created by hand or by computer, all storyboards have the same information. In order to provide a clearer picture of what a video should look like, here are the essential elements that should be present in a storyboard

Title: The storyboard should contain the project’s title, the date it was created and any other relevant project information.
Panel number: Each page of the storyboard should be given a number and the panels should be arranged in the right order to ensure that the plot develops logically.
Camera directions: To assist the camera operator, projects in film, television or video may include camera instructions. Determining the camera’s movement, framing and angles may be necessary.
Sound and dialogue: Include essential information related to audio elements. This includes descriptions of background music, sound effects and most importantly, dialogue text or speech bubbles that convey character conversations, narration or voiceovers. You can also use the Freepik AI sound effects generator to quickly create custom, high-quality, and copyright-free audio elements that enhance your scenes and make your content more immersive.
Transitions: During the production of movies and videos, transitions between shots or scenes are usually documented in the storyboard. Examples of this include cuts, fades, dissolves and other visual transitions.
Images/Drawings: The action or narrative is primarily represented visually in a storyboard. Any visual representation that represents what will appear on screen or in the finished product can be utilized for this, including sketches, drawings, photos and more.
Shot description: Each panel is accompanied by a caption or description that provides key details about what is happening in the scene. All relevant visual elements such as characters, activities, camera angles, etc should be covered.
Notes: Additional notes or comments may occasionally be added to provide context, explanations or instructions to the production team. Use them to highlight specific criteria or specifics.
Timing and duration: The length of each shot or scene can occasionally be defined, which helps with pacing and timing the project.
Props and clothing: If props and attire are included in the storyboard, the production team will be more likely to comprehend the precise visual aspects required for each scene. Collaboration between the costume department and the art department is also beneficial to ensuring a cogent and attractive final product.
Special effects: If necessary, special visual effects instructions for real-world effects or CGI (Computer-Generated Imagery) can be provided.
What are some common mistakes to avoid when creating a storyboard?
When it comes to storyboarding, even the most experienced storytellers can stumble into pitfalls when crafting their storyboards. In this exploration, let’s into the common mistakes that can hinder the effectiveness of your storyboard and, ultimately, the success of your project.
Lack of clarity
Mistake: Failing to clearly convey the narrative or sequence of events in your storyboard.
Why avoid: If your audience, team or collaborators can’t understand your storyboard, it can lead to miscommunication, confusion and a disjointed final product.
How to avoid: Use clear and concise visuals and annotations to represent each scene or shot. Ensure that the story’s progression is easy to follow.
Ignoring composition and framing
Mistake: Neglecting the visual composition, framing and camera angles in your storyboard.
Why avoid: Composition and framing play a significant role in visual storytelling. Ignoring them can result in bland or uninteresting visuals.
How to avoid: Pay attention to the placement of characters, objects and elements within the frame. Experiment with different angles and compositions to enhance the storytelling.
Overcrowded frames
Mistake: Trying to cram too much information or detail into a single storyboard frame.
Why avoid: Overcrowded frames can overwhelm the viewer and make it difficult to focus on essential story elements.
How to avoid: Simplify each frame, focusing on the key elements necessary to convey the scene. Use additional frames if needed to show different perspectives or actions.
Inconsistent visual style
Mistake: Failing to maintain a consistent visual style throughout the storyboard.
Why avoid: Inconsistencies in character design, colors or overall style can be distracting and disrupt the viewer’s immersion in the story.
How to avoid: Establish and adhere to a consistent visual style guide for characters, settings and props from the beginning of the storyboard.
Skipping story beats
Mistake: Missing important story beats or transitions in the storyboard.
Why avoid: Skipping crucial moments in the story can result in plot holes or an incomplete narrative.
How to avoid: Carefully plan and include all significant story beats, character interactions and transitions to ensure a cohesive and engaging story.
Neglecting annotations and descriptions:
Mistake: Failing to provide clear annotations, notes or descriptions for each frame.
Why avoid: Without adequate explanations, others may not fully understand the context, action or intent of each frame.
How to avoid: Include brief but descriptive annotations alongside each frame to clarify character actions, dialogue, camera movements and any other essential details.
How to choose the right storyboarding format for different projects
Choosing the right storyboarding format is a crucial step in the creative process since it has a big impact on how your story develops. Every project, be it a movie, an animation, a presentation or a graphic novel, requires a different strategy. In this section, I will show you how to choose the right storyboarding format for your project.
Consider the medium
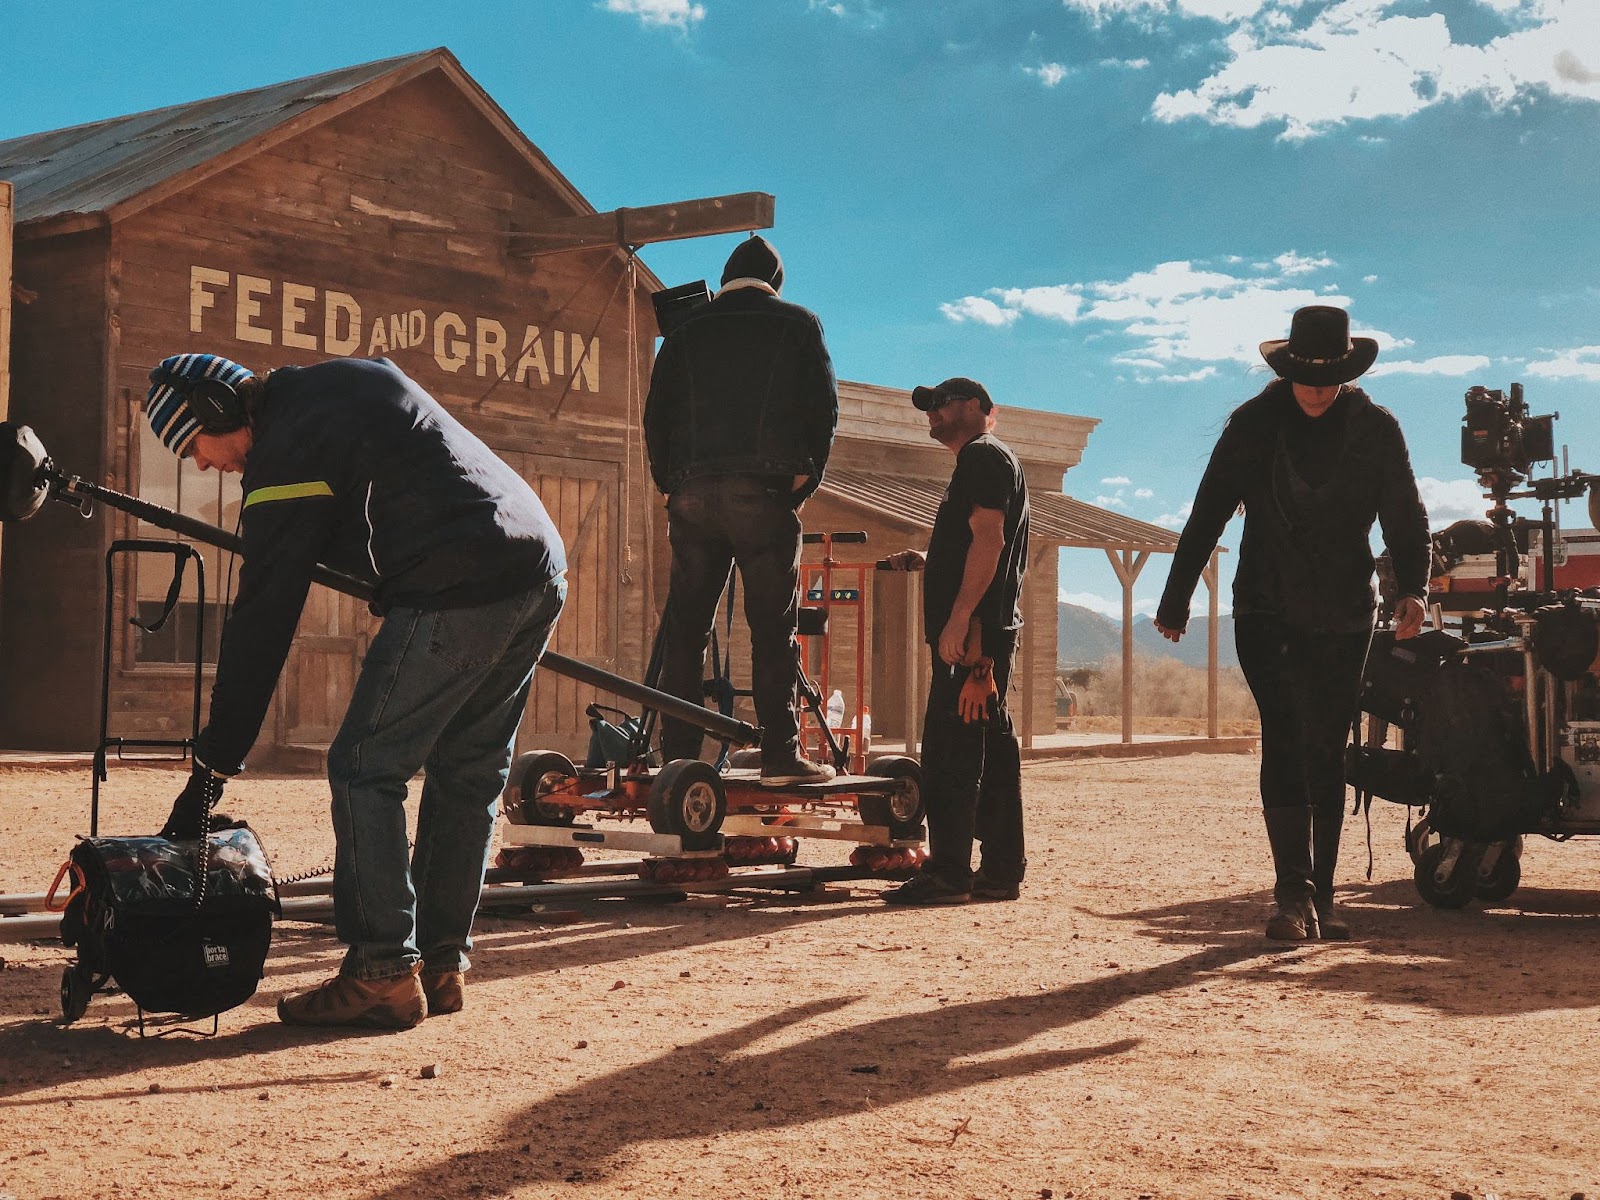
Film and video:
For traditional filmmaking, a horizontal or traditional storyboard format is commonly used. It allows you to plan out shots and scenes effectively. Digital formats are also popular for video projects.
Source: Unsplash
Animation:
Animation often benefits from digital storyboarding, as it allows for precise control over character movements and timing. Animatic storyboards with timing information can be particularly useful. For example, when creating an online course, using animation can help relay your ideas and lessons better.
Web design and UI/UX:
Consider using digital or vertical storyboard formats for web and user interface projects, as these formats can better represent the vertical scrolling nature of websites and apps.

Source: Unsplash
Project scale and complexity
Simple projects:
For small or straightforward projects, such as short videos or single web pages, you may not need an elaborate format. Thumbnails or simple sketches on paper may suffice.
Complex projects:
For larger, more complex projects like feature films, video games or multi-page websites, consider using more detailed and organized formats like digital or traditional storyboards.
Collaboration requirements
Remote collaboration:
If your team is distributed or working remotely, digital storyboarding formats offer the advantage of easy sharing and collaboration through cloud-based tools. Venngage offers collaboration tools with real-time communication that can help you and your team work more efficiently and storyboard better.
In-person collaboration:
For projects where team members work closely together in the same physical space, traditional storyboards or whiteboard-style storyboarding can facilitate real-time discussions and adjustments.

Source: Pexels
Audience and stakeholder presentation
Client or stakeholder presentation:
When presenting marketing campaigns such as a marketing video for market expansion and growth to clients or stakeholders, consider using a visually polished and professional format, such as a digital or traditional storyboard.

Source: Pexels
Internal use:
For internal discussions and brainstorming sessions, you can start with rougher formats like thumbnails or sketches and refine them later.
Artistic style and aesthetic
Artistic projects:
If your project has a strong artistic or creative focus, consider formats that allow for more artistic expression, such as collage-style or mixed-media storyboards.
Technical projects:
For projects where technical accuracy is crucial, stick to formats that provide precise details and measurements.

Source: Pexels
Flexibility and iteration
Time saving:
When iteration is properly controlled, time can be saved in the long term. It enables you to identify possible problems early in the creative process and address them, minimizing the need for major modifications throughout production, which can be expensive and time-consuming.
Quality improvement:
You have the chance to improve and hone the quality of your storyboard through iterative procedures. You may pinpoint places that require development and make the required changes to guarantee that the final visual narrative is engaging and powerful.
Budget and resources
Resource availability:
Consider the tools and resources available to you. Digital storyboarding may require access to software and hardware, while traditional storyboarding can be done with paper and pens, making it more cost-effective.
Planning effectively:
Planning well requires that you are aware of your financial limitations. You may direct resources where they are most needed while preventing wasteful spending. This makes sure that your storyboard adheres to the project’s budgetary constraints.
Cost vs. quality:
Finding a balance between the two is essential. Even if you want to make an engaging storyboard, you have to stay inside your budget. Making decisions like this entails maximizing the effect of your storyboard without going overboard.
Project deadline
Time constraints:
If you have tight deadlines, a format that allows for quicker sketching and adjustments, such as digital storyboarding, may be preferable. The task’s completion deadline is clearly defined by the project’s deadline.
It’s critical to allot enough time for storyboarding to avoid becoming hurried or hasty, which could degrade the standard of your visual storytelling.
Alignment with production schedule:
Storyboards act as a road map for the production stage, streamlining the filming or animation process. The overall production schedule may be delayed if the storyboarding process is not finished on time, which could result in missed deadlines for the entire project.

Source: Pexels
Revision and feedback:
Revisions and feedback are regular parts of the creative process for storyboards, which frequently go through several versions. You may schedule these iterations and set aside time for feedback from partners or clients when you take the project deadline into account.
It’s important to hit these feedback milestones in order to stay on schedule and prevent last-minute modifications that can throw off the schedule.
FAQs on how to make a storyboard
Do I need to be an artist to create a storyboard?
You don’t need to be an artist to create a storyboard, but basic drawing skills can be helpful. Stick figures and simple sketches can convey the main ideas effectively. To save time, Venngage offers easy-to-use and customizable storyboard templates that you can use to simplify the process.
What software or tools can I use to create a digital storyboard?
Digital storyboarding can be done using a variety of tools and technologies, from professional choices like Adobe Storyboard Pro and Toon Boom Storyboard to more user-friendly ones like Storyboard That or even PowerPoint. In this blog post, I discussed extensively on the various software you can use to create a storyboard and their pricing, as well as some storyboard examples to inspire your next big idea.
What is the purpose of adding dialogue or captions to a storyboard?
It is simpler for everyone involved to understand and execute the scene when dialogue or captions are included in a storyboard to help clarify the plot, communicate character conversation and emphasize crucial features.
How do I collaborate with others using a storyboard?
When working on a storyboard with others, team members are introduced to the visual plan and any necessary changes are then made based on their comments. Remote collaboration is facilitated by tools like project management software and cloud-based platforms.
What is the difference between a storyboard and a script?
A script is a written document that precisely details language, events and settings, while a storyboard is a visual blueprint of scenes and sequences with images. They work in tandem to produce a story.
Can I use a storyboard for non-visual projects, like business presentations?
Yes, you can use storyboards for non-visual tasks like corporate presentations. They can present important information, text and data in an organized and interesting fashion in place of images.
What materials do I need to create a storyboard?
You’ll need supplies like paper, pencils, erasers or digital tools like tablets and styluses to make a storyboard. Select a medium based on your skills and the needs of the project. The materials you choose will be heavily influenced by your personal preferences and the particular requirements of your project. While other artists choose the ease and versatility of digital tools, some prefer the tactile sense of conventional materials.
How do I storyboard if I can’t draw?
If you can’t draw, you can portray scenes in your storyboard using photos, stock photos or pre-designed graphic assets. Instead of making detailed drawings, concentrate on the composition and ideas being conveyed.
How do I determine the appropriate aspect ratio for my storyboard frames?
The medium in which your project will be displayed as well as your desired level of creativity will both influence the optimal aspect ratio for your storyboard frames. Depending on the final output format, such as widescreen (16:9) for videos or standard (4:3) for older TV formats, the appropriate aspect ratio for your storyboard frames will vary.
Are there any techniques for creating visually appealing compositions in a storyboard?
Consideration of framing, camera angles, lighting and visual hierarchy are techniques for aesthetically pleasing compositions in a storyboard to generate captivating and understandable graphics.
How does a script fit into a storyboard?
A storyboard transforms language, action and narrative information from a script into a graphic representation of how scenes will be shot and arranged in the finished production. Together, the two coordinate the entire creative process.
7 Steps on how to create a storyboard with Venngage
Storyboarding doesn’t have to be a difficult process. Venngage makes the process of creating a video, presentation or other visual storytelling project simpler from conception to execution. With Venngage’s user-friendly platform and ready-to-use templates, you can start telling engaging tales and bringing your ideas to life in just 7 simple steps.
- Log in or register with Venngage: Log into your Venngage account or create a new one if you haven’t already. After doing this, you’ll have access to the platform’s features and templates.
- Select a template, then edit it: Look through Venngage’s collection of storyboard templates and choose one that suits your project. Once you’ve done that, you can start customizing the template you’ve chosen to meet your specific project. To reflect your visual style and narrative voice, customize the headings, sections, color scheme, font and layout.
- Add frames or panels: Each section of your storyboard template should have frames or panels where you can depict different scenes or images from your story. These frames are the visual representation of your story.
- Insert images: Images or sketches should be inserted into each frame or panel to reflect the visual elements of each scene. Use Venngage’s image upload feature to add your images or create drawings directly on the website. If you’re working with photos, you can use tools like an object eraser to remove distracting elements from your visuals so each frame stays clean and focused on the key action.
- Organize and put in order: Put the panels or frames in the sequence that best fits the chronological progression of your story. Your story is more likely to be coherent and cohesive as a result of this.
- Review and finalize: Before putting the finishing touches on your storyboard, review it for accuracy, completeness and clarity. Ensure that your story is effectively conveyed. Save your project when you’re done, then share it with your group or other collaborators.
- Share: Venngage lets you export your storyboard in a variety of media formats, including PDFs and pictures. You may also make a link that people can share to give you feedback.
All in all, mastering the art of storyboarding is a valuable skill that can significantly elevate your ability to bring ideas to life in various creative fields, from film and animation to advertising and design.
Remember that practice makes perfect, and as you continue to refine your storyboarding skills, you’ll find that your projects become more organized, visually compelling and effective in conveying your creative vision.
So, grab your pens, digital tablets or whatever tools suit your style and start storyboarding your next masterpiece today. Happy storytelling!


