


Remember those seemingly endless classes in high school, college and even primary school? Staring into space and struggling to focus, as minutes stretched into hours?
As a learning and development professional, that’s exactly the experience you want to avoid. But creating an exciting employee training experience is no easy task…
Enter Storyline 360. This program makes eLearning courses feel like they’re taught by your favorite teacher — think engaging storytelling, practical scenarios and thought-provoking discussions.
So, if you’re a learning and development (L&D) professional who wants to start creating beautiful, interactive online courses with Storyline, you’ve come to the right place.
In this simple starter guide, I’ll explain what the Storyline tool is, the basics of using it for course creation and share tips to make your lessons shine. Let’s go!
Click to jump ahead:
- What is Storyline 360?
- The basics of creating interactive courses in Storyline
- 5 tips for super engaging Storyline 360 courses
What is Storyline 360?
Storyline 360, created by Articulate 360, is a tool for creating beautiful, engaging and highly interactive online courses that learners can enjoy on any device they choose.
Storyline 360 follows a slide-based structure, very much like Microsoft Powerpoint. But Storyline elevates online learning above basic presentations and screen recordings.
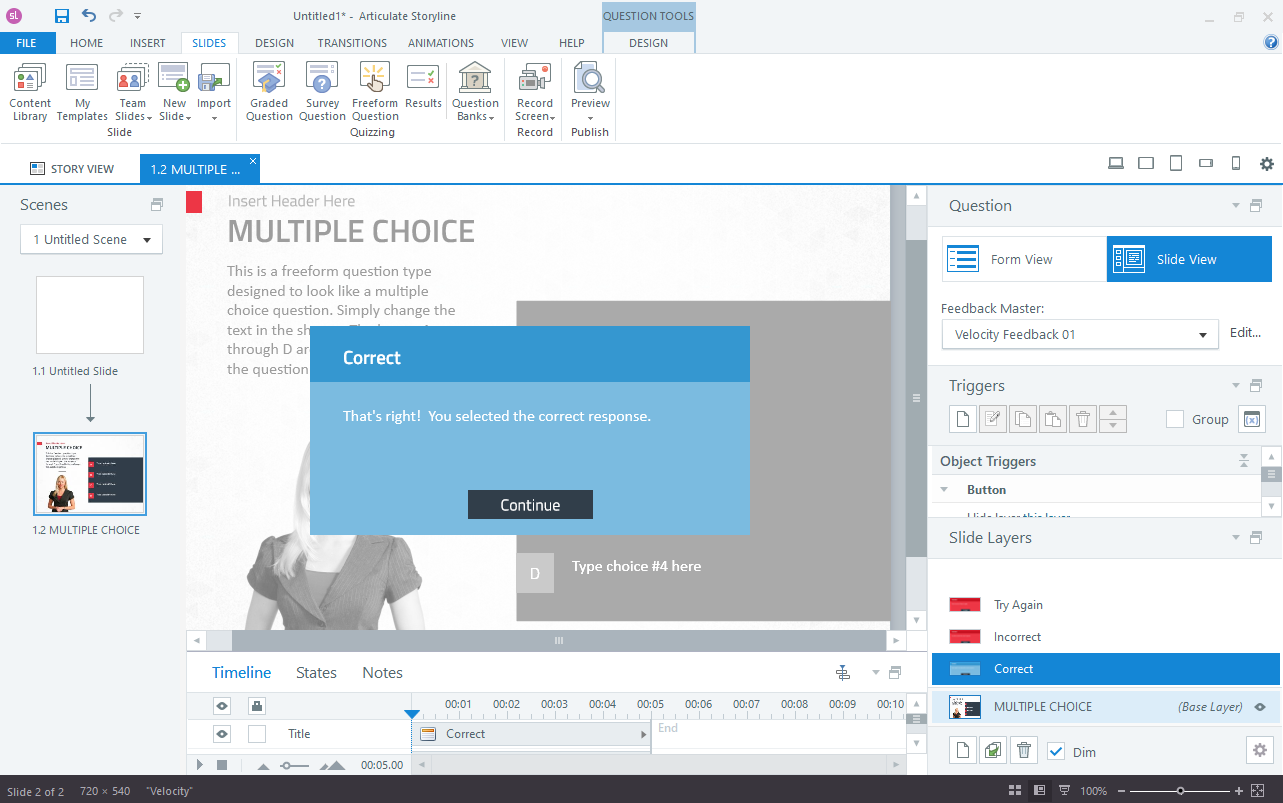
Storyline courses are interactive, full of content that changes with learners’ actions as they move through the course. For example, quiz questions could trigger different lessons and information to be delivered, depending on how learners answer them.
Here’s what that might look like:
Storyline 360 is ideal for many different kinds of employee training materials, like new employee orientation handbooks or guides to standard operating procedures.
Courses created in Storyline 360 are also device-responsive, meaning they’ll automatically optimize for viewing on any smartphone, tablet or computer.
The difference between Storyline 360 and Rise 360
Storyline 360 is just one option in Articulate 360’s suite of tools for creating online courses.
Rise 360 is another incredibly popular tool. Unlike Storyline, which is a downloadable desktop app, Rise 360 can be used in any web browser.
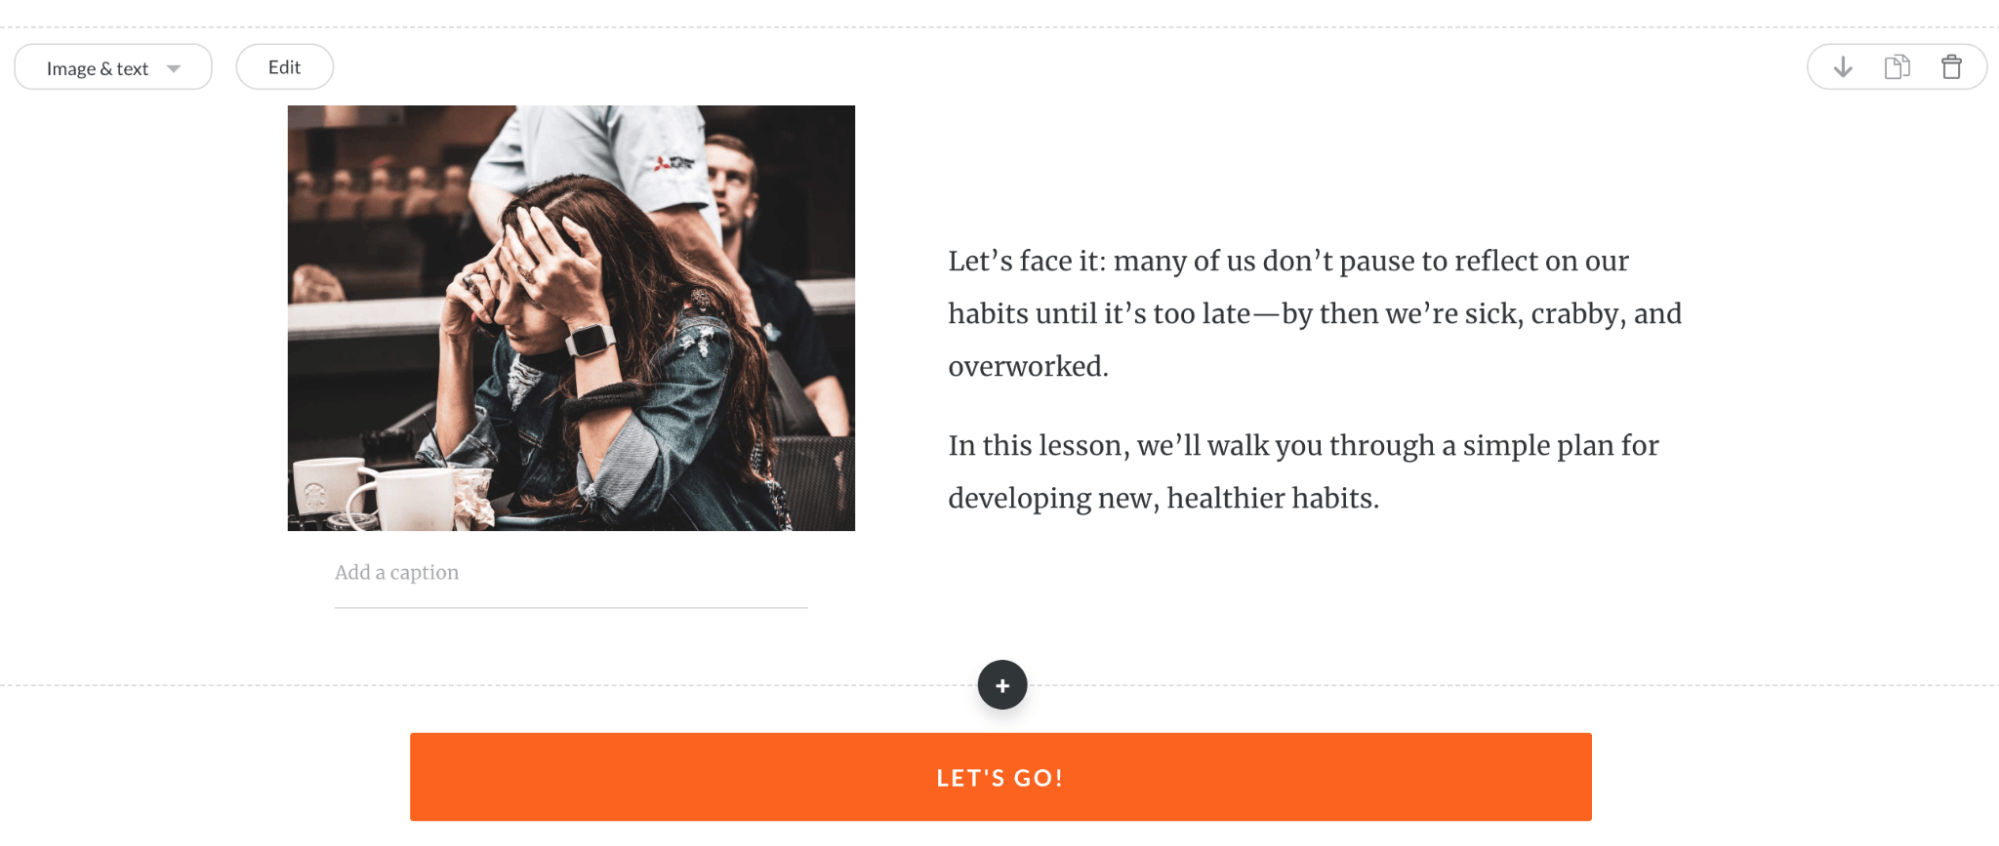
Rise is a simpler, although still powerful, tool for creating online courses. It’s designed for courses that don’t need quite as much interactivity as those made through Storyline 360. Here’s an example of editing a course in Rise:
The basics of creating interactive courses in Storyline
Storyline is a powerful program that offers nearly limitless possibilities. That means there’s a lot to learn!
Here, I’ll provide a basic overview of creating interactive courses in Storyline 360. That way, you can go into the program prepared and knowing exactly what to expect.
Or, use this guide as a jumping off point for further research, and get some ideas for what kind of course you might want to create yourself!
Here’s what you need to know about how to host a Storyline.
Starting a new course
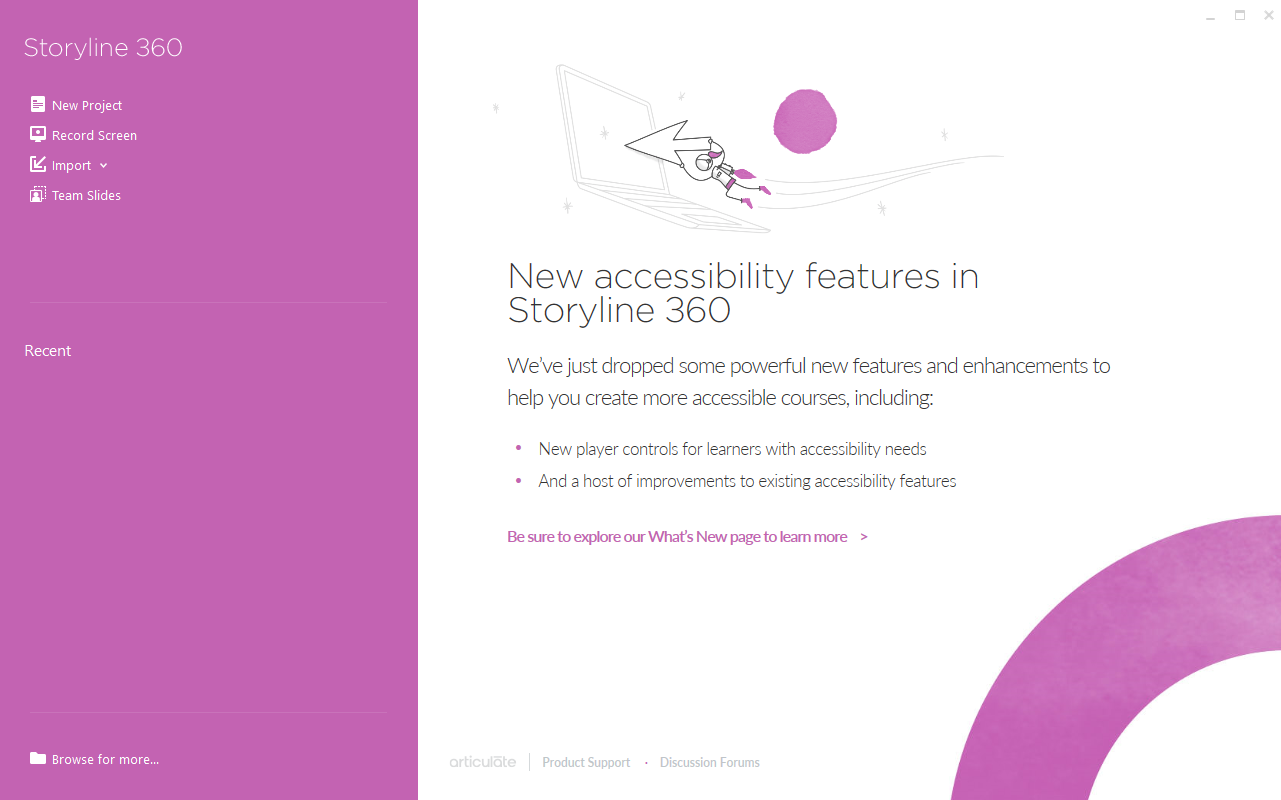
Once you open Storyline, you’ll see a few ways to create a new course.
You’ll be able to:
- Start from scratch by opening a New Project
- Record a screencast by selecting Record Screen
- Import your own content, such as PowerPoint slides
- Find a team project by choosing Team Slides
All these options will be displayed in the menu along the left side of your screen.
Viewing your course in Storyline
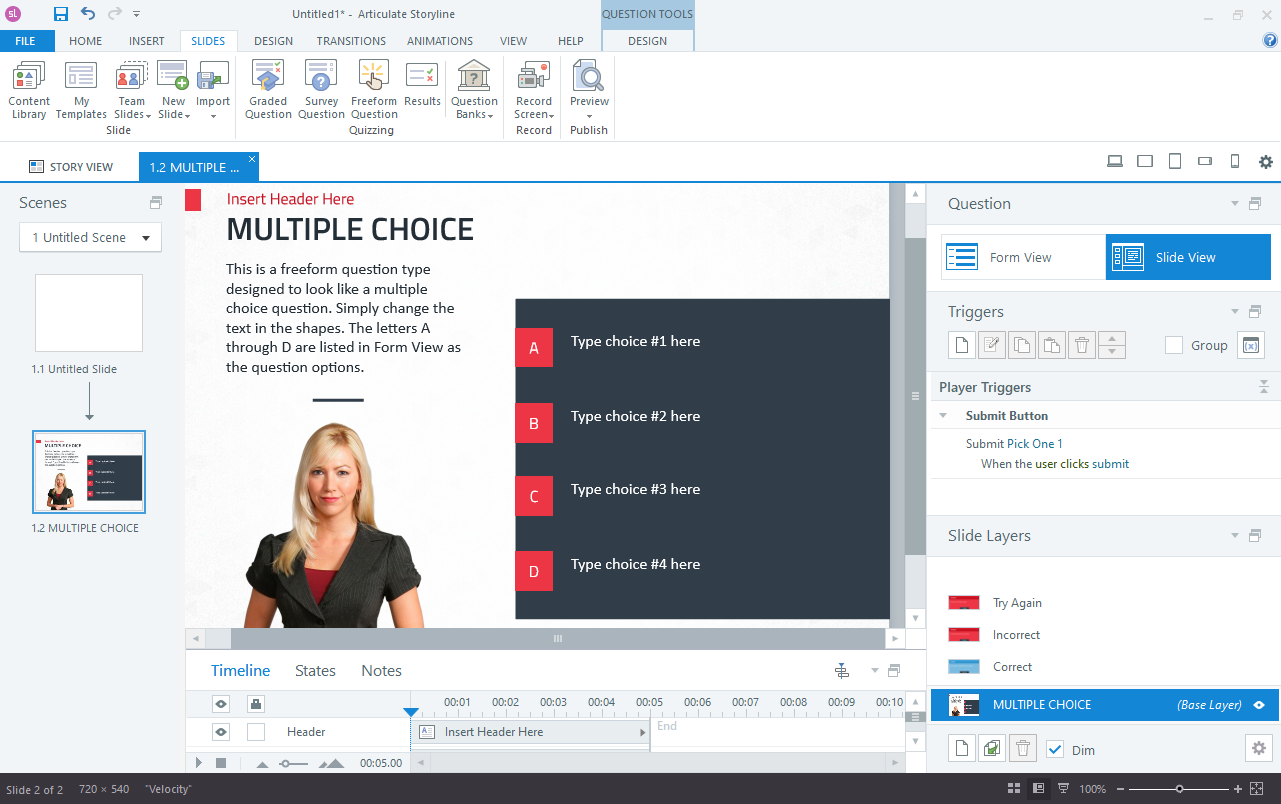
Courses in Storyline are made up of individual Slides, organized into Scenes. Scenes are sets of slides that share related information, like chapters or lessons.
When you open the course of your choice, it will be displayed in Story View. This flowchart-like display gives you a birds-eye view of the course content, showing how all the Slides connect to each other.

From Story View, you can double-click an individual slide to open it and start adding and editing content. This is called Slide View. You can add more Slides, or change how they connect to each other.

Adding and editing content
Next, you’ll populate your Slides with content — or replace the placeholder content that came with your template.
You can add many different types of content to Storyline, including images, video, shapes, captions, text boxes, tables and charts.
If you need some help making your course visually appealing, check out Storyline’s own Content Library. It includes hundreds of free videos, photos and illustrations to use. It even offers a library of Characters — an interesting option that lets you build scripted, animated scenarios.

To take your visual content to the next level, add some custom infographics, diagrams and charts.
This is one of the most powerful ways to communicate visually — especially if you’re sharing complex information. And with third-party tools like Venngage, these graphics are quick and easy to make, even if you have zero graphic design experience.
Stay tuned for more on this at the end of this guide!
Making your course interactive
Interactivity is what makes Storyline special. Without all those fun interactive elements, Storyline (and Rise 360) are basically just PowerPoint for eLearning.
Quizzes are one major interactive feature you’ll want to build into your Storyline course. You’ll be able to add special Quiz and Result slides, and edit quizzes with the tool’s dedicated Question Editor.
You can add a variety of pre-built interactive objects to your Slides. These include dials, sliders, buttons and data-entry fields.
You can also make Slides themselves interactive, changing as the learner interacts with your content and moves forward through the course. This is accomplished through three main mechanisms: States, Layers and Triggers.
States change the look of an object as learners interact with it. For example, text or a button could change colors when the user hovers over it.
Layers allow slides to reveal new information as the user moves through them — determined by Triggers you set. For example, the learner checking off ‘yes’ or ‘no’ in response to a question could trigger different information to appear.
Getting familiar with Storyline
Hopefully, you now have a broad understanding of Storyline. If you’re ready to dive in and give it a try, Articulate 360 offers plenty of resources to help you get more comfortable with the tool, no matter what kind of course you want to create.
I suggest starting with Articulate’s own documentation library, which provides detailed, step-by-step instructions on all the concepts and features covered here.
5 tips for super engaging Storyline 360 courses
1. Use characters
There’s a reason Storyline 360 comes with an entire library of Characters. Characters, especially if you choose one or two to recur throughout the course, make learners feel like they aren’t figuring it out alone — there’s a friendly guide to help them through it.

It’s so much more exciting, engaging, and memorable to see concepts acted out or explained by a fun character, instead of just reading them as text, or listening to them in a voiceover.
That’s why there are so many iconic e-learning mascots and characters, like the Duolingo owl or Microsoft Office’s Clippy character from the 90s.
2. Make (almost) every object responsive
The whole point of Storyline 360 is that it’s not a static, passive learning experience like Powerpoint or pre-recorded webinars. So take advantage of those capabilities to keep learners engaged!
When you design your slides and content to be responsive, it’s much easier for your audience to focus and pay attention to what’s on screen. So enable those object states wherever you can.

For example, setting objects to glow or change color when learners hover over them can make it a lot easier to keep track of how much they’ve read, or which questions they’ve already answered.
Obviously, don’t go so crazy that readers get distracted — but have some fun with it to deliver a truly interactive experience!
3. Gamify lessons
Did you know you can easily gamify online learning in Storyline?
Storyline 360 offers plenty of game-inspired slide templates and backgrounds that you can make interactive with Triggers and Layers.
Doesn’t it sound like way more fun to play a game called “Spot The Workplace Hazard,” instead of just answering a set of multiple-choice questions?
Here’s a handy guide on gamifying your lessons, directly from Articulate.
4. Use fun transitions and animations
Use motion to create a dynamic, engaging and even cinematic experience in Storyline 360.
There’s no reason your learners need to just click ‘next’ or ‘forward’ over and over again. Instead, animate the transitions between slides, layers and even how individual objects move across the screen.
This can be a super-powerful way not just to make your course more visually interesting, but highlight or emphasize important information.
5. Add custom visuals and graphics
Storyline’s own Content Library is full of great pictures and videos to make your course more beautiful. But they can’t actually educate your learners visually — to do that, you’ll need original charts, infographics and diagrams.
These kinds of visual aids are one of the most effective ways of making complex information easier to grasp. And luckily, you no longer need to be an expert graphic designer to make your own beautiful visual assets.
With Venngage, you can make beautiful, professional-looking infographics, charts and many other kinds of visuals in just a few steps.
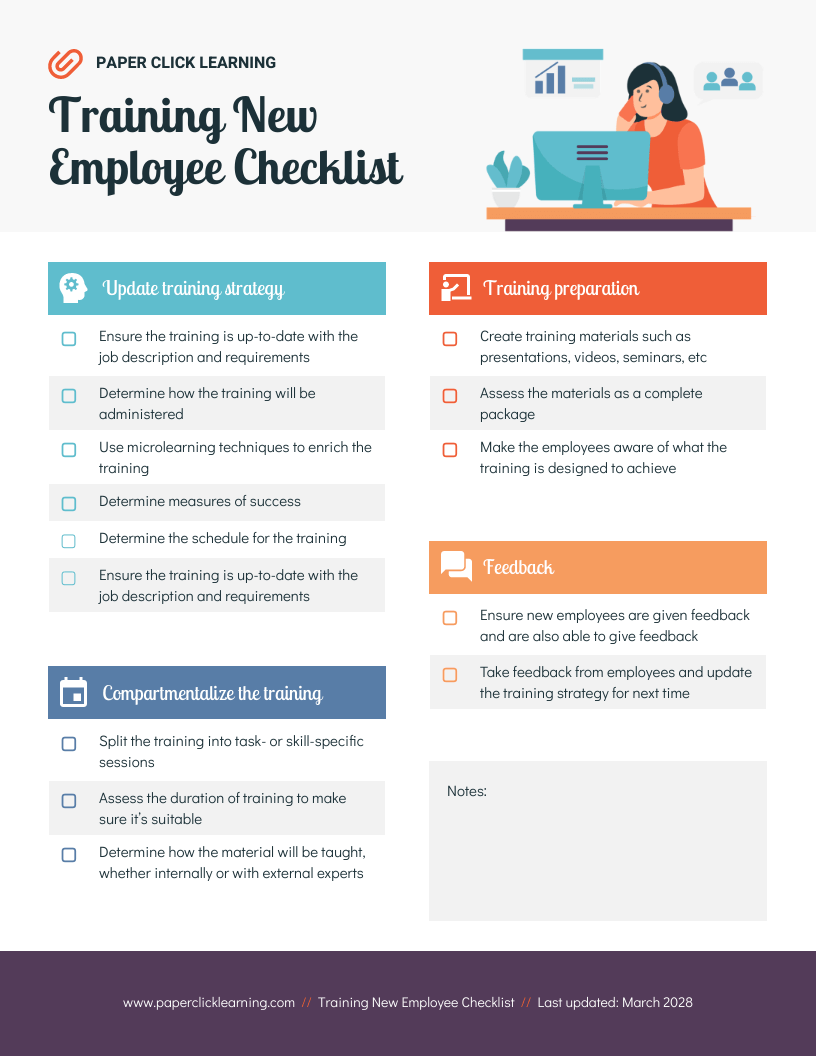
Check out our library of templates suitable for any niche, topic or speciality — including dozens of templates specifically for human resources needs like employee training, learning and development
Here are a couple examples of templates to support learning and development:

Engage your learners!
With the right tools, you can make every employee’s training experience positive, memorable and inspiring. Storyline 360 brings engaging, responsive courses within the reach of all L&D professionals — even if they have zero experience with coding and web design.
As we’ve seen, highly visual, interactive courses create better learner outcomes. That means custom visual assets, like infographics and charts, are especially powerful in combination with tools like Storyline 360 and Rise 360.
So, to make your Storyline training courses as impactful as possible, I recommend pairing them with custom visuals from a tool like Venngage.
Venngage makes it easy to create exceptional training materials that simplify concepts, engage learners and get them not just retaining your training material, but actually putting it into action.


